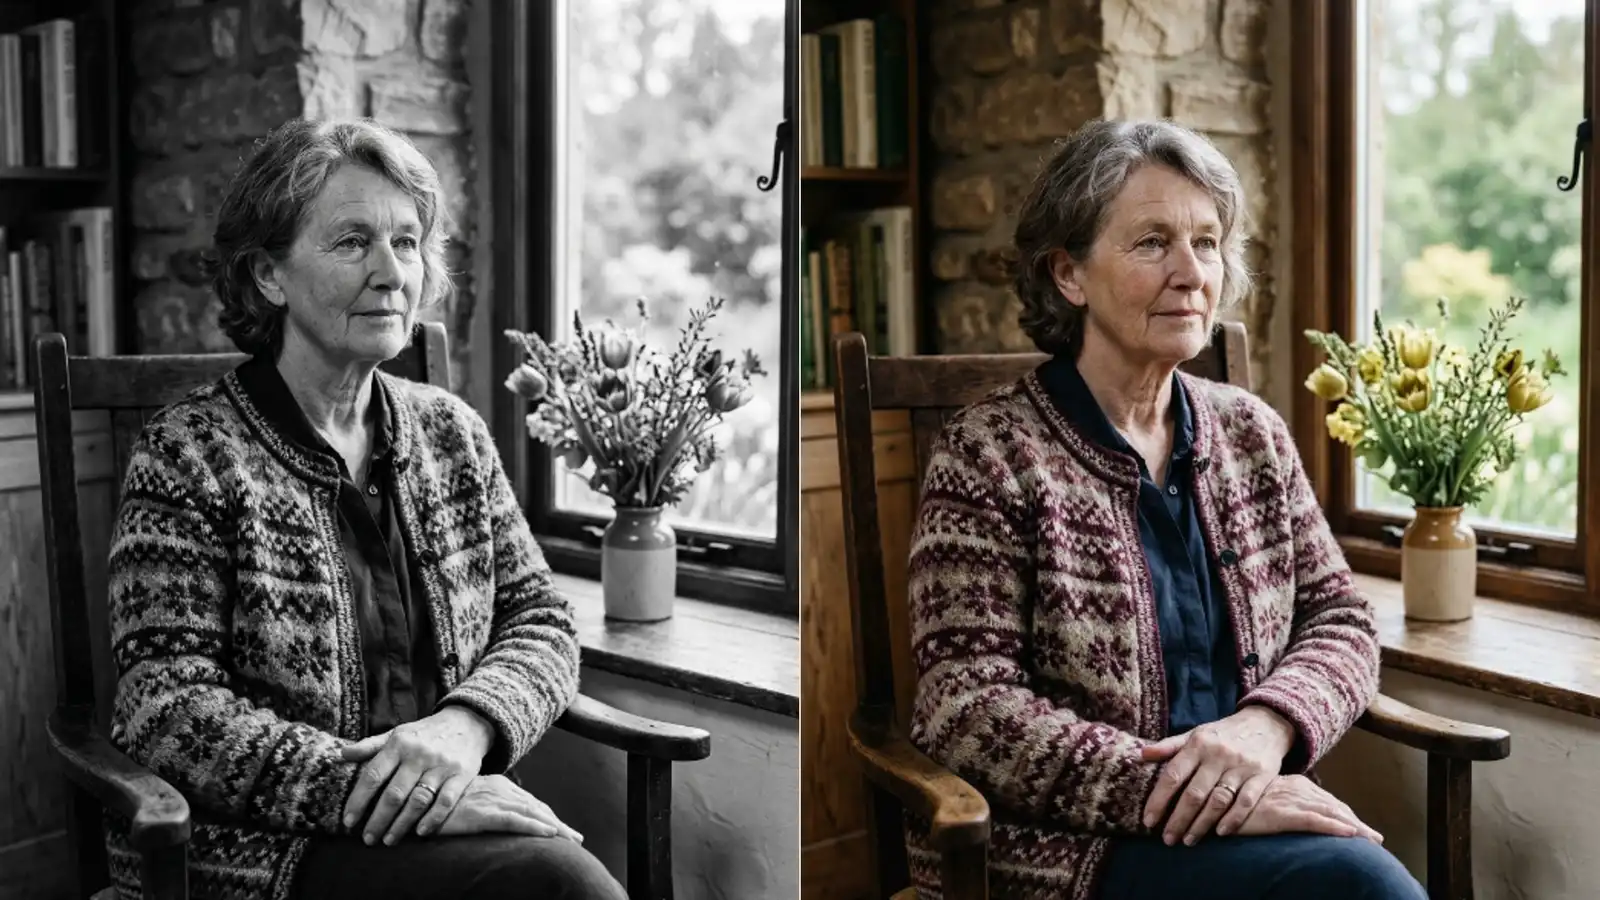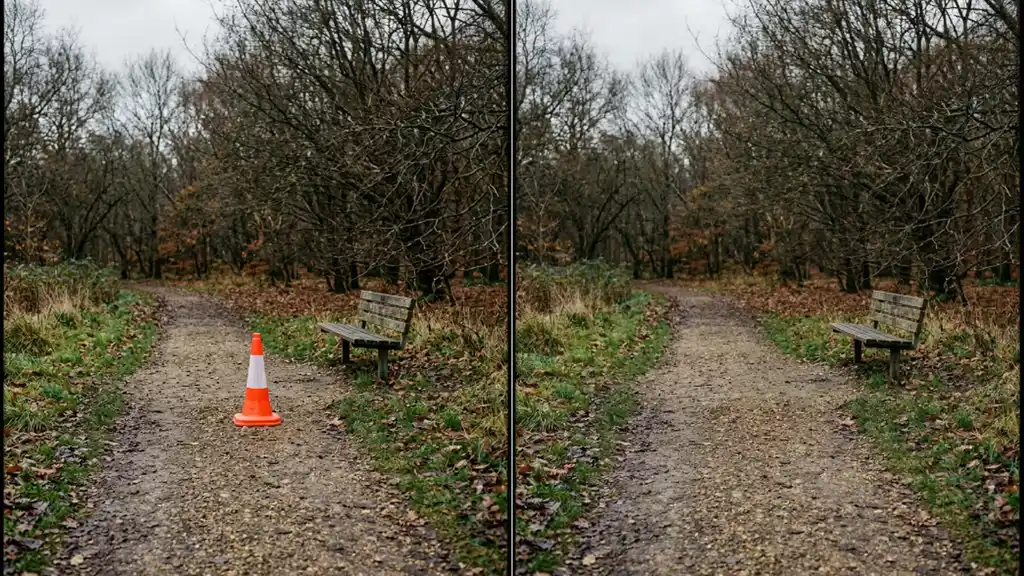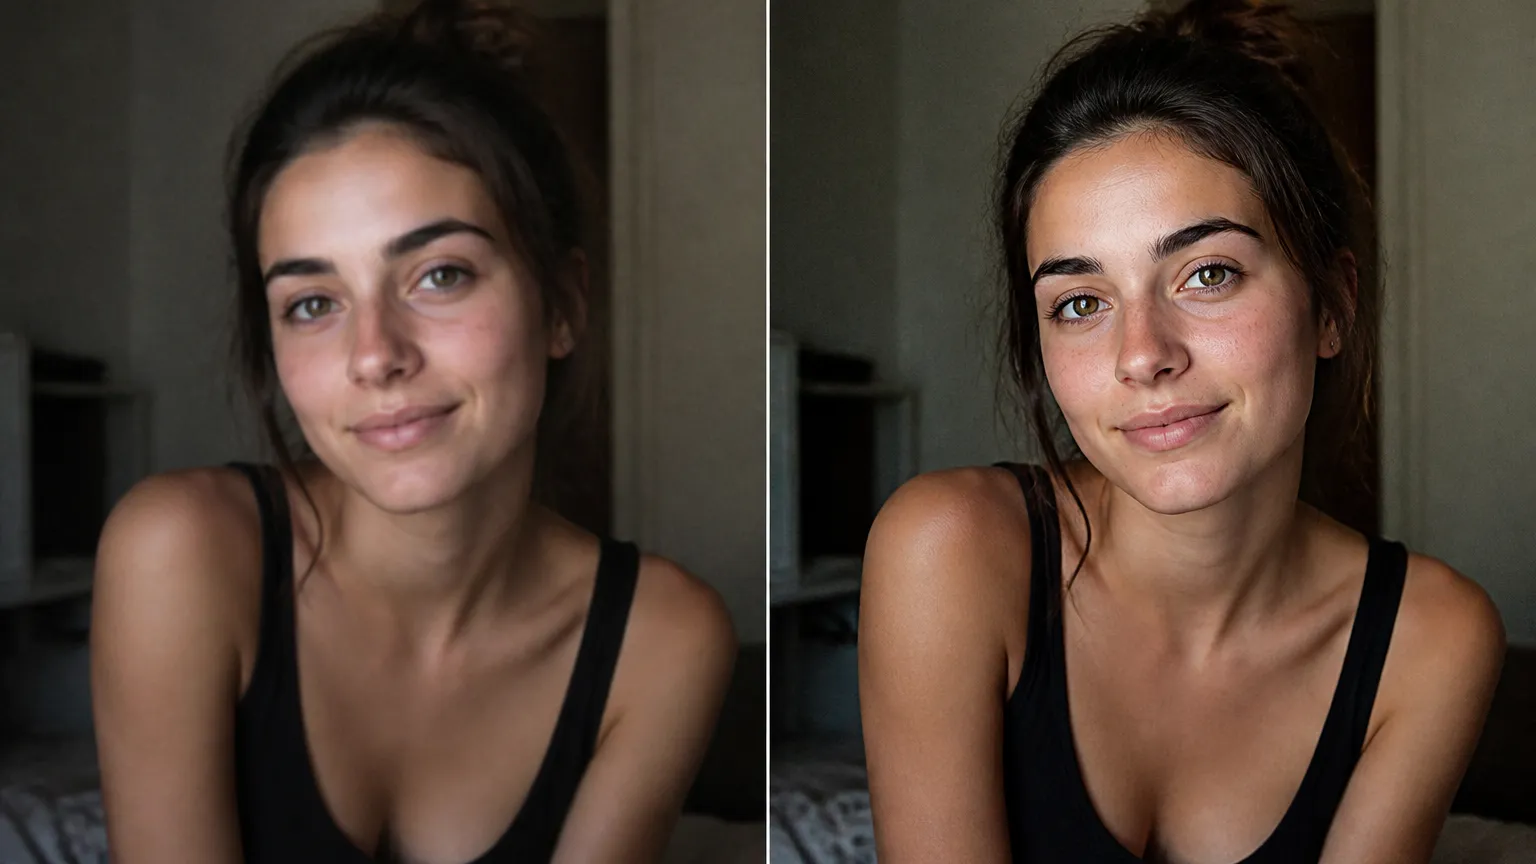
How the Picverce AI Image Enhancer actually works
The two enhancer settings, the file caps nobody tells you about, what a run costs, and the photos it will not save.
GuidesMost people open a photo tool, drop a file in, and hope. That works often enough that nobody asks what is happening in between. Then a portrait comes back looking waxy and the guessing starts.
This is the whole path from the upload button on the AI Image Enhancer to the file you download, including the two settings that look identical in the menu and are not.
What happens between upload and result
Your browser does three things before the photo leaves your machine. It converts the file to JPEG, it compresses it, and it measures the pixel count against a hard ceiling.
That ceiling sits at roughly two megapixels. A 4000 by 3000 photo is twelve megapixels, so it gets resized down before anything is sent. The reason is memory on the processing GPU, not your connection speed.
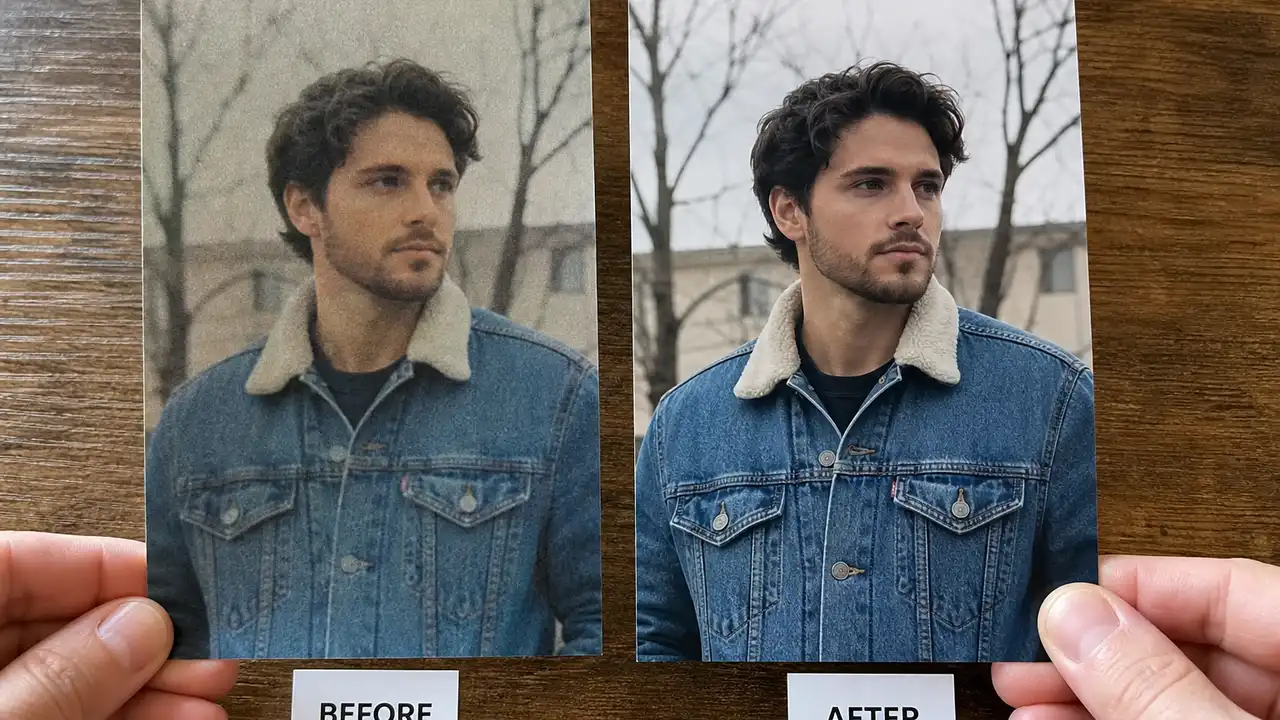
The trimmed file then goes to the server, which hands it to a Real-ESRGAN model running at a fixed 2x scale. The result comes back as a URL, drops into the before and after slider, and saves to your history.
Real-ESRGAN is a well known open model for this job, and the 2x is fixed in the request rather than exposed as a choice. There is no way to ask the standard path for 4x, which is a deliberate split between this tool and the upscaler.
When I first traced this with a twelve megapixel phone photo, the input the model actually saw was around 1600 by 1200. The output was double that. So the 2x on the label is real, but it is doubling a file that was already trimmed on the way in.
None of that is a bug. It is the difference between a tool that finishes in a few seconds and one that runs out of memory and returns an error.
The JPEG conversion is worth knowing about separately. If you upload a PNG with a transparent background, the transparency does not survive the trip. It is flattened before the model sees anything, which is why a cutout comes back with a solid backing.
The two enhancer settings
The model menu holds eight entries in total, and two of them start with Image Enhancer. Those two run different pipelines and cost different amounts.
- Image Enhancer runs Real-ESRGAN at 2x with an optional face pass, and costs 2 credits.
- Image Enhancer PRO runs a different model that targets 4 megapixels of output, with realism and detail passes on and output quality pinned at 100. It costs 6 credits.
- PRO skips the browser side compression completely, so the model receives your original file rather than a trimmed copy.
- The Face enhance toggle sits off by default on both. Switching it on sends a separate flag with the job.
The compression difference is the part worth remembering. If a photo matters, PRO is the only path that does not shrink your input before the model sees it.
The other six entries in that menu are Anime Enhancer, Photo Restore, Image Upscaler, Image Sharpener, Face Restore, and Text Clarity. They all accept the same upload and bill from the same credit pool, so switching between them mid session costs nothing except the run itself.
Face enhance is worth a word too. On a group shot it usually helps. On a single tight portrait it can push skin toward a smoothed, poreless look that reads as fake, so I leave it off unless faces are small in the frame.
There is no quality slider on either setting, and no way to dial the strength down. You get the pass the model gives you, which is why choosing the right entry in the menu matters more than tuning anything afterwards.
Where the file caps bite
Upload is capped at 5 MB. Go over and you get a plain message asking for a smaller file rather than a silent failure halfway through.
Two megapixels is the quieter wall. Nothing in the interface warns you about it. A photo from any recent phone will be resized on the way in every single time on the standard path.
The practical version is short. If your source is large and you want its detail kept, pay for PRO. If your source is a small web image that was never big to begin with, the standard path costs a third as much and the compression step changes nothing you would notice.
There is a second reason to care about the 5 MB cap. It applies to the file you hand over, before any browser side work happens. A 4 MB photo passes the check, gets compressed, and reaches the model much smaller than it started. A 6 MB photo never gets that far and simply refuses.
What does work, consistently, is the boring middle case. A slightly soft indoor photo at a reasonable size, shot in focus, with visible detail somewhere in the frame. Give it that and the result is genuinely better rather than merely different.
A quick way to tell which case you are in: open the file and check its dimensions. Anything under about 1600 by 1200 was never going to trip the ceiling.
Nothing about this is visible while it runs. The progress states you see are about the queue and the model, not about what your browser did to the file thirty seconds earlier.
What a job costs
Credits are shared across the whole workspace, so a run here competes with everything else you do that day.
- Image Enhancer, 2 credits
- Image Enhancer PRO, 6 credits
- Image Sharpener, 2 credits
- Face Restore, 2 credits
- Photo Restore, 4 credits
- Text Clarity, 8 credits
Everything that finishes also writes a row to your history with both the original and the result, so you do not need to download immediately to keep a copy.
The free plan refills 10 credits every day. That is five standard runs, or one PRO run with a little change left. Paid plans move to a monthly pool instead, at 400 credits on Basic, 1000 on Standard, and 2500 on Premium.
Scaling is billed on its own scale inside the AI Image Upscaler, at 2 credits for 2x, 3 for 4x, and 6 for 8x, so a clean pass followed by an 8x enlargement is 8 credits in total.
Old scans are a category of their own. Faded prints, scratches, and paper texture are physical damage rather than sensor noise, and a general cleanup pass reads them as detail worth keeping. Photo Restore exists for exactly that case and costs 4 credits.
Credits are only deducted when a run finishes. A job that errors out does not bill you, so a failed upload costs nothing beyond the time.
If you are on the free plan and you have a batch to get through, the arithmetic is worth doing before you start rather than halfway in. Ten photos on the standard path is 20 credits, which is two days of the free refill.
When it will not save the photo
A model rebuilds plausible detail. It does not recover information the sensor never recorded, and no setting changes that.
Three failure modes come up again and again, and none of them are settings problems.
Motion blur from a moving subject usually comes back worse. The model finds the smear, decides it is structure, and sharpens it into a hard edged smear.
Faces that are badly out of focus and small in the frame are the other reliable disappointment. You get eyes and a mouth, but they are invented, and people who know the subject spot it immediately.
Very dark frames are a fourth case worth naming. Where the sensor recorded almost nothing, the model has almost nothing to work from, and it tends to lift shadows into a flat grey rather than finding detail in them.
Heavy JPEG damage fails for a related reason. If a photo has been saved and resaved through a chat app four times, the block artifacts are baked into the pixels, and the model reads them as detail worth keeping.
Screenshots are a special case of the same trap. A screenshot of a photo on a screen has already lost detail to the display, then to the capture, then to whatever compressed it afterwards.
Last time I ran a screenshot of a screenshot through the standard path, the result came back cleaner and still unusable. The fix was tracking down the original file, not running a second pass.
One pass is almost always the right number. Running it twice compounds the guesses, and the second result is where skin starts looking like plastic. That is the look people mean when they say a photo looks processed.