Enhancer or upscaler which one to run first
Both make a photo look better and they do different jobs. Running them in the wrong order wastes credits and detail.
RecommendationsThese two tools sit next to each other in the same menu and get confused constantly. They are not alternatives. They solve different problems, and the order you run them in changes the result.
What each one is for
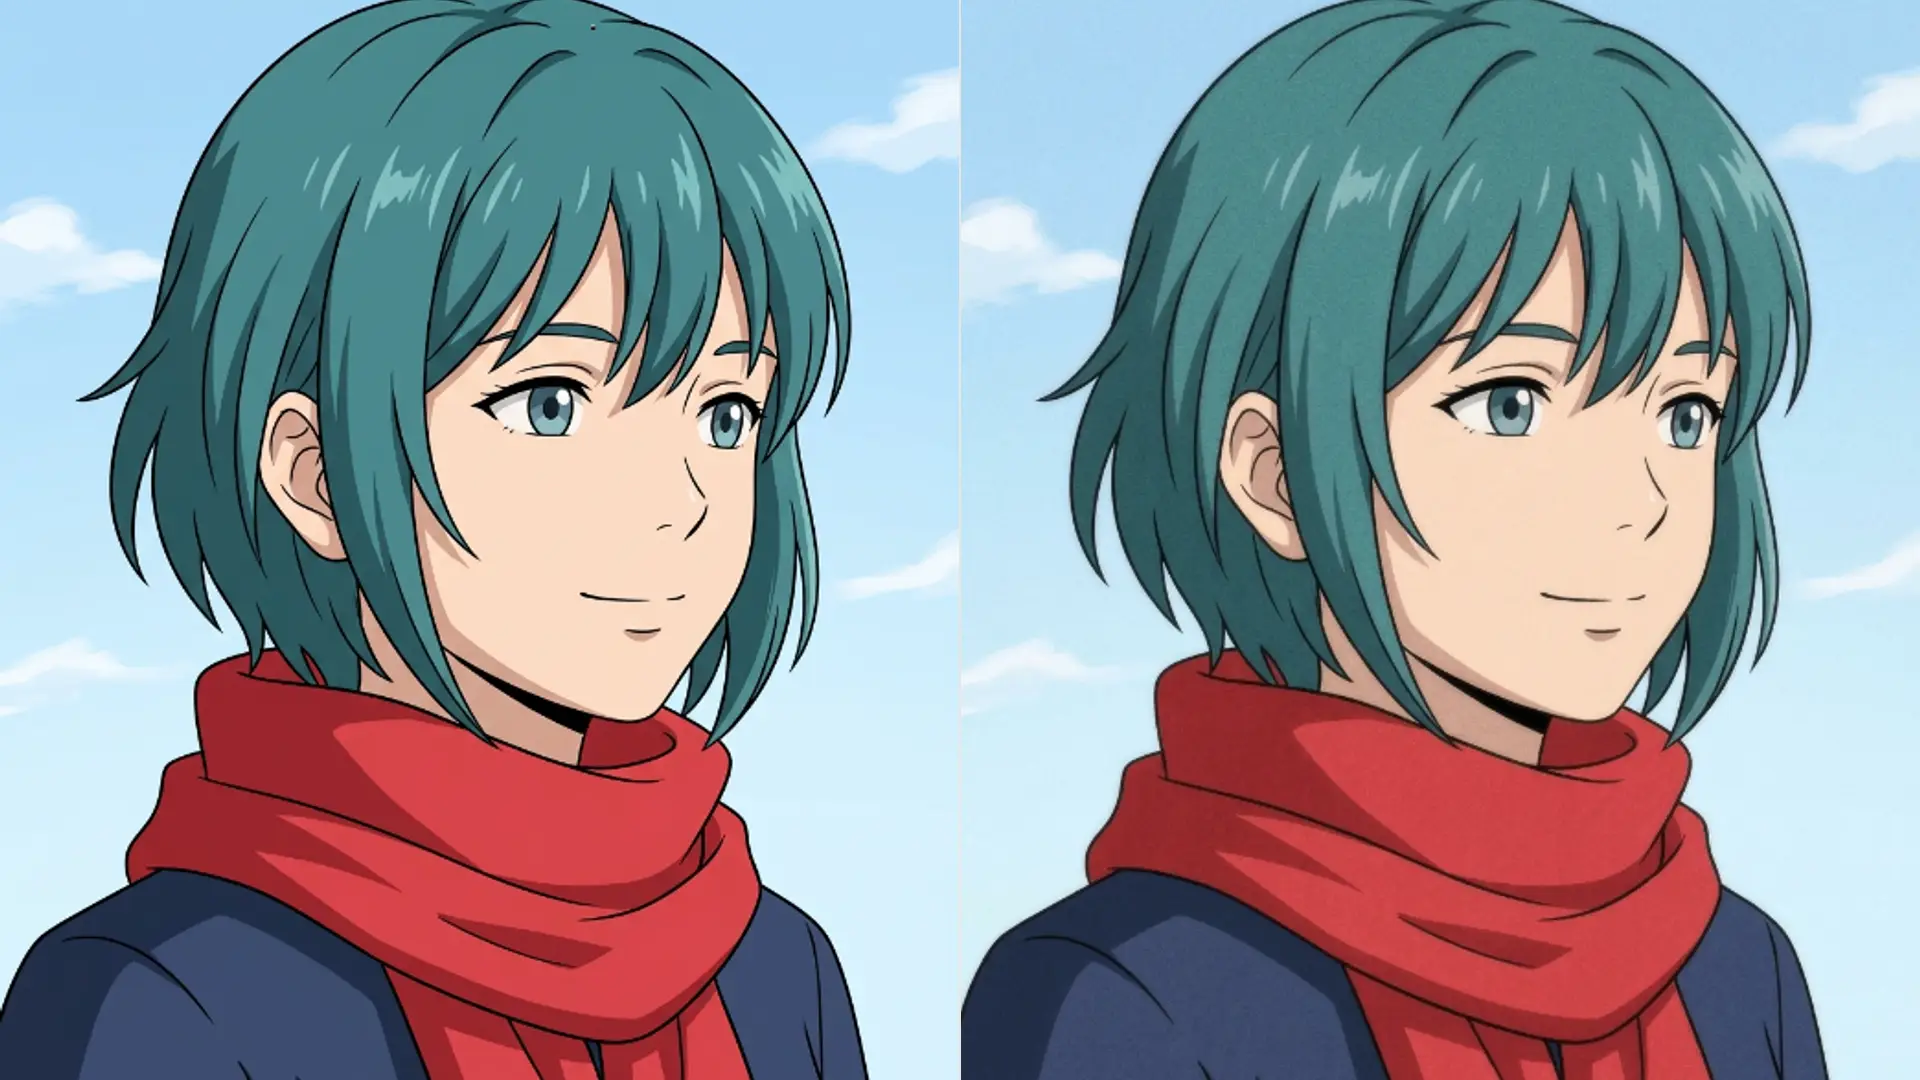
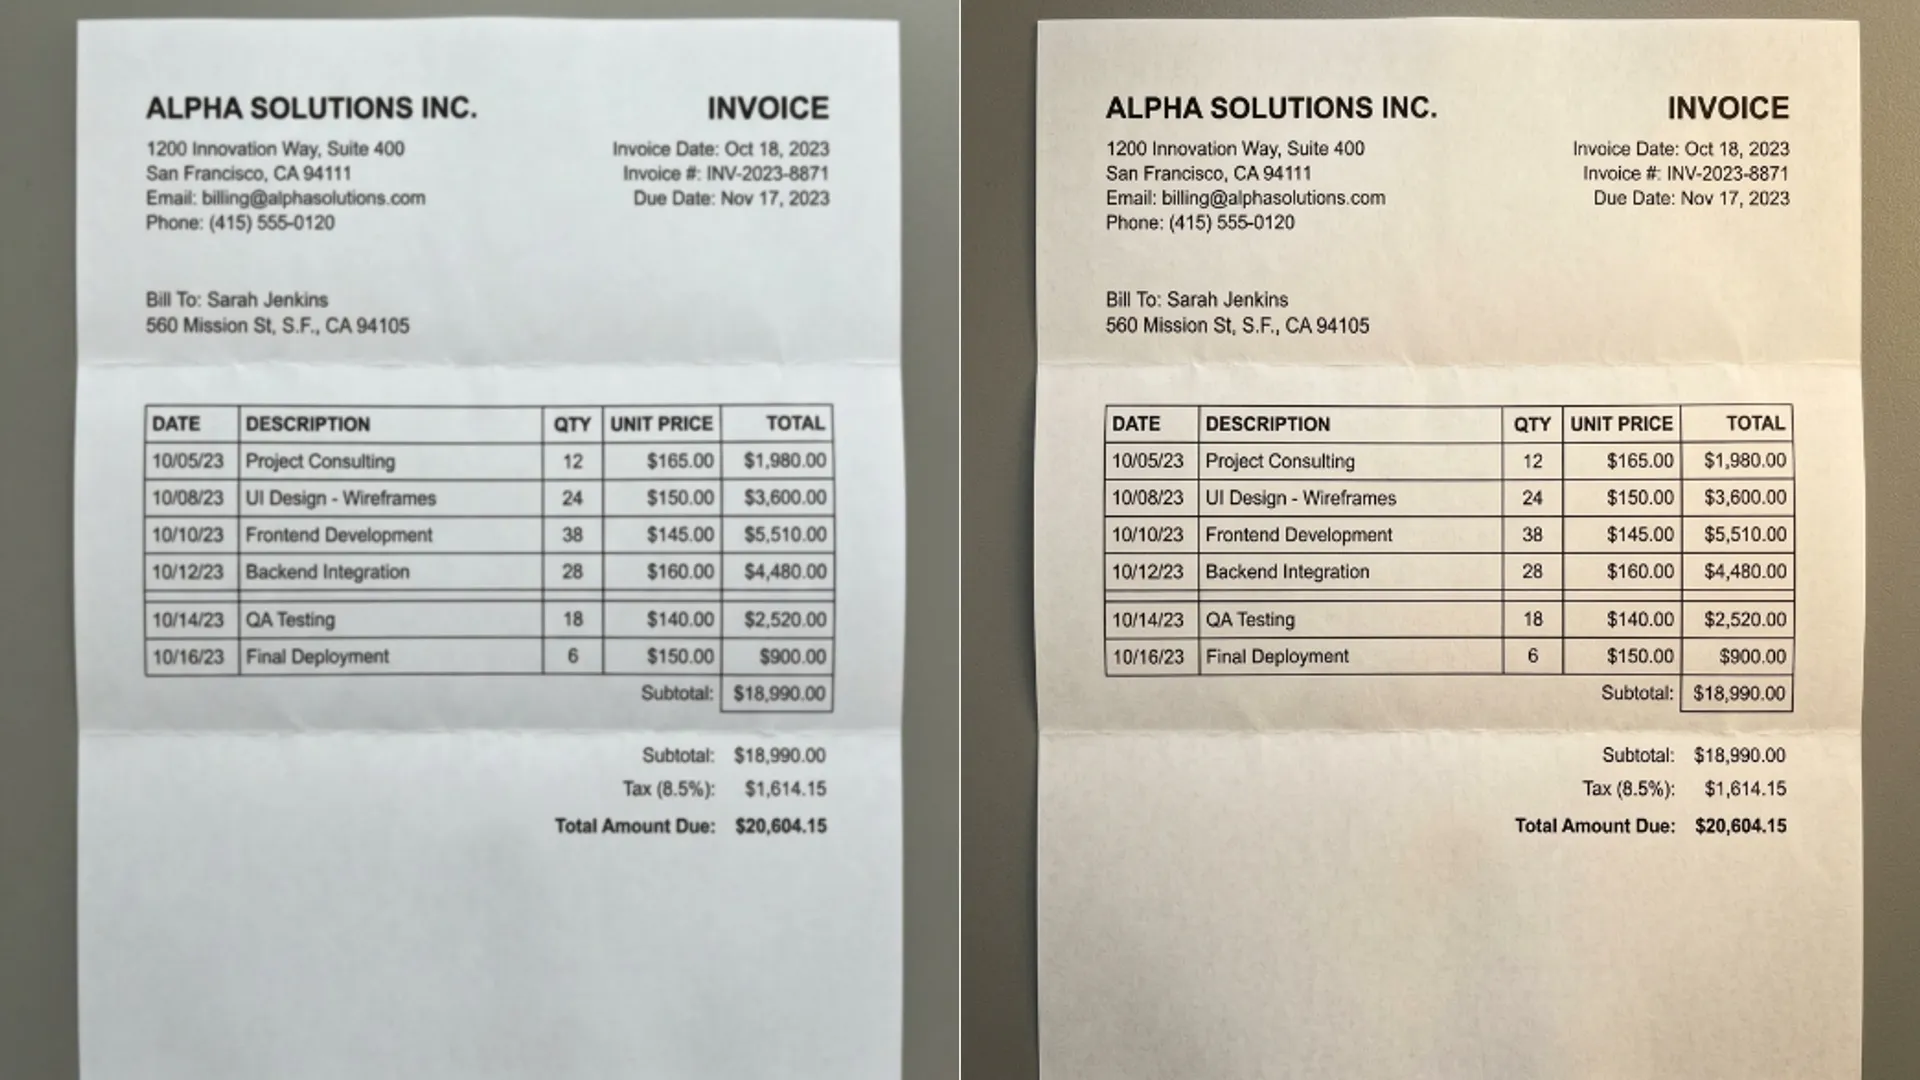
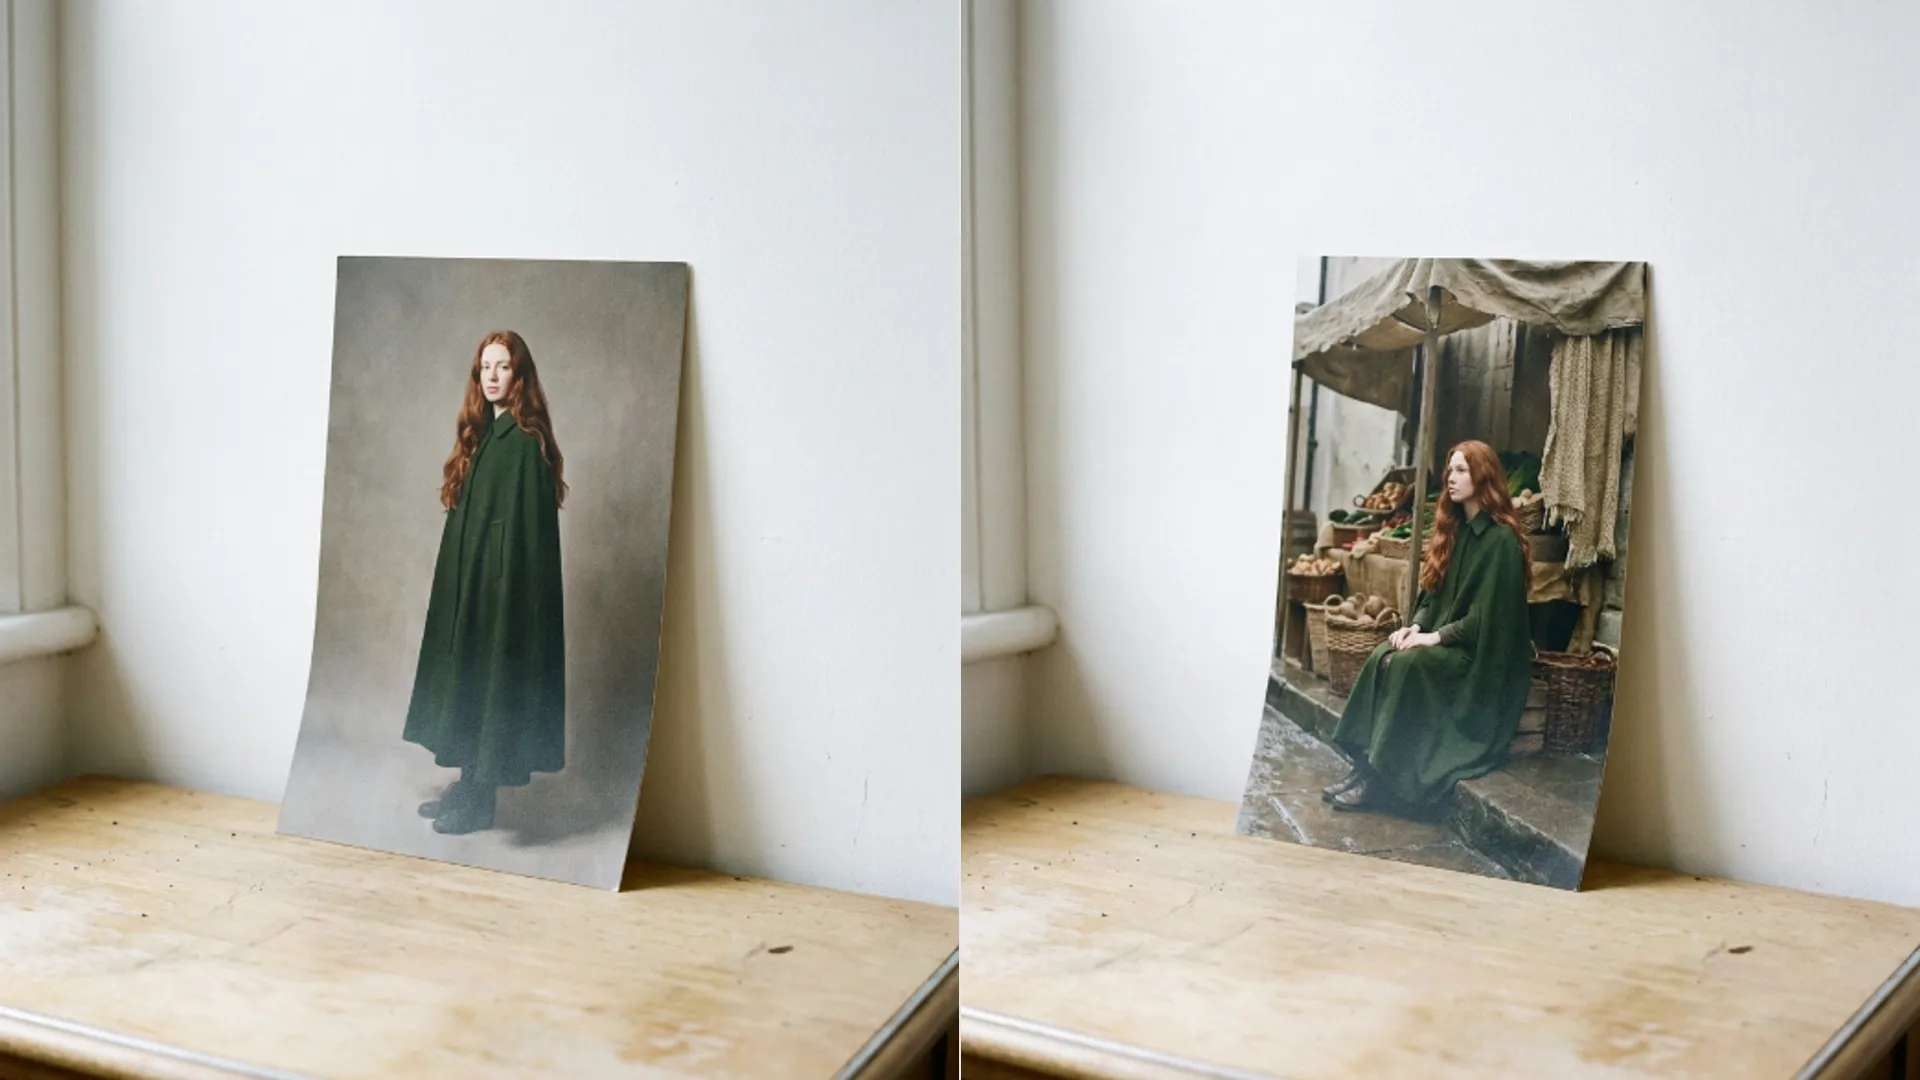
The enhancer cleans. It removes sensor noise, rebuilds soft edges, and repairs the mushy texture phone processing leaves behind. It also doubles the pixel count as a side effect, which is where the confusion starts.
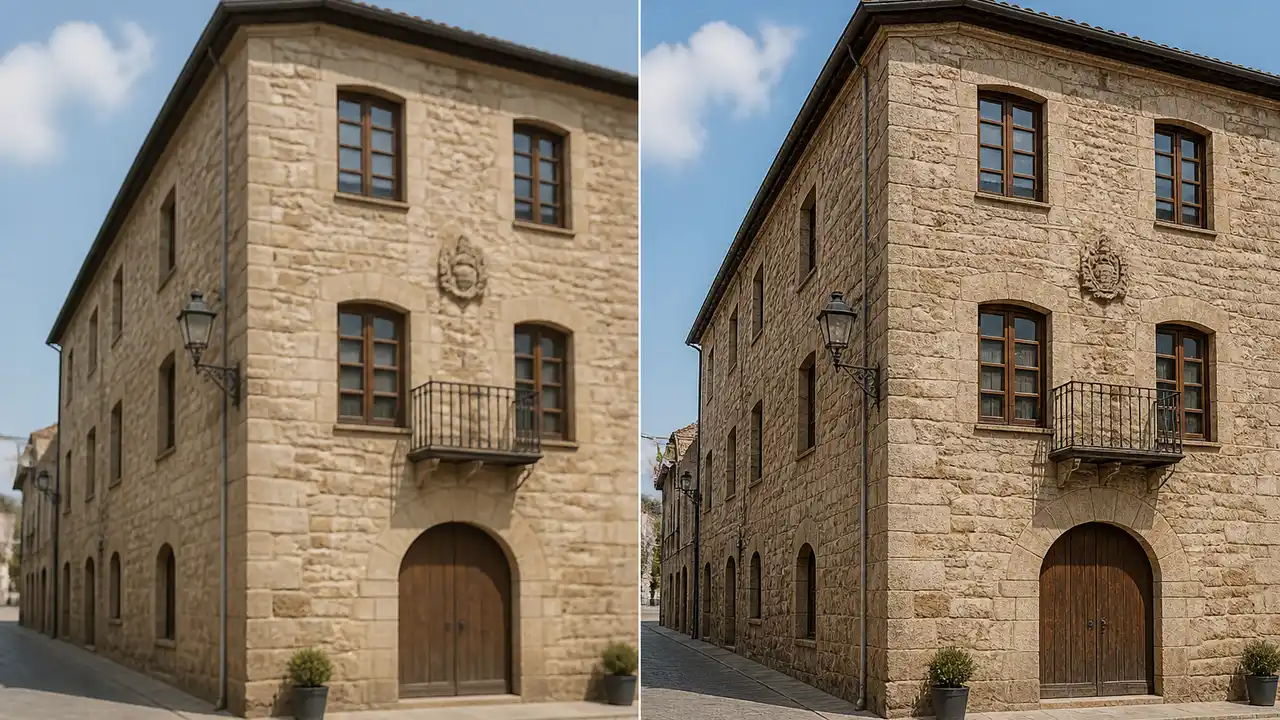
The upscaler enlarges. You pick 2x, 4x, or 8x, and it reconstructs detail at the new size rather than interpolating between the pixels you already had.
The upscaler also charges by level rather than a flat rate, which tells you something about the work involved. An 8x run costs three times a 2x run because it is inventing far more of the final image.
One is about quality at the size you have. The other is about size. A photo can need both, one, or neither.
The overlap is real, which is why people mix them up. Cleaning a photo does return a bigger file, so it is easy to conclude the enhancer already handles enlargement. It does, at exactly one fixed level, as a by product of how the model works rather than as a feature you control.
Run the enhancer first
When a photo needs both, start with the AI Image Enhancer, then enlarge the cleaned result.
The reason is simple. An upscaler treats whatever it receives as signal. Feed it noise and it gives you back larger, more confident noise, rendered with the same care it would give real texture.
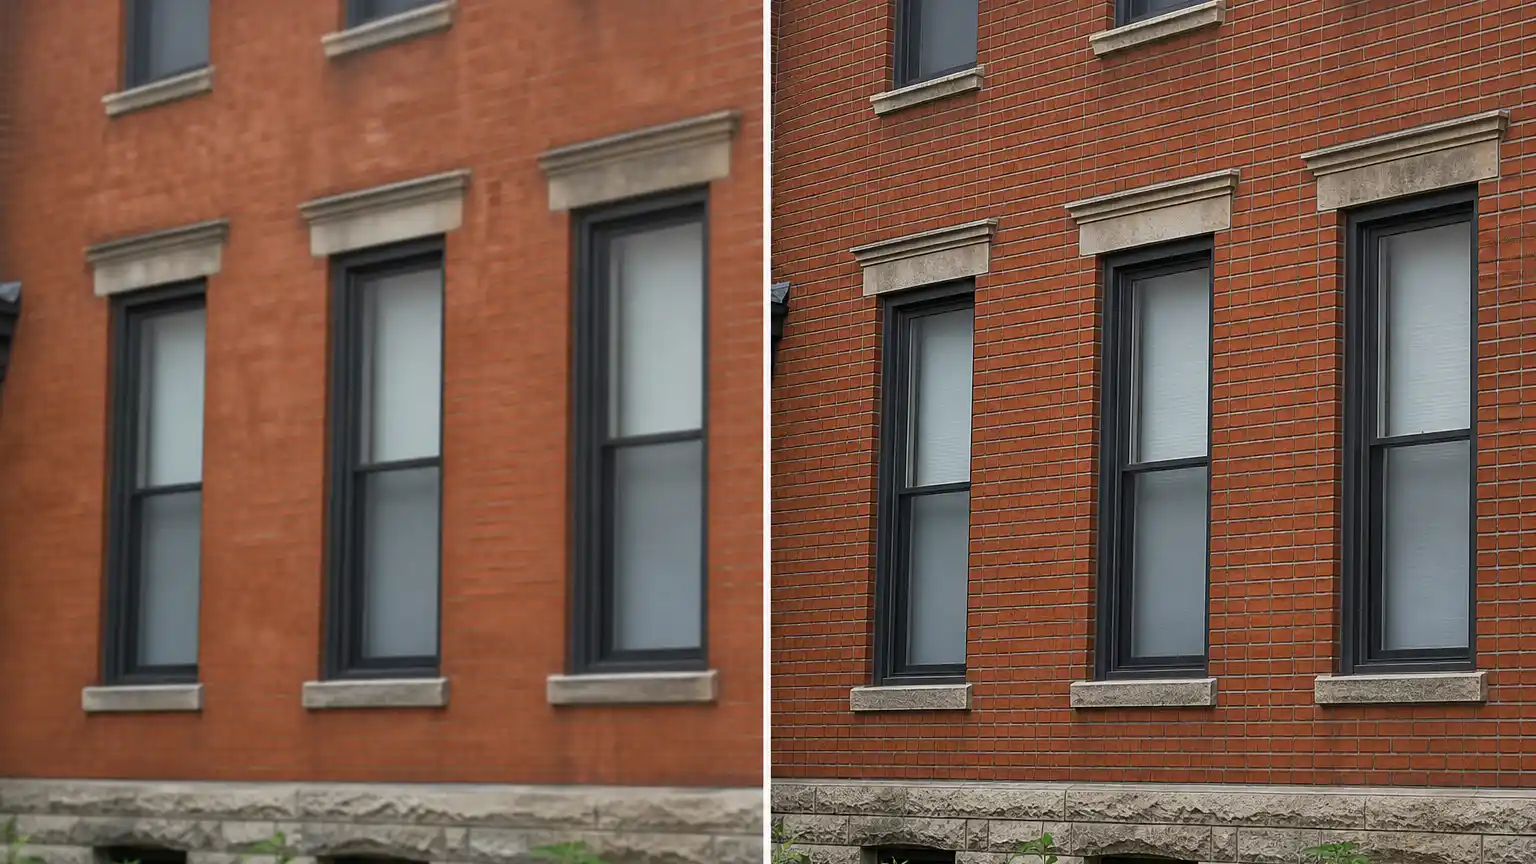
Last time I tested this properly, I took one grainy indoor shot and ran it both ways. Cleaned then enlarged to 4x, the grain was gone and the fabric held together. Enlarged first, the grain came back as distinct blobby texture that no later pass would remove.
The difference was not subtle and it was not close.
There is a mechanical reason behind it. Cleanup models are trained to tell texture from noise at the size they receive. Upscalers are trained to invent plausible detail. Ask the second one to invent detail on top of grain and it does its job faithfully, which is the problem.
When to skip the enhancer
Not every file needs both. Skip straight to enlargement in these cases.
- The source is already clean and sharp, just small. A well shot 800 pixel image needs size, not repair.
- The image is line art, a logo, or a screenshot with flat colour. A cleanup pass has nothing to fix and may soften hard edges.
- You only need a modest 2x and the file already looks fine at full size.
In all three, open the AI Image Upscaler directly and pick your level.
Screenshots sit in an awkward middle. They are flat and clean like line art, but they often carry compression damage like a photo, so the honest answer is to try 2x first and look before spending more.
The reverse case exists too. If a photo is noisy and you only ever need it at web size, clean it and stop. Enlarging something that will be displayed at 600 pixels wide is spending credits on pixels nobody sees.
Line art deserves a note of its own. A cleanup pass tends to soften the hard boundary between two flat colours, because it is looking for the gentle transitions that photographs are made of. On a logo that reads as a slightly furry edge.
What each route costs
Prices are per run and they add up in a predictable way.
- Image Enhancer, 2 credits. Image Enhancer PRO, 6 credits.
- Upscale 2x, 2 credits. 4x, 3 credits. 8x, 6 credits.
- Clean then enlarge to 4x is 5 credits on the standard path, or 9 with PRO.
- The free plan gives 10 credits a day, so a full two step pass fits inside one day.
Watch for the case where you pay twice for the same result. Running the enhancer and then a 2x upscale gives you a doubling on top of a doubling, and on a small source that is more size than the detail can support.
On a free plan that pool disappears fast if you are guessing. Deciding what the photo actually needs before you upload is worth more than any setting.
If you want the mechanics behind the cleanup half, how the Image Enhancer actually works covers the compression ceiling that decides whether the standard path is even seeing your full file.
One last check before either run. Open the original at full size and decide what is actually wrong with it. Half the time the answer is neither tool, and the file was fine.
The short rule holds up in almost every case. Clean, then grow. Never the other way around.