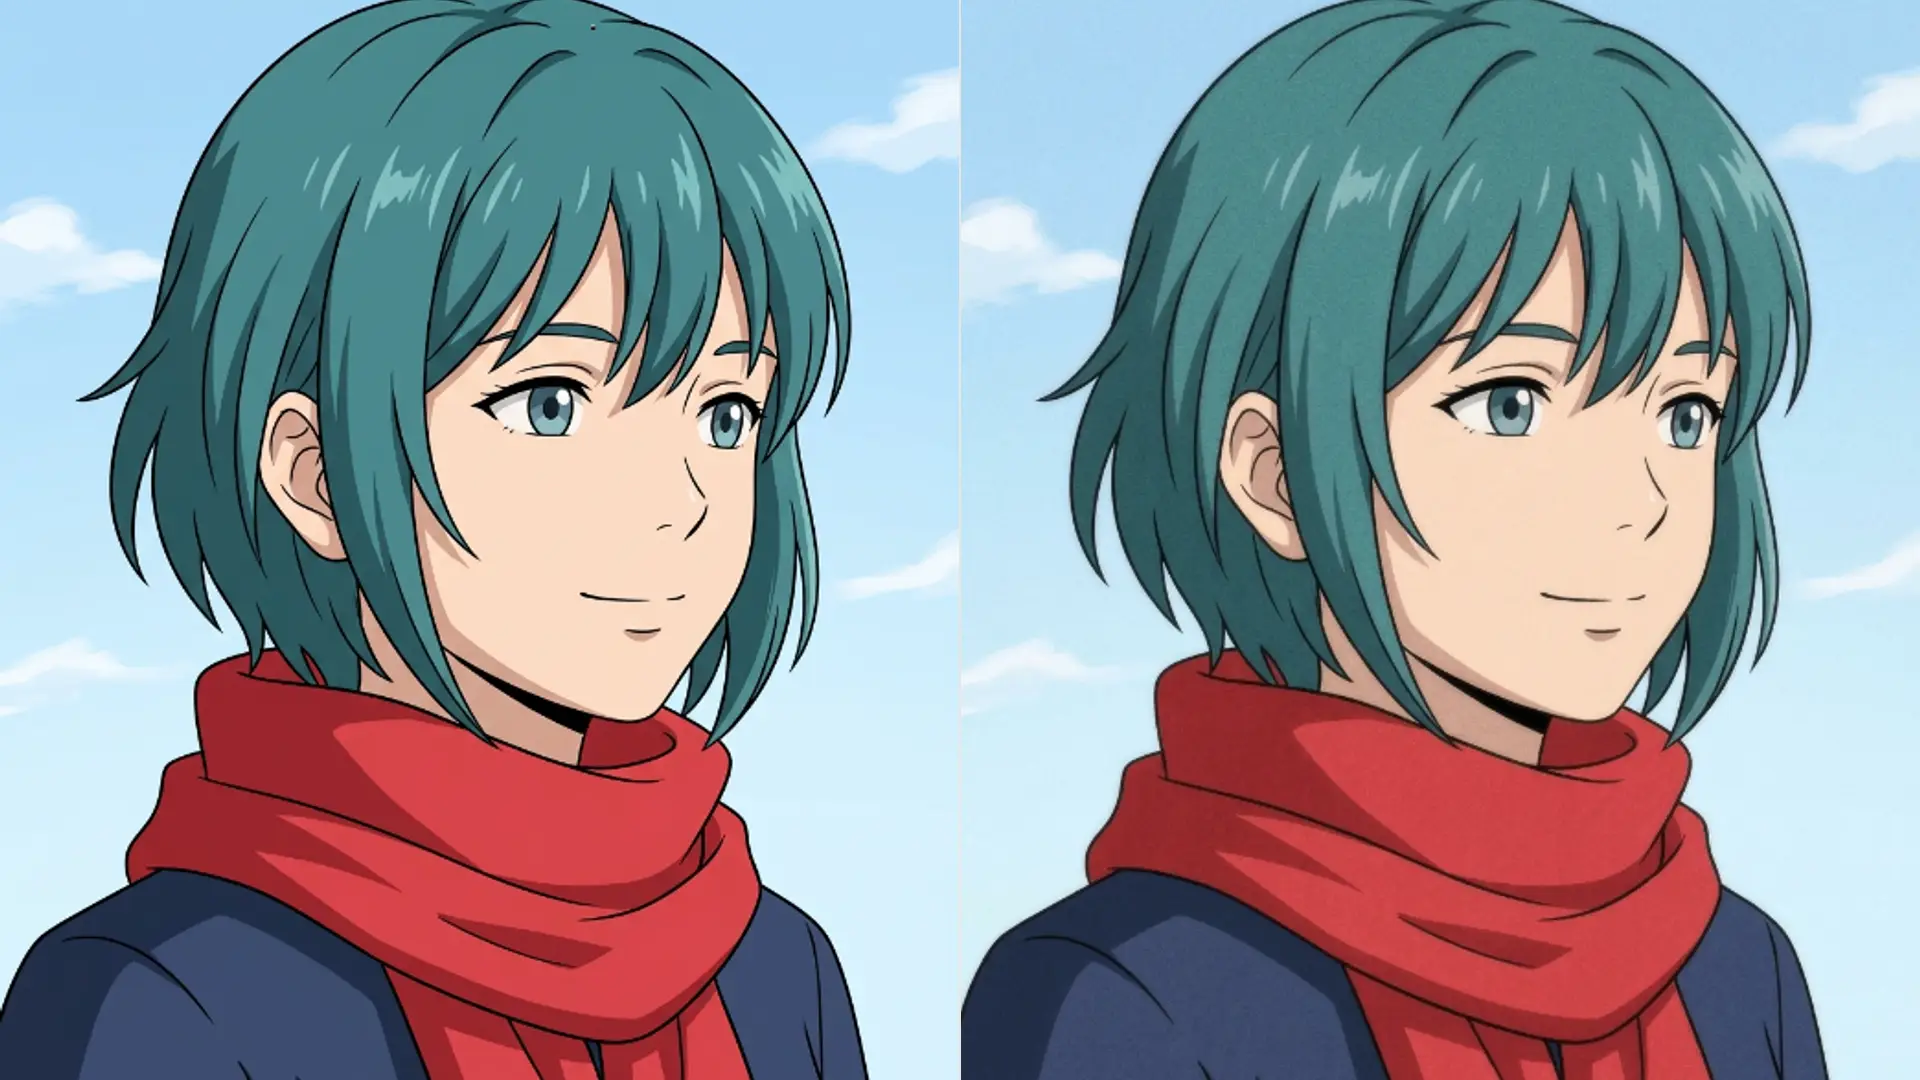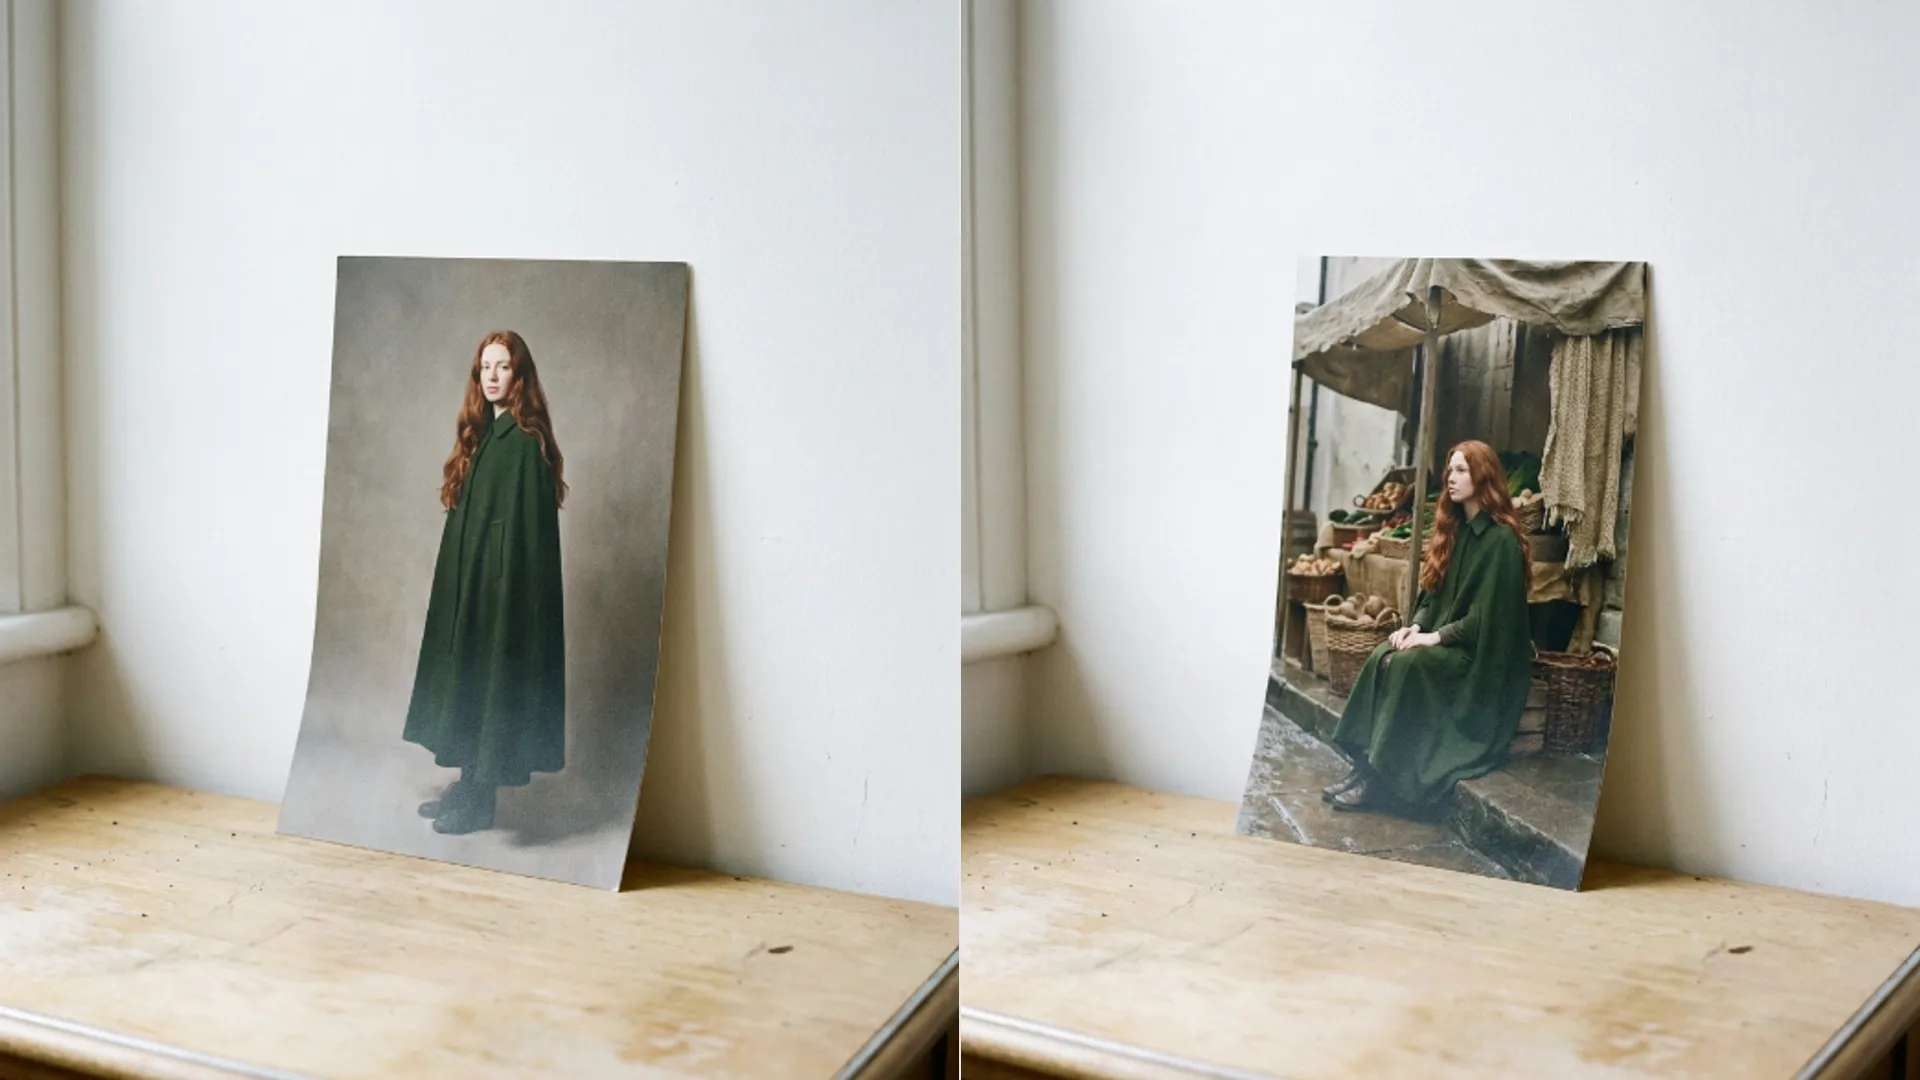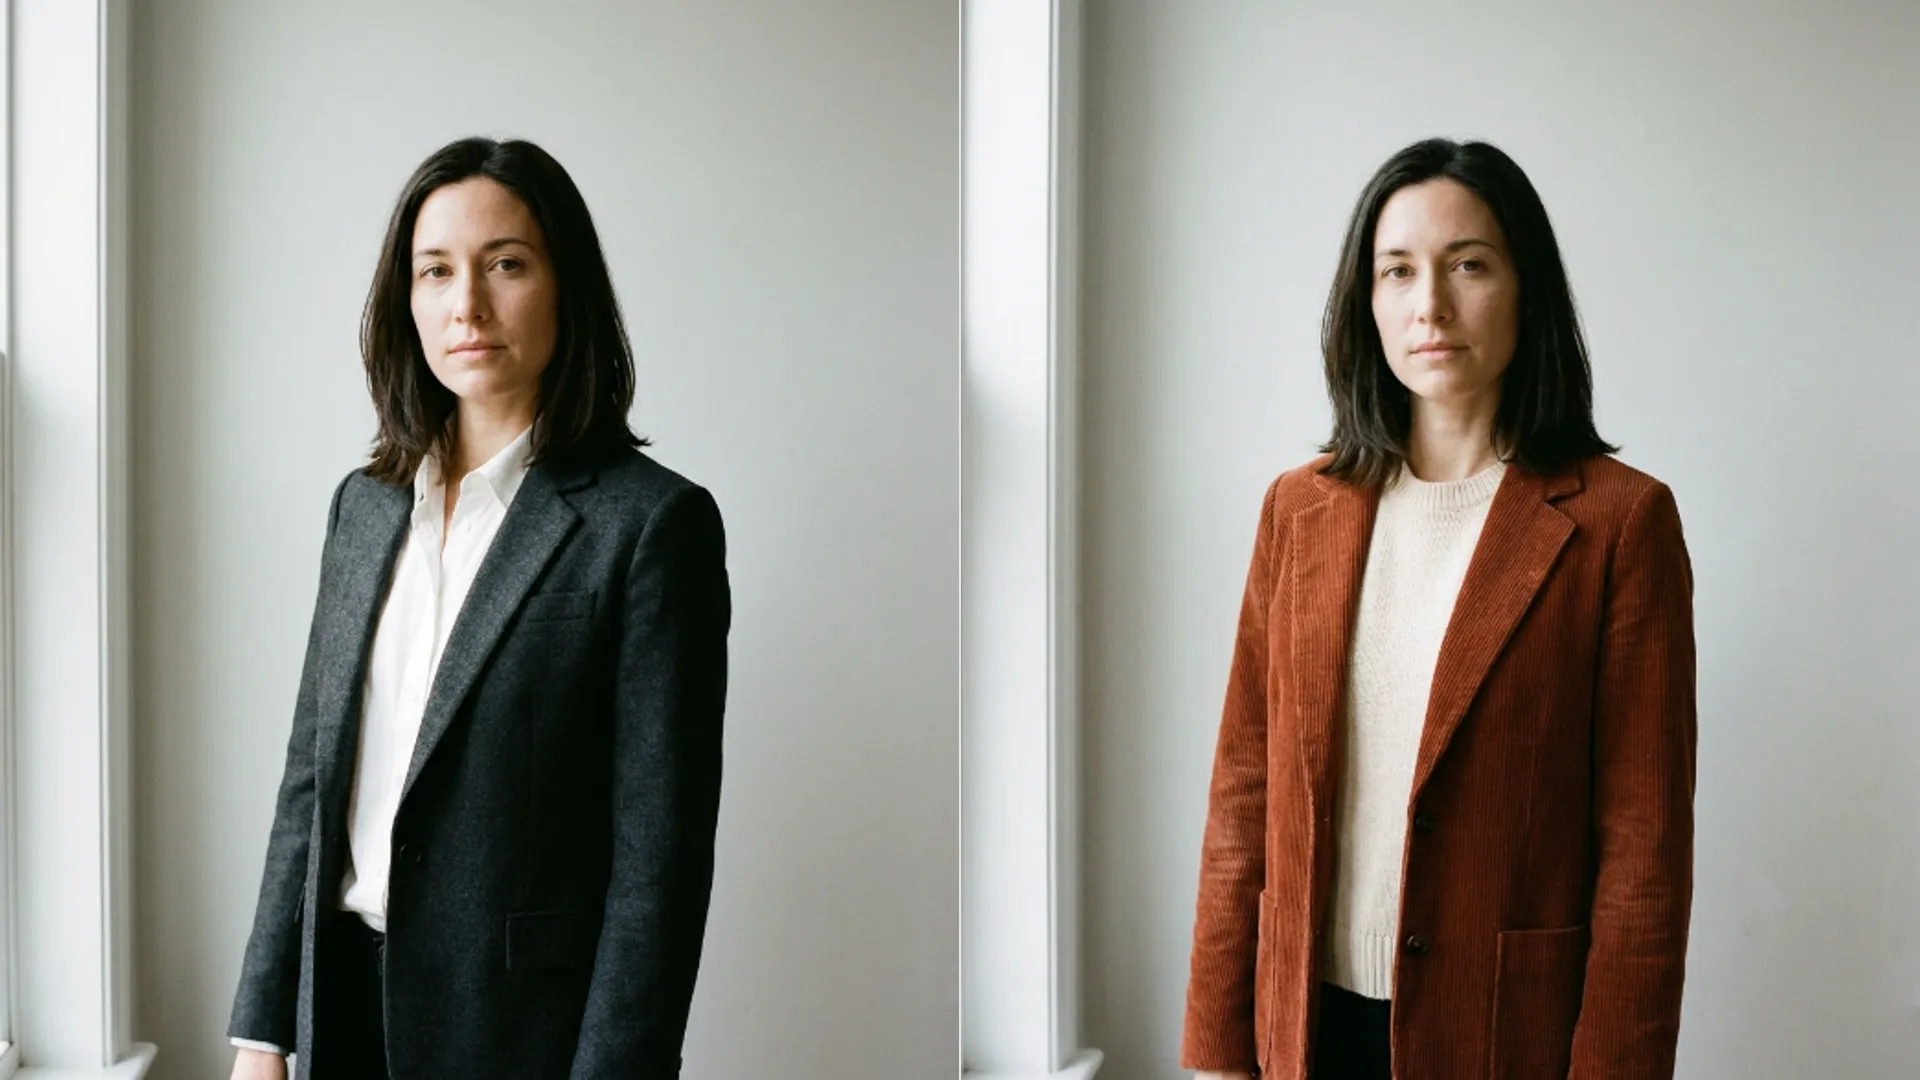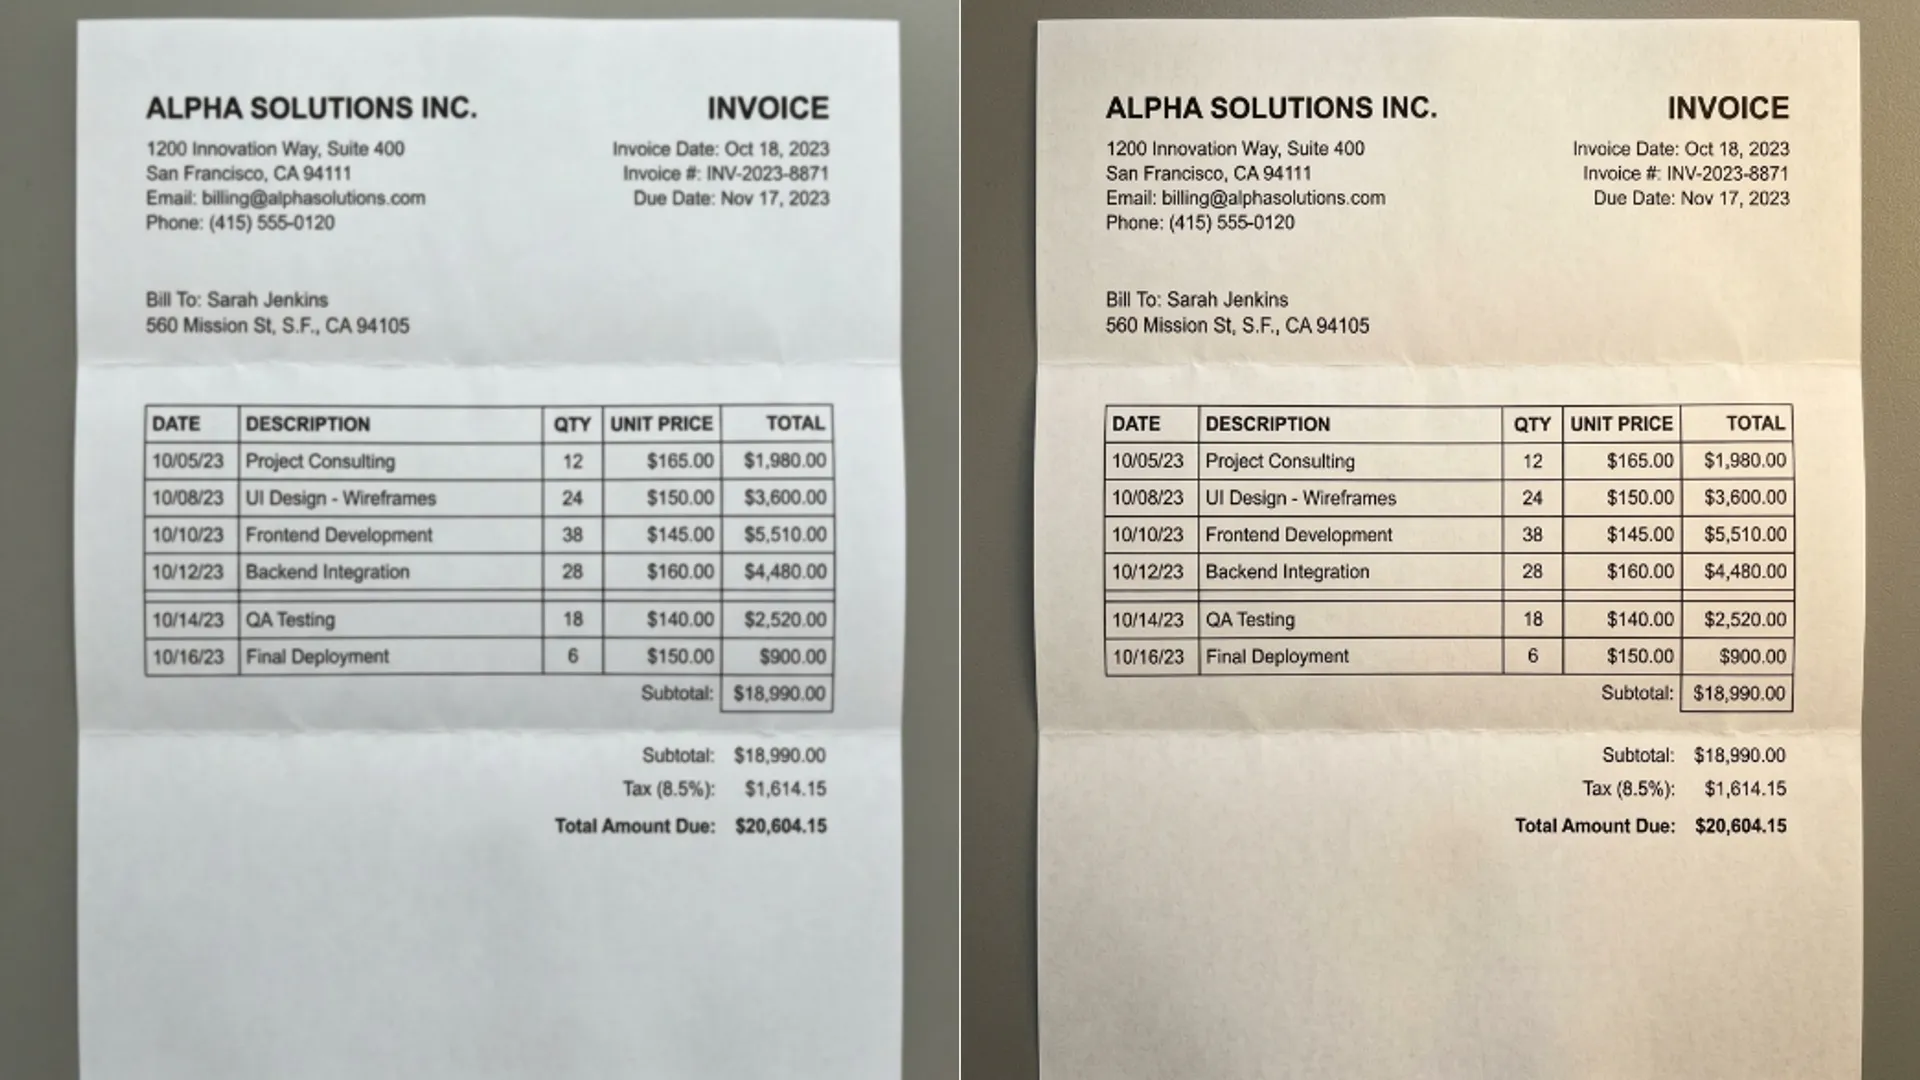
Text Clarifier vs Photo Enhancer
One Picverce AI model rebuilds letterforms and one balances a whole picture. Picking wrong melts your text or costs four times more than it needed to.
RecommendationsThese two are not separate tools. They are two models on the same workspace, and the choice between them is one click.
That one click changes both what you get back and what it costs.
Most people find this out by running a photographed document through the default and getting back something crisp and unreadable.
Trained on different things
The standard model behind the AI Image Enhancer is generalised. It balances landscapes, faces and overall picture quality, and it is the right default for photographs.
Text Clarity, the model behind the AI Text Enhancer, is trained on typography, letters and handwriting instead.
It identifies characters and redraws them. That is a different job from making an image look sharper.
Redrawing is the operative word. The output letters are reconstructed shapes rather than the original pixels made cleaner.
That is why the results can look almost typeset on a page that was genuinely blurry.
Run blurry text through the general model and the letters can melt. It has no concept of a letter, so it smooths what it sees into something that is no longer readable.
Run a portrait through Text Clarity and you get a model chasing straight lines and curves on a face. It is not what that model is for.
Neither model is better. They are pointed at different problems, and a model pointed at the wrong problem does the wrong job confidently.
Traditional sharpening sits in a third category worth naming. It raises edge contrast and adds noise, which makes blurred text look harder without making it readable.
The cost gap is the real decision
A standard pass costs two credits. A Text Clarity pass costs eight.
Four times the price is not a rounding difference, and it is the reason to be deliberate rather than running both every time.
So the question is simple. Is reading something the point of this image?
Not whether there is text in it. Whether reading that text is why the image exists.
If somebody has to read an invoice number, a contract clause, a receipt total or a handwritten note, pay the eight.
If the image happens to contain a sign in the background but nobody needs to read it, pay the two.
There is a middle case that catches people. A photo where the text matters and the picture also matters, like a product shot with a label.
Run Text Clarity there and accept that the rest of the image gets attention it did not need. Readability is usually the thing being paid for.
When I ran a photographed delivery note both ways, the standard pass gave me a sharper looking page where the order number was still unreadable. The Text Clarity version was legible and that was the only thing I wanted.
That is the pattern to expect. The general model improves how a page looks and the specialist model improves whether you can use it.
What Text Clarity handles
The job it was built for is narrower than people expect and wider in one direction.
- Scanned pages and documents, where it rebuilds letterforms and lifts contrast against the paper.
- Invoices, contracts and faded receipts. These are the cases it is recommended for.
- Handwriting as well as print. It reconstructs strokes and curves, not just typed characters.
- Screenshots and photographed screens, where compression has chewed the text.
Handwriting has a condition attached. It works when the writing is still legible to a human but blurred or pixelated in the photo.
Photographed screens deserve a mention of their own. A screenshot forwarded through several apps collects compression that eats small text specifically.
Illegible handwriting stays illegible. The model reconstructs a blurred stroke, it does not read intent.
A useful test before spending anything is whether you could read it if the photo were simply in focus. If the answer is no, the pass will not help.
Neither model adds a mark of its own, and both return the image at the resolution you uploaded.
The limit nobody mentions
It cannot recover text that has been destroyed.
This is the question the tool gets asked most and the answer does not change.
Heavily redacted, blacked out or deeply blurred text is gone. The letter data is not in the file any more, so nothing can rebuild it.
That distinction is worth being precise about. Pixelated, low resolution and out of focus text still contains the letters in a degraded form, and that is recoverable.
Text deliberately obscured to hide it is not degraded, it is removed. No model gets it back.
If your source is that far gone, the honest answer is to find the original document rather than spend eight credits confirming it.
People do try, and it is easy to see why. A blacked out line looks like damage and damage is what these tools fix.
The difference is that damage leaves a degraded version of the letters behind. Redaction leaves nothing at all where they were.
What a pass keeps and what it throws away is the same question that decides a sketch result, and that version of it is in where sketch drops halftone and noise.
Ask whether anyone needs to read it. That answers the model and the price in one go.