Outfit Generator vs Hairstyle Studio
Two Picverce AI tools that both cost 4 credits and both keep your face intact. Which one you should open depends entirely on what you want changed.
RecommendationsThese two tools look almost identical from the outside. Same upload, same right hand rail, same 4 credit charge, same promise that your face survives.
The difference is entirely in what each one is allowed to touch.
The split is clothes against hair
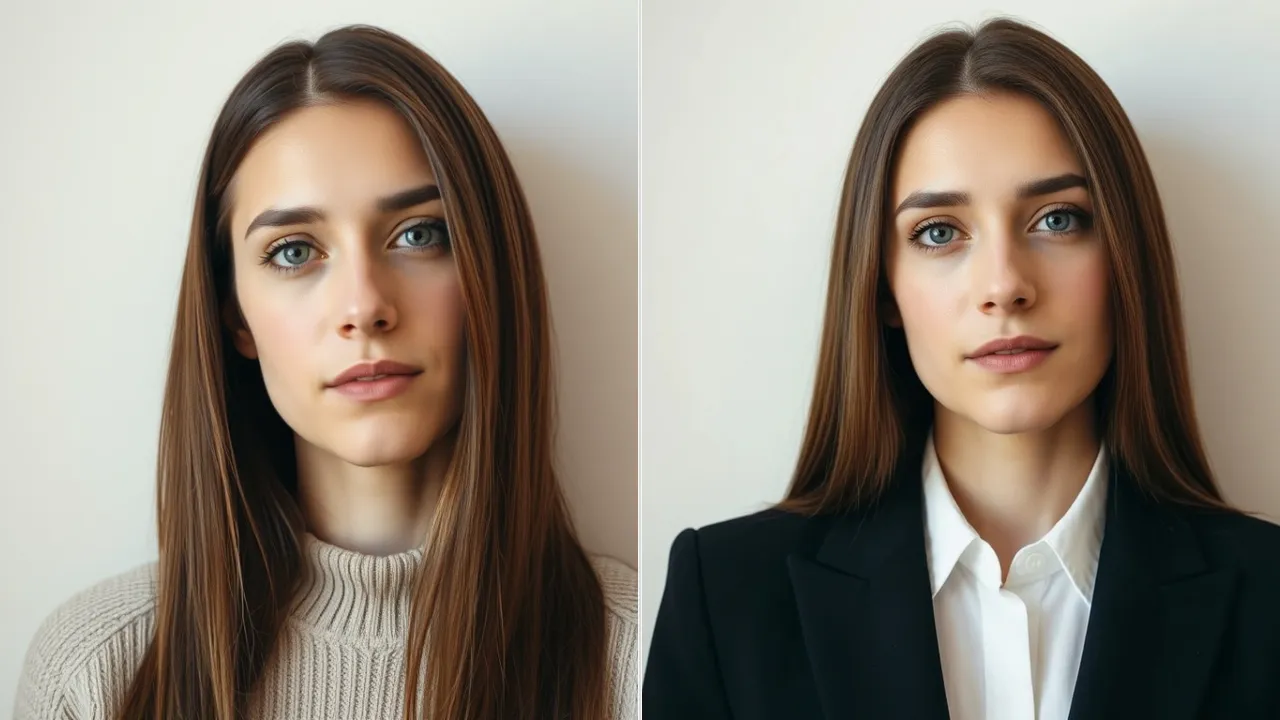
The instruction packaged with your photo is what separates them. The AI Outfit Generator names a garment and tells the model to leave hair, face and background alone.
The hairstyle side does the mirror image of that. The AI Hairstyle Changer names a cut and a colour, and tells the model the clothing is not its business.
Neither will do the other job as a side effect. Asking the outfit tool for a bob by picking a preset that happens to show short hair on the card does nothing, because the card sends a garment name.
If one tool holds a face well on your photo, the other usually will too, because both use the same preservation language around the face and body. If one drifts, do not expect the other to rescue it.
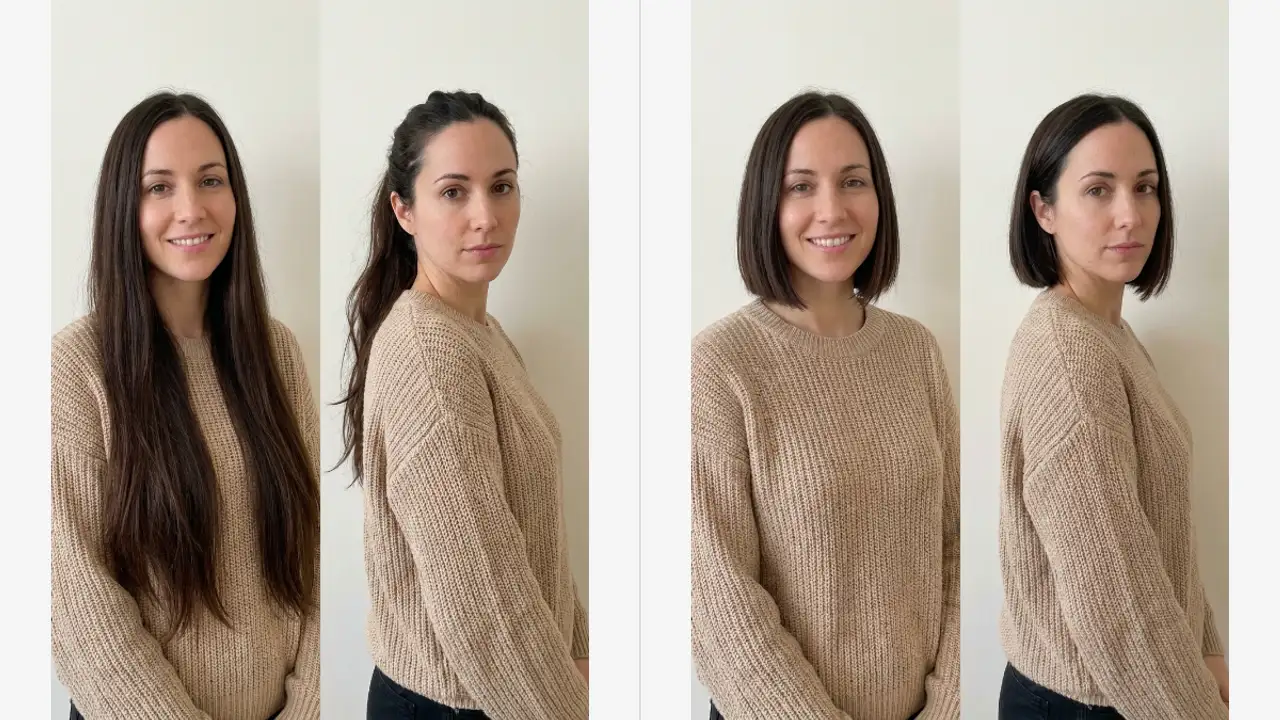
What each library actually offers
The catalogs are not the same size, and that shapes what each tool is good for.
- Outfit: 36 presets, 5 garment scopes, up to 3 colour slots, 15 named colours.
- Hairstyle: 95 cuts, 30 colours, one selection at a time.
- Both add No change and Random on top of their lists.
- Both cost 4 credits per apply and write the result to your history.
The hair library is broader in one dimension. The outfit library is narrower but layered, because scope and three colour slots multiply what 36 cards can produce.
Outerwear scope is the clearest example. Leather jacket over your existing shirt is a different result from leather jacket as a full outfit, from the same single card.
The hairstyle side has no equivalent of scope. A cut is a cut, and the colour is one selection rather than a set of zones.
That makes the hair tool faster to use and the outfit tool more controllable. Which of those you want depends on whether you are exploring or aiming at something specific.
Which one to open first
The decision is usually settled by what is actually visible in your photo.
A head and shoulders portrait has hair filling a third of the frame and almost no garment. Open the hairstyle tool, because the outfit tool has nothing to work with.
A full length or waist up photo is the reverse. Clothing dominates and a hair change will read as a small detail at that size.
For a profile picture I now go hair first. It carries more of the impression at small sizes than a jacket does.
For anything work related, clothes first. A blazer changes how a photo reads on a company page more than a new parting will.
A salon consultation is the one case with no ambiguity at all. Ninety five cuts against thirty colours is a real board to choose from, and no garment preset contributes anything to that conversation.
Shopping decisions run the other way. If you are deciding whether a trench coat suits you, the hair tool has nothing to offer.
Running both on one photo
You can chain them, and the order barely matters since neither disturbs the other region.
What does matter is that the second run takes the first run output as its input. Any small drift in the face from run one gets carried forward and drifted again.
When I tried this on a half length photo the face held up fine across both passes. The background moved slightly on the second one, a picture frame on the wall shifted a few pixels left.
Budget 8 credits for the pair, and decide which change matters more before you start. If the result after the second run looks worse, go back to the history entry from the first one rather than running a third.
Chaining is also the only way to get both changes, since there is no combined studio that does clothes and hair in a single pass.
When neither is the right tool
Both tools regenerate the person. If what you need is a repair rather than a restyle, you are in the wrong place.
A blurry photo does not become sharp by getting a new jacket. Fix focus first, with a cleanup or sharpening pass, then restyle the clean version.
The same ordering logic applies here as anywhere else on the site, and it is spelled out in enhancer or upscaler which one to run first.
And if you want a specific garment rather than a category, neither tool will get you there. Presets are categories by design, and no amount of re running produces a jacket that was not in the list.
Group photos are the other honest limit. Both tools were built around one subject, and a second person in frame gets treated as part of the scene rather than as someone to restyle.
Crop to one person first if that is what you need. It costs nothing and it removes the ambiguity before the model has to guess who you meant.