Picverce AI Outfit Generator presets and scopes
Every outfit preset, garment scope and colour slot in the Picverce AI Outfit Generator, what a run costs, and the photos it quietly refuses to restyle.
GuidesThe Outfit Generator does not take a written prompt. You pick from a fixed list, and that list is the entire vocabulary the tool has.
That choice runs deeper than it looks. The AI Outfit Generator sends a preset name to the model rather than your sentence, and the server checks that name against an allow list before anything reaches a GPU.
So the useful skill is reading the list properly. Here is what is actually in it.
What the preset list actually holds
Thirty six presets ship in the catalog. Two more entries sit above them, No Change and Random, and those two behave differently from everything else.
No Change leaves the garment alone, which is how you test a colour swap without replacing anything. Random picks a preset for you.
Each preset carries a gender tag that decides whether its card appears in the grid. Twenty three are tagged for everyone. Eight show only under the women filter, five only under men.
- Women only: evening dress, cocktail dress, wedding guest, summer sundress, yoga set, midi skirt look, soft pastel look, red carpet gown.
- Men only: tuxedo, polo and chinos, henley and jeans, flannel shirt, varsity jacket.
- Shared: the other twenty three, including office suit, streetwear, leather jacket, dark academia and old money.
The filter is a display rule. Switching it changes which cards you can see, not what the model is willing to accept.
Preset names double as URLs. Every entry has a kebab case slug, so office suit has a page of its own and a link ending in a style parameter opens the studio with that card already selected.
The style parameter accepts either form. Both the display name and the slug resolve to the same card, and anything that matches neither is dropped rather than passed through.
That is why the carousel on the landing page can hand you straight into the studio with a preset live. The card you tapped is encoded in the link, so there is no second selection step.
When I first opened the studio I spent a couple of minutes hunting for a text box. There is not one. Once that landed the tool got easier to use rather than harder, because there is nothing to phrase badly.
The tradeoff is real though. A preset named leather jacket gives you a leather jacket, not the specific cropped biker jacket you had in mind, and there is no wording you can add to steer it closer.
Random is more useful than it sounds for exactly that reason. When you do not have a target in mind, three random runs tell you more about the tool than reading all thirty six labels does.
Garment scope decides what gets replaced
Scope separates a small edit from a full restyle, and it is the setting most people scroll past.
Five values exist, and every preset arrives with one already attached to it.
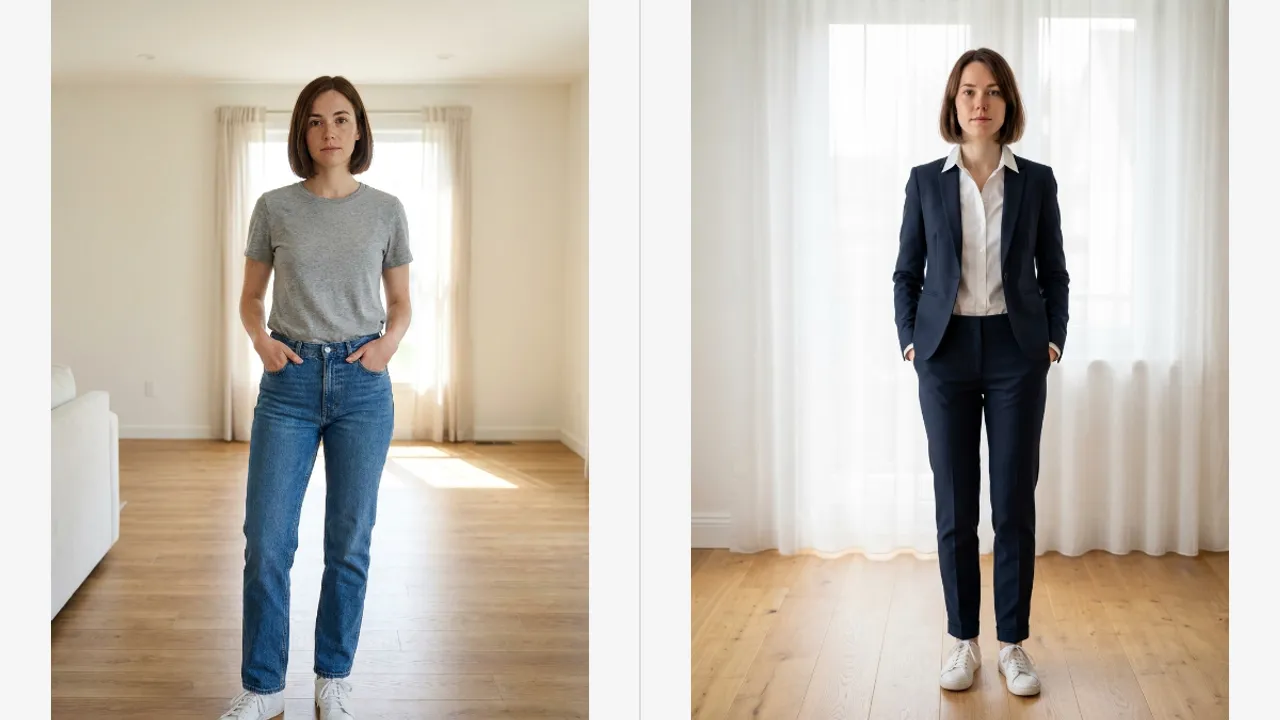
- Full outfit, twenty one presets. Replaces the top, the bottom and any layer worn over them.
- Outerwear, six presets. Replaces only the jacket or coat. What sits underneath stays visible wherever it already showed.
- Dress, four presets. Replaces a separate top and bottom with one piece.
- Top, four presets. Shirt, tee, sweater or hoodie only. Trousers, skirt and shoes are untouched.
- Bottom, one preset. Trousers, jeans or skirt only.
Wide leg trousers is the only card that ships as a bottom preset, which makes it the one to reach for when the shirt in your photo is already right.
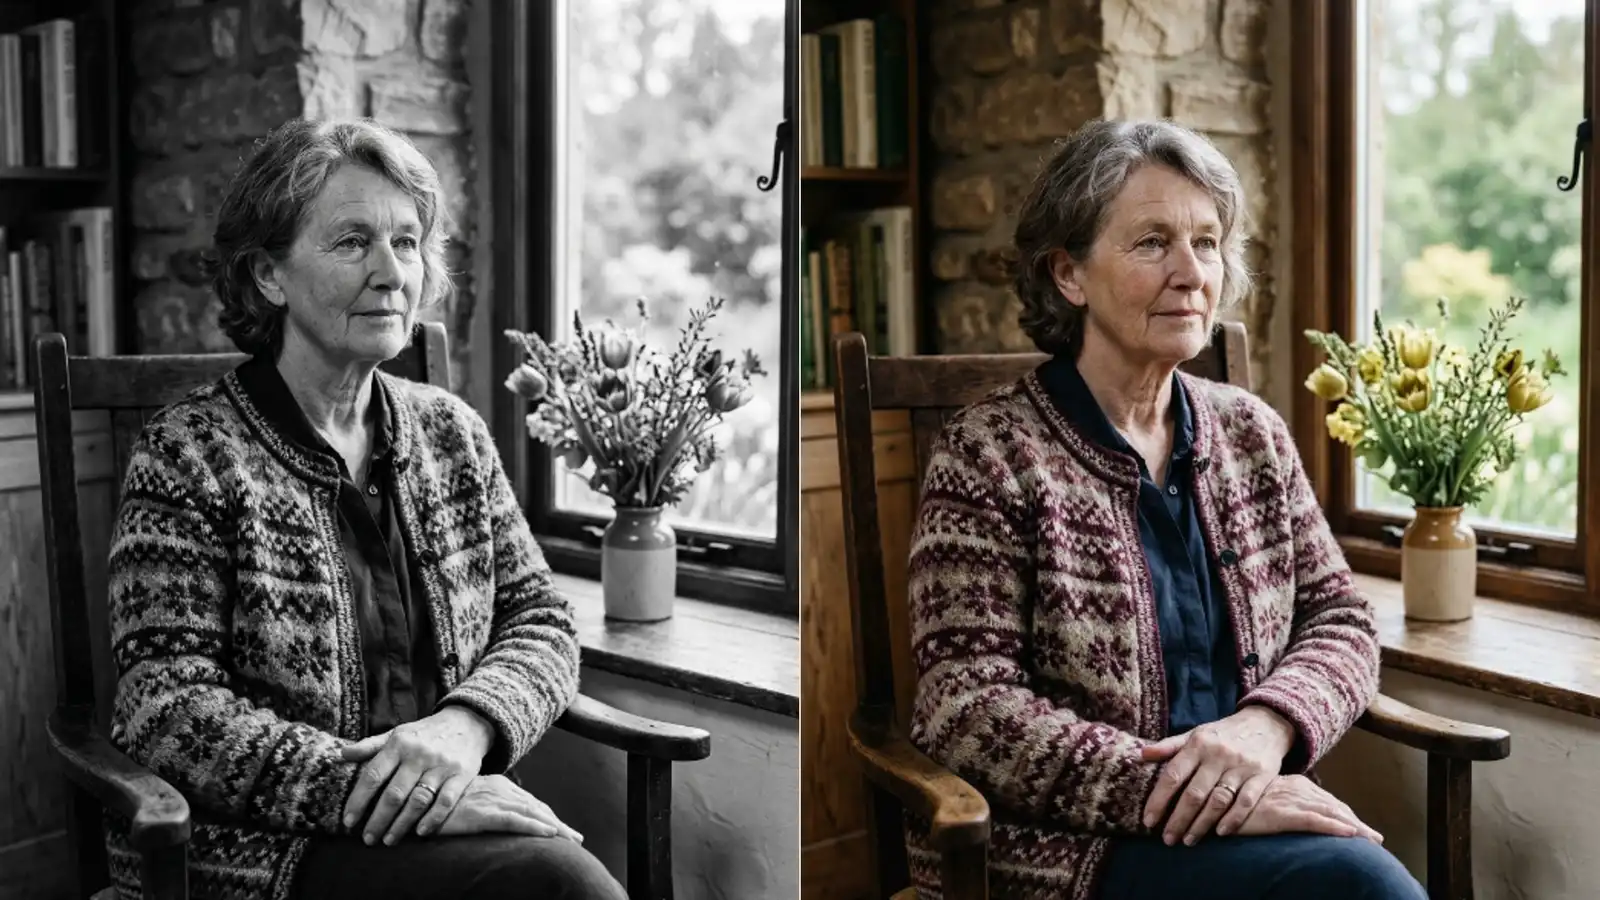
Outerwear is the scope worth understanding properly. Pick leather jacket and the white tee in your photo survives the run, because the instruction sent with your image names the outer layer specifically and tells the model to leave the garments beneath it alone.
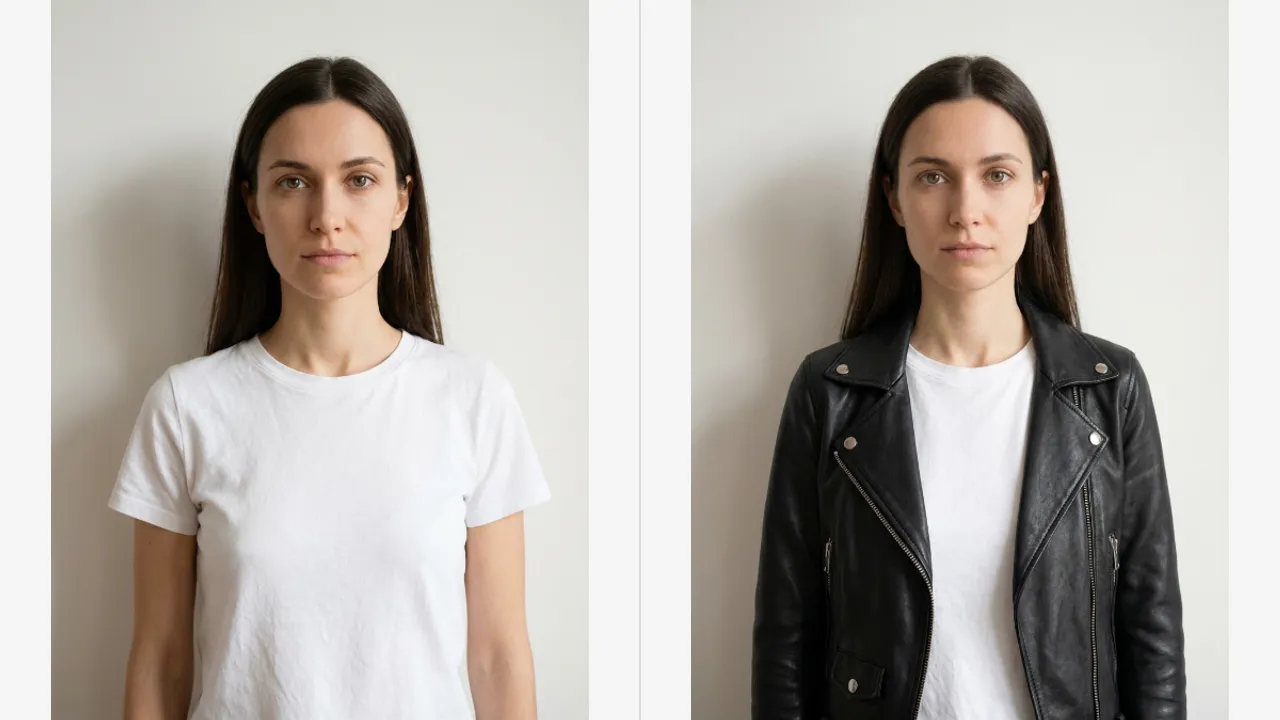
You can override the scope after choosing a card. Pick office suit, then switch scope to Top, and you get the jacket and shirt while the trousers stay as they were.
That combination is the one I use most. A full outfit run on a seated photo often has to invent legs it cannot see, and a top scope run simply does not have that problem.
The server clamps anything unexpected. Send a scope it does not recognise and it falls back to full rather than erroring.
Each scope carries its own wording in the instruction sent to the model, and the wording is specific rather than a label. Top scope literally says trousers, skirt and shoes stay exactly as they are.
That is worth knowing because it explains the results you get. The model is not inferring what you meant from a one word setting, it is being handed a sentence about which garments are off limits.
How the three colour slots map onto a garment
Colour is not one dropdown. Three slots exist, and how many you can switch on depends on the scope you are working in.
Primary is always live. Secondary and Accent appear as you raise the slot count from one to two to three.
Full outfit, dress and outerwear allow all three. Top and bottom allow two, because a single garment has no meaningful third zone.
What each slot controls changes with scope, and the rail prints that mapping under each label rather than making you guess.
- Full outfit: main fabric, then the top or upper layer, then the trousers or skirt.
- Dress: bodice, then skirt, then trim, belt or sash.
- Outerwear: jacket shell, then the inner layer visible at the collar, then trim and piping.
- Top: shirt or sweater body, then collar and cuffs.
- Bottom: trousers or skirt, then belt and pockets.
Fifteen named colours are available in every slot, alongside No change and Random. Black, white, navy, beige, gray, brown, red, burgundy, pink, green, olive, blue, light blue, cream and gold.
There is no hex field. If you need an exact brand colour matched to a swatch, this is not the tool that will do it.
Dropping from three slots back to a top scope does not scramble your choices. The count clamps to two and the third slot simply stops being sent.
Leaving a slot on No change is a real option rather than a non answer. Primary set to navy with Secondary left alone recolours the main fabric and lets the model keep whatever it would have picked for the rest.
Two colours on an outerwear run is the setting that surprised me. A navy shell with a cream collar reads as a real garment in a way a single flat colour usually does not.
Three colours on a full outfit is where it starts to look costumed. The model does what you asked, and what you asked for is three competing colours on one person.
One or two slots covers almost everything. I have only found the third genuinely useful on dresses, where a contrasting sash is a normal thing for a garment to have.
What a run costs and what it takes in
Every apply costs 4 credits. That is the same as a hairstyle run and double a standard cleanup pass.
Credits come from one shared pool, so an afternoon of trying outfits competes with everything else you run that day. The same arithmetic is laid out in how the Picverce AI Image Enhancer actually works.
Uploads are capped at 10 MB on the server. JPEG, PNG, WebP and GIF pass. Anything else is refused before a model is called.
Aspect ratio has eight settings. Auto keeps your framing, and the rest are 1:1, 16:9, 9:16, 4:3, 3:4, 3:2 and 2:3.
Each apply sends a long preservation block with your photo, weighted toward keeping the nose shape, the bridge width, the body proportions and the posture fixed while only the garment changes.
Auto is the ratio I leave alone. Forcing 1:1 on a full length photo crops legs out of frame, and no preset repairs that afterwards.
The one time a fixed ratio earns its place is when you already know the destination. A profile picture is going to be cropped square by the site anyway, so choosing 1:1 lets you see the crop that will actually be shown.
Results write a row to your history with both the original and the new version, so you can compare two presets later without re running either of them.
History is worth using deliberately here. Presets are cheap to compare and expensive to re run, so a session where you try five cards leaves you five saved results to choose between rather than a memory of the third one.
Where it gets things wrong
The honest failure list is short, but every item on it is real.
Hands holding an object confuse it. A phone or a mug near the torso sometimes ends up partly absorbed into a sleeve.
Tight crops leave it nothing to do. A head and shoulders photo has almost no garment in frame, so a full outfit preset has nothing to replace and the result barely moves.
Busy backgrounds drift a little. The instruction says keep the scene, and mostly it holds, but a crowded bookshelf behind someone can rearrange between two runs of the same preset.
A preset name the server does not recognise falls back to smart casual instead of failing loudly. If you hand built a style link and got a generic result, that is the reason.
Colours behave the same way. A colour the allow list does not carry becomes No change rather than an error, so a typo in a slot shows up as a run that ignored your colour.
Loose or draped clothing is harder than structured clothing. A tailored blazer has edges the model can commit to. A flowing scarf has none, and it tends to come back simplified.
And if the thing you wanted changed was the hair, this is the wrong door entirely. The AI Hairstyle Changer carries ninety five cuts and thirty colours, and it bills the same 4 credits per run.
Pick the tool by the thing you want moved. The outfit tool is deliberately narrow, and that narrowness is exactly why the face comes back intact.