Restore a faded school portrait
Seven steps for bringing a washed out school photo back, from the phone capture through to the restore run, and how to decide about color afterward.
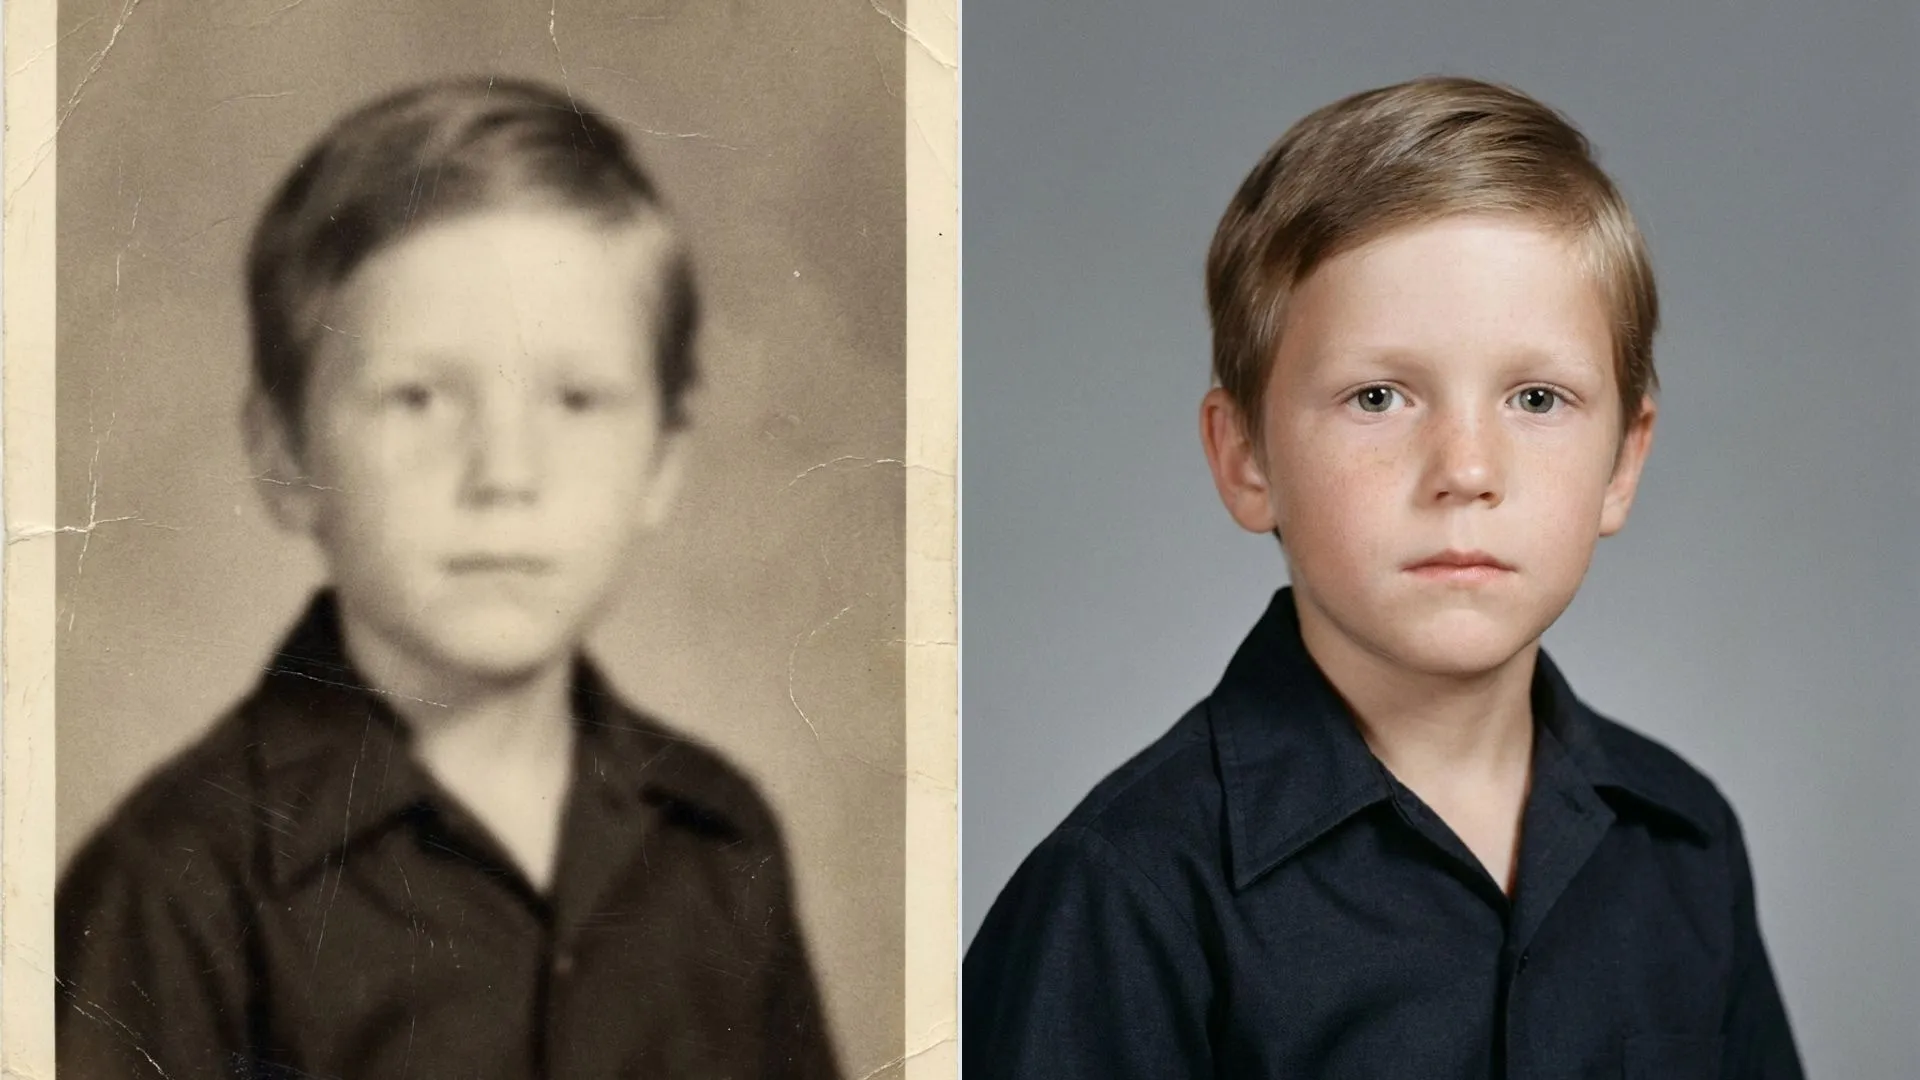
TutorialsSchool portraits age badly in a specific way. The paper yellows, the contrast flattens, and the face slowly loses the separation between skin and background that made it a portrait in the first place.
My mother handed me a stack of them last spring. Four had faded to the point where the eyes were hard to find, and one had a crease across the shoulder from decades in a drawer.
Here is the sequence that worked on all five, in the order that mattered.
Get the capture right first
Step one photograph or scan the print
Lay the print flat, near a window, with the light coming across it rather than straight at it. Hold the phone parallel to the paper and fill the frame with the print.
A flatbed scan at 600 dpi is better if you have one. Either way, the capture sets the ceiling for everything that follows.
Step two crop the border away
Crop out the table, the white paper margin, and any deckled edge before you upload. Those pixels carry no information about the face and they make the file larger for nothing.
Cropping also raises the proportion of the frame the portrait occupies, which is the thing the pass actually has to work with.
Step three check the file size
Uploads are capped at 5 MB and the picker takes JPEG, PNG, WEBP and HEIC. A phone photo lands under that easily. A 600 dpi scan of a full page often does not.
If a scan gets rejected, re export it at slightly lower quality rather than dropping the resolution. Quality costs you less than pixels do here.
Run the restore pass
Step four pick Photo Restore and run once
Open AI Photo Restore and upload the cropped file. Photo Restore is already selected on this page, it has no extra toggles, and a run costs 4 credits.
The pass rebuilds contrast, pulls back detail in the flattened midtones, and cleans the small speckling that scanning tends to pick up from old paper.
On the creased print, the fold softened noticeably but did not vanish. That matched what I expected, since a crease is missing emulsion rather than faded emulsion.
Step five compare before you download
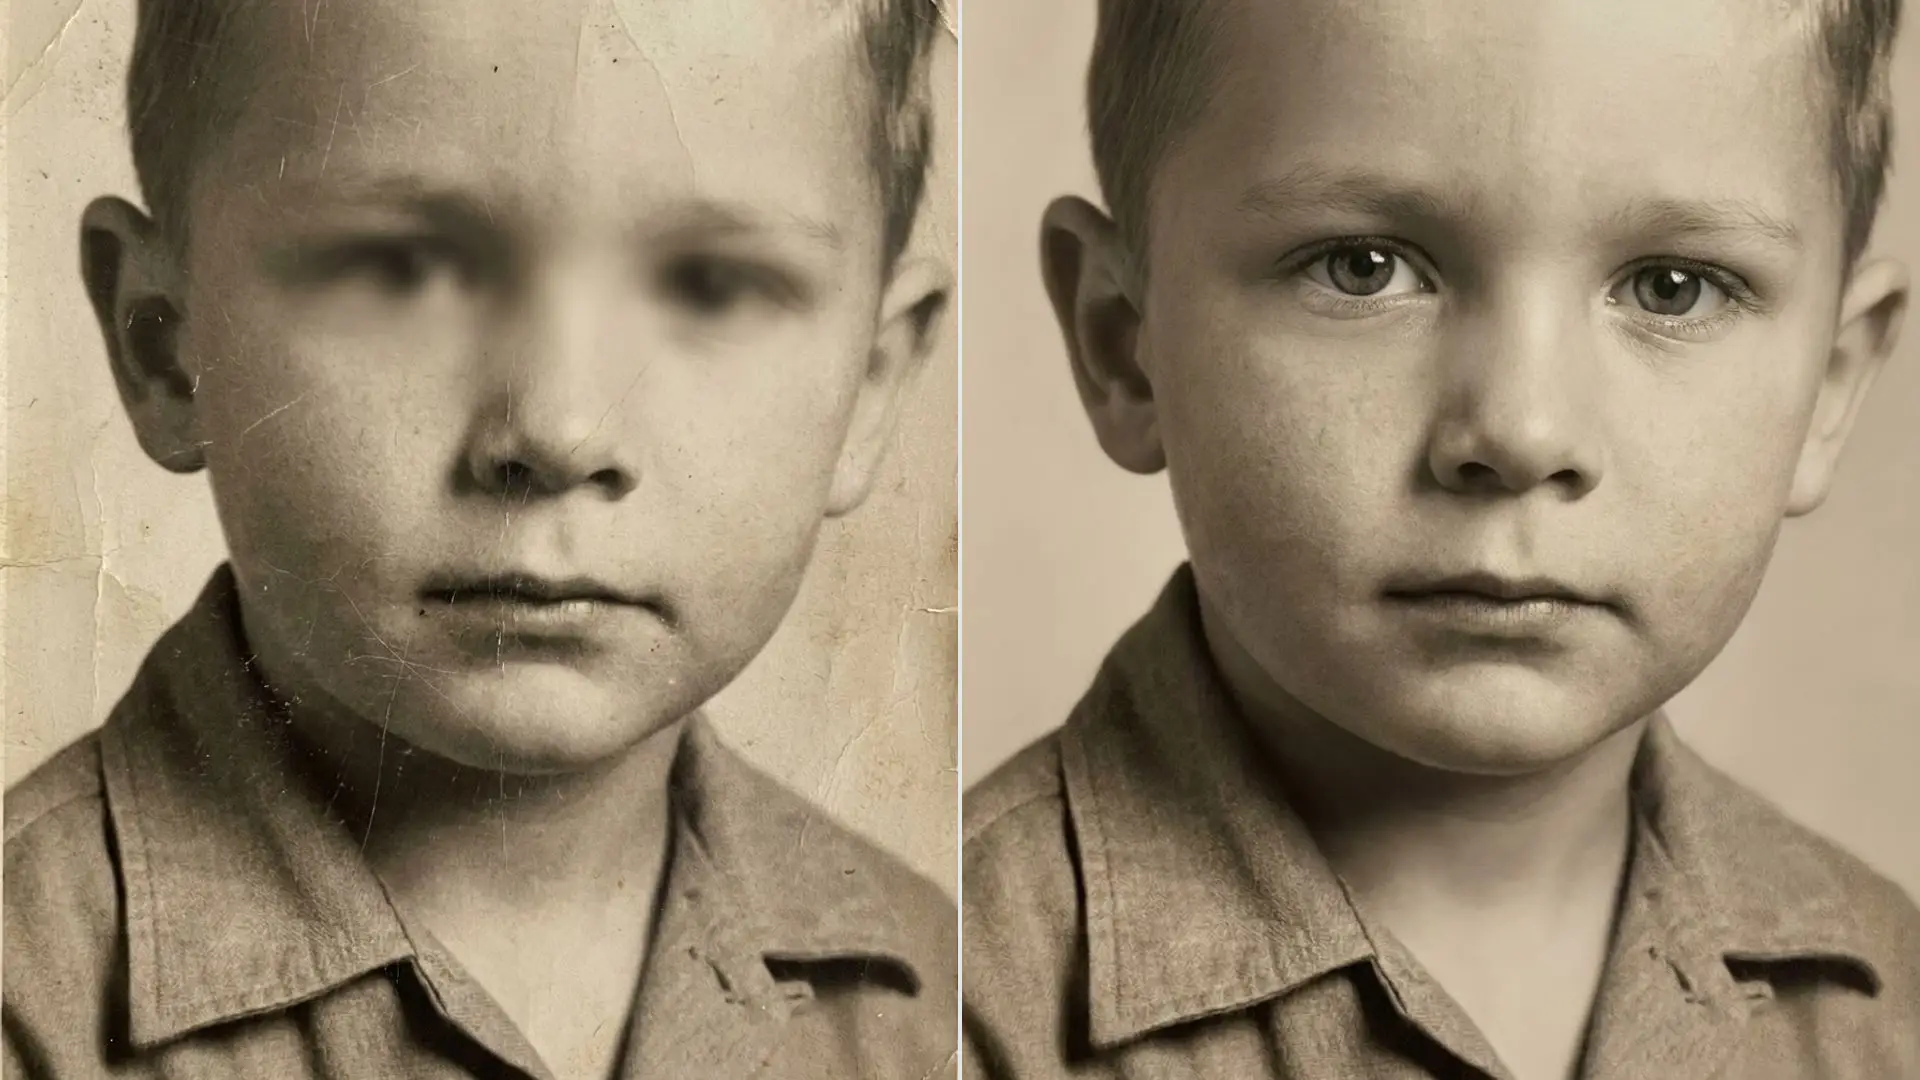
Drag the before and after slider slowly across the eyes and the hairline. Those two areas tell you more about a restore result than the whole rest of the frame put together.
What you are checking for is whether the face gained real definition or just gained contrast. A face that only gained contrast looks harsher rather than clearer, and that is the result worth rejecting.
On two of my five, the first run was obviously right. On one, the contrast lifted but the eyes stayed vague, which told me the print itself had lost too much to recover.
Decide about color afterward
Step six work out what kind of fade you have
Two different things get called a faded school photo, and they need opposite decisions.
A black and white portrait that has gone flat and yellow is a candidate for color. A color portrait whose dyes have shifted toward orange is not, because the color is still there and it is the balance that failed.
Step seven colorize only the black and white ones
For the genuinely monochrome prints, run the restored file through AI Image Colorizer at 3 credits, so the full sequence on one photo comes to 7.
Feed it the restored file, never the original. Color guessed on top of scratches and fading picks up a cast of its own that is harder to spot and harder to undo.
Skin tones came back convincingly on all three of mine. The school jumper came back a shade of blue that was not the school color, which is the sort of thing the tool has no way of knowing.
That guessing behaviour is worth understanding before you show a result to family. Scan and restore a family print covers the scanning half of this job in more detail if your print is larger than a school portrait.
What to expect from the whole run
- Faded contrast and yellowed paper come back well, and this is the most common school portrait problem by a wide margin
- Soft focus from the original camera does not come back, because it was never recorded sharply in the first place
- Creases and tears soften but stay visible, since the paper itself is missing rather than dulled
- Colorizing a restored black and white print gives plausible skin and hair, and unreliable answers for uniforms and badges
Four credits for the restore and three more for optional color is cheap enough that the guesswork is in the capture, not the budget. The free plan refills 10 credits a day, so one full sequence fits comfortably in a day.
Save the restored file separately from the original scan. I overwrote one of mine on the first pass and had to go back to the drawer for the print, which is a mistake you only make once.