Skin sky and fabric guesses the colorizer makes
What the Image Colorizer actually knows about color, where its skin, sky, and fabric guesses go wrong, and why restoring damage first changes the result.
Image EditingA black and white photo has no color information left in the file. Everything a colorizer adds is a guess built from what similar objects usually look like, not a memory of what was actually there.
That is true of Image Colorizer too, and knowing which parts of a photo it can guess well helps explain why some results look right and others need a second look.
What it recognizes and colors well
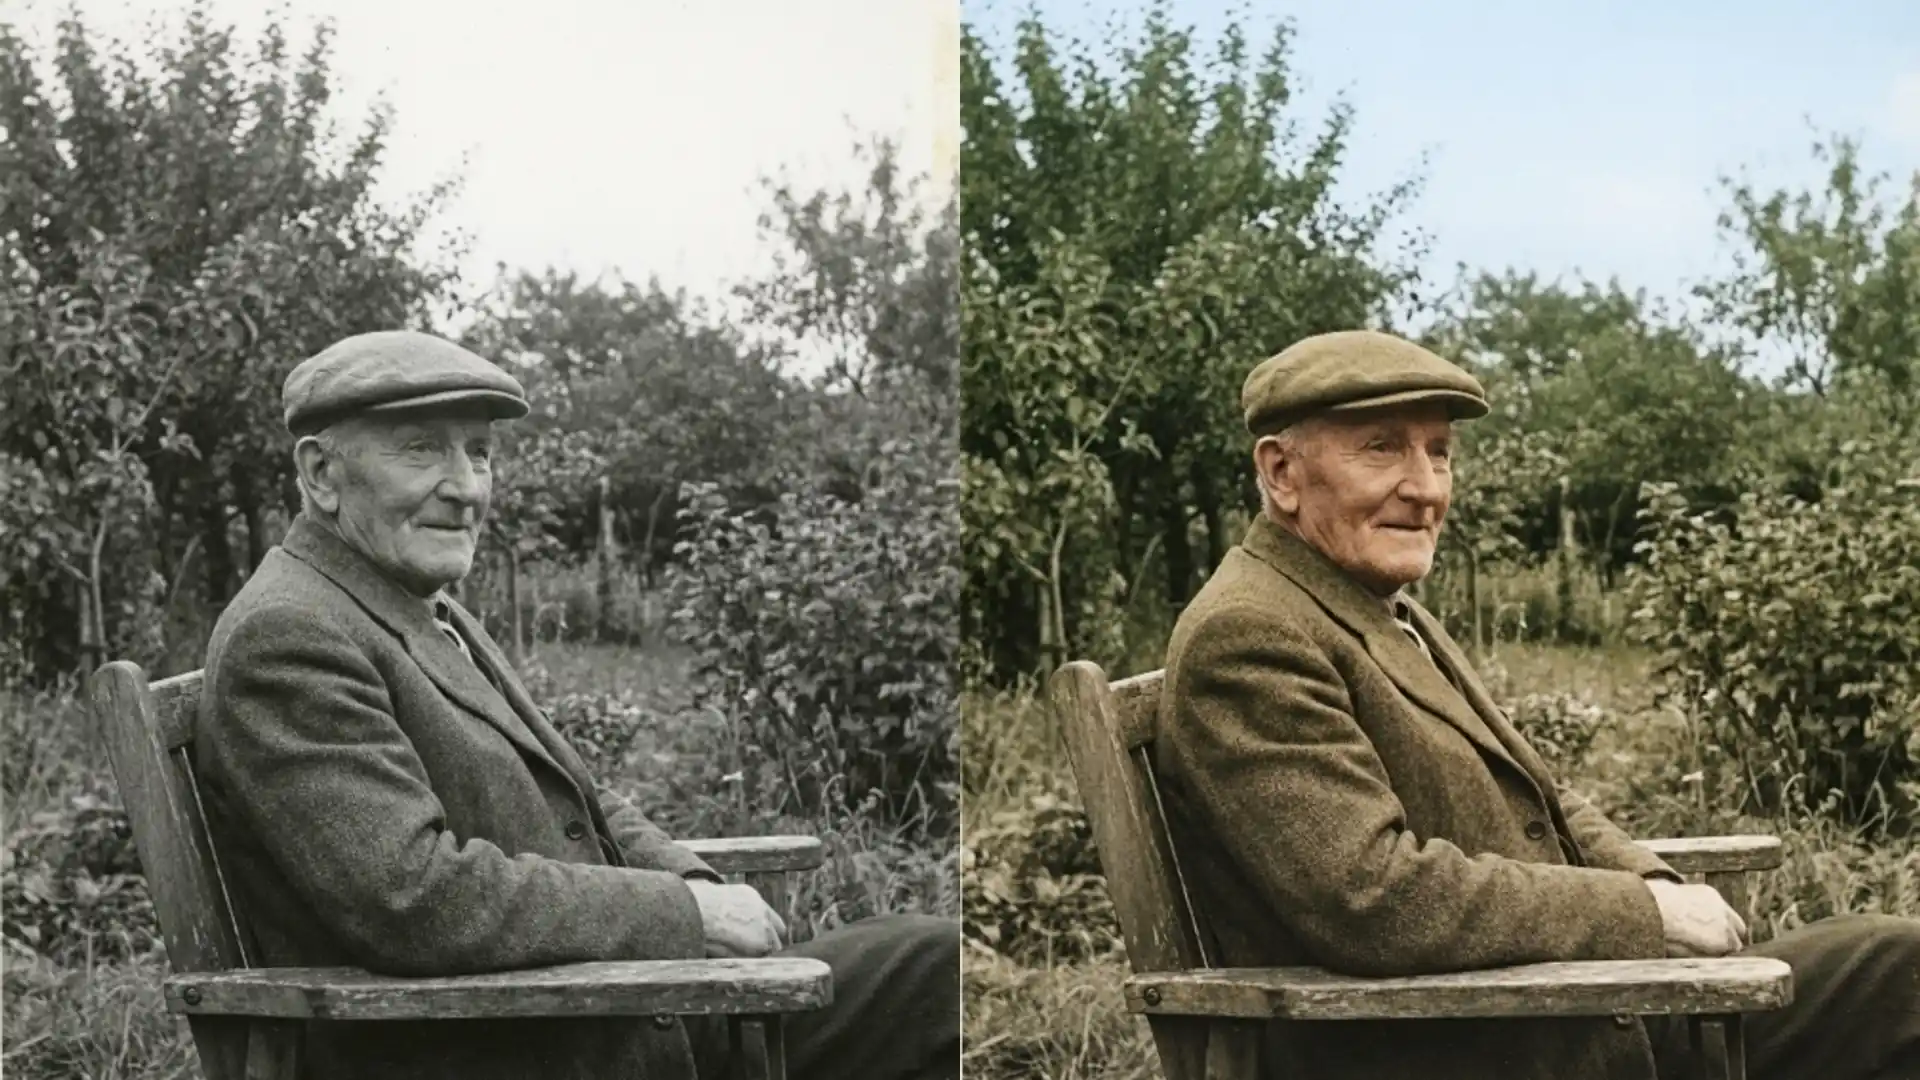
The tool reads a black and white photo for context clues. Sky, vegetation, skin tones, and clothing are the categories it identifies most reliably, since those objects tend to fall into a narrow, predictable color range across most photos.
Sky nearly always comes back some shade of blue or grey, which is usually correct since sky mostly is. Vegetation lands on green with high consistency for the same reason.
Wood, brick, and stone follow a similar pattern. Materials with a narrow real world color range give the tool less room to guess wrong, so a porch railing or a brick wall in the background usually looks convincing without a second thought.
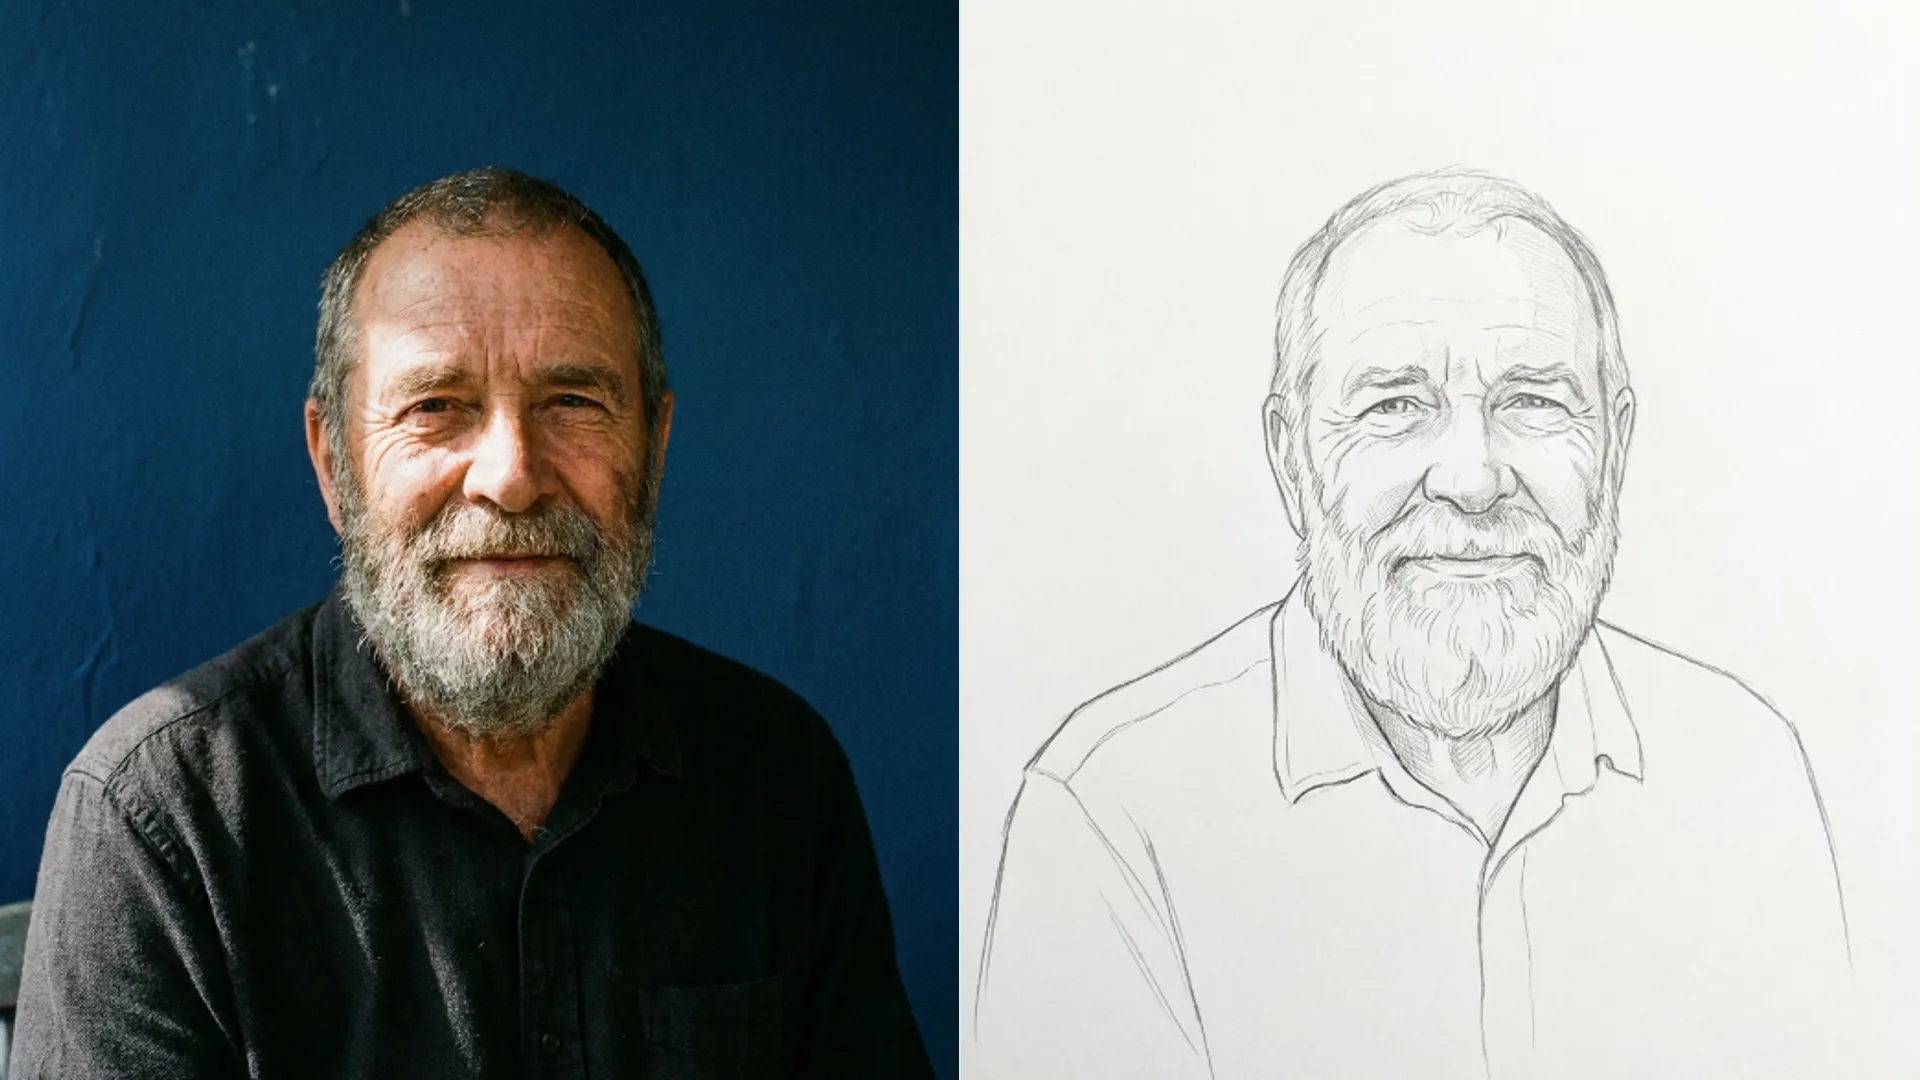
Skin tones follow a visible pattern too. On a portrait with good contrast, the result generally reads as natural rather than the flat orange wash that gave early colorizing tools a bad name.
Where the guessing breaks down
Anything with a specific, non obvious original color is a guess dressed up as an answer. A dress that was actually burgundy has no way to read as burgundy from a grayscale file, since burgundy and forest green can produce nearly identical grey values.
Uniforms and flags are the clearest failure case I have run into. A military uniform, a sports jersey, or a flag carries color that means something specific, and the tool has no way to know which specific meaning applies to a plain grey shape in the photo.
I ran an old photo with a flag in the background once and the result colored it in a plausible but factually wrong combination. It looked fine at a glance and was wrong to anyone who actually knew which flag it was supposed to be.
Cars are a smaller version of the same problem. A specific make and year had a specific factory color, and a colorizer has no record of that fact, only a plausible guess drawn from cars in general.
Painted signs, branded packaging, and anything with a known logo color run into the same wall. The tool has never seen the original and is not aware a specific answer even exists.
Restore before you colorize
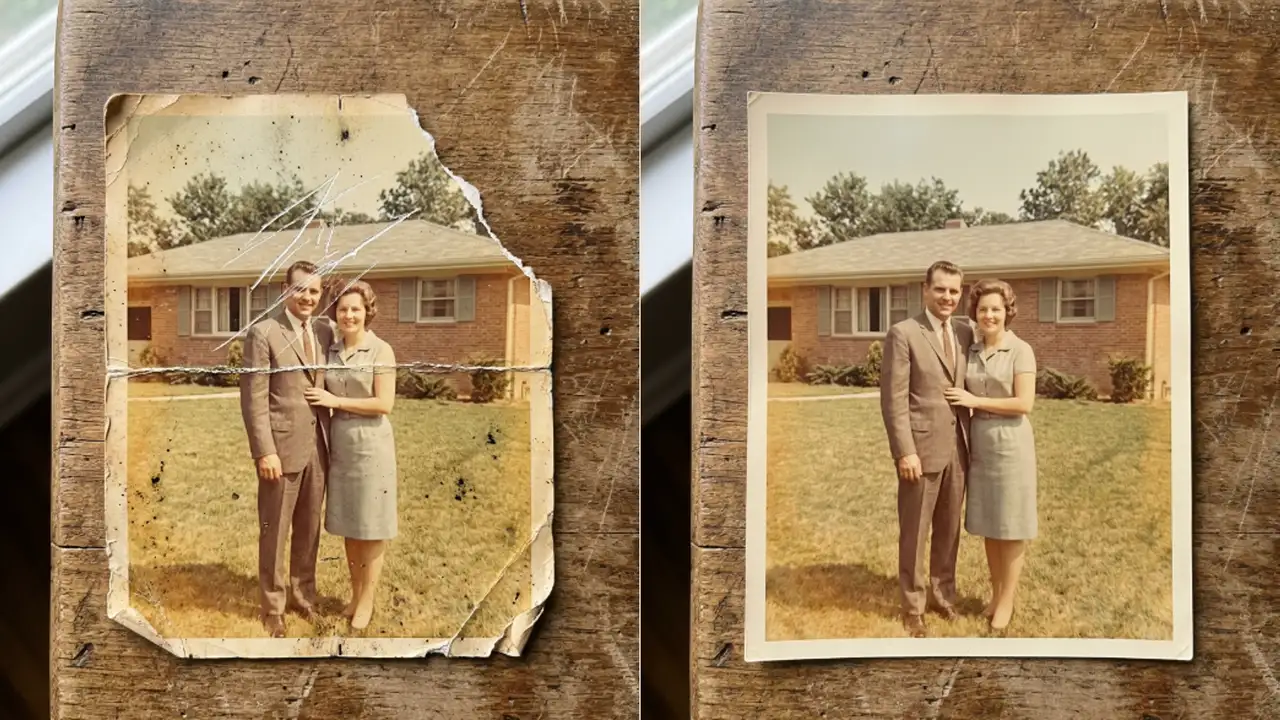
Order matters more here than it looks like it should. If a print has scratches or fading, run Photo Restore first, then colorize the cleaned result.
A scratch on an uncolored damaged print reads as a grey line. Once color gets guessed on top of that damage, the scratch can pick up a color cast of its own, which is harder to notice and harder to fix afterward.
I skipped this step once on a print with a faded corner and regretted it. The faded patch colorized as a soft pink that did not match the skin tone next to it, and by then I had already downloaded and shared the result before noticing.
Restoring first also gives the colorizer a cleaner edge to work from, so the boundary between a jacket and the background is less likely to bleed into a slightly wrong color where the fading used to be.
What to do when a result looks wrong
- Check faces first. Skin tone errors are the ones people notice fastest and are usually the tool at its most reliable, so a bad face result often means the source photo was too damaged or too dark to work from
- Treat uniforms, flags, and branded items as guesses rather than answers, especially for anything you plan to publish or print as historically accurate
- If you know the real color of a specific object, that is a manual fix after the fact rather than something to expect from the automatic pass
- Run the colorizer on a restored file, not a damaged original, if the print has any scratches or fading
A colorizer run costs 3 credits. Paired with a 4 credit restore pass on a damaged original, the full sequence on one photo runs 7 credits, which is the same total whichever order you photograph the process in, though only one order gives a clean result.
For the mechanics of the restore step itself, how the Picverce AI Image Enhancer actually works covers the shared upload path and file limits that apply across the restoration and enhancement tools.
The honest way to use this tool is to treat the color as a strong, fast draft rather than a historical record. It gets most photos close enough for a family album or a print on a wall, and it gets specific colored objects wrong often enough that anyone who knows the real answer should expect to fix them by hand.