Scratches fading and what restore fills in
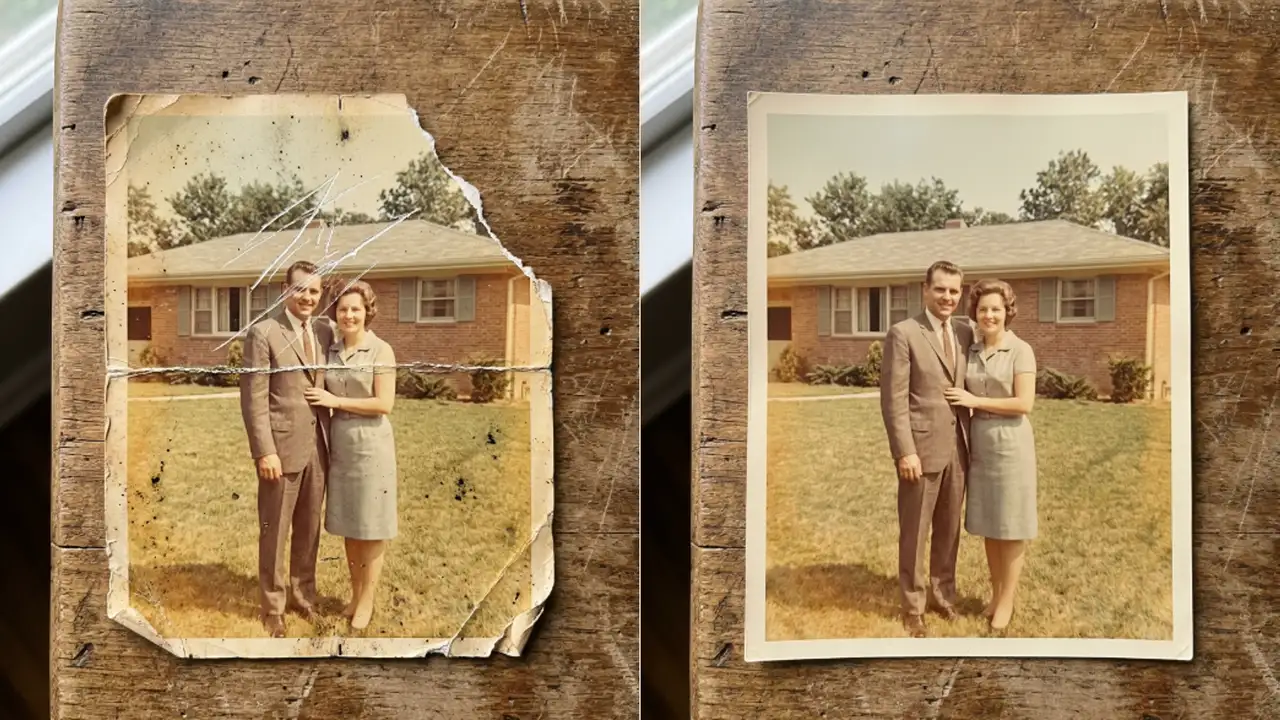
The Picverce AI photo restoration pass rebuilds missing areas from context, which means some damage disappears and some detail gets invented.
Image EditingRestoration sounds like cleaning. It is closer to rebuilding.
Knowing which parts of your photo the AI Photo Restoration tool repairs and which parts it reconstructs changes how much you trust the result.
Damage it handles well
The pass is built for physical damage, and the list is specific.
- Scratches, tears and creases. Line damage across a continuous area is the easiest case.
- Stains and water damage, where the underlying image is dimmed rather than gone.
- Fading and discolouration, including the colour shift old prints pick up.
- General ageing, meaning the softness and grain a print gathers over decades.
Fading is the one that surprises people with how well it goes. A print that looks washed out usually still holds its information, just compressed into a narrow range.
Pulling that range back open is closer to correction than invention, so the result stays faithful.
Discolouration behaves the same way. The colour cast an old print picks up is a shift rather than a loss, and a shift can be undone.
Scratches across a sky or a plain wall vanish completely. There is enough surrounding material to rebuild from.
A scratch through hair is the middle case. It usually goes, and the texture where it was can end up smoother than the hair around it.
When I ran a creased family photo from the sixties, the crease across the tablecloth disappeared and the crease across a face left a slightly too smooth patch. Same damage, different amount of context.
That comparison is the whole rule in one photo. Context decides quality, not the severity of the damage.
Where it starts inventing
Missing sections are reconstructed from what surrounds them. That word is doing a lot of work.
A torn corner of sky comes back correct, because sky is predictable. A torn corner containing an arm comes back as a plausible arm.
Plausible is not the same as true. If the detail was not in the file, the pass is making an informed guess.
Faces are where this matters most. Damage across an eye or a mouth gets rebuilt into something that looks like a face and may not look like that person.
Compare the repaired face against another photo of the same person before you accept it. That check takes a minute and has saved me from framing a stranger.
Most restorations finish in about a minute, so the checking genuinely takes as long as the processing.
Fine detail generally is where accuracy drops. Jewellery, patterned fabric, printed text on a sign and background faces all come back approximate.
Background faces are worth a specific warning. A crowd behind your subject gets rebuilt at low priority and can come back subtly wrong in a way nobody notices until a relative does.
Give the pass a better scan
The input decides the ceiling more than any setting does, and there are no settings here anyway.
Scan at the highest quality you can, ideally 300 DPI or higher. A phone photo of a print works and a proper scan works better.
Uploads are capped at five megabytes. A very large scan needs compressing slightly, and it is worth keeping resolution over quality when you do.
Crop to the main subjects before uploading. The pass spends its effort across the whole frame, so a face filling more of the picture gets more attention.
Cropping also removes damage you do not care about. A torn border around an otherwise intact photo is easier to cut off than to rebuild.
Output comes back at the resolution you sent. This is a repair pass, not a size change.
Black and white, sepia and early colour prints are all expected inputs. The pass keeps the period character rather than modernising it.
That last part matters more than it sounds. A restoration that makes a 1940s print look like a modern photograph has lost something you cannot get back.
Accepted formats are the usual set, so a JPEG from a flatbed scanner or a phone photo of a print both go through.
Order matters with other passes
Each restoration costs four credits, which makes the sequence worth getting right first time.
Repair before anything else. Damage baked into a larger or recoloured file is harder to deal with afterwards.
There are no settings on this pass, which is unusual on the site and makes the input the only thing you control.
No strength slider, no style, no model choice. You give it a scan and it gives you a repair.
If the print is also small and you want it framed, the AI Image Upscaler is the second step rather than the first, because it will faithfully enlarge a scratch you have not removed yet.
That is the single most common sequencing mistake with old photos. People make the file bigger and then wonder why the damage got bigger too.
Colour is the other decision in the sequence. If the photo is black and white and you want it coloured, mend the damage first so the colour pass is not interpreting a scratch.
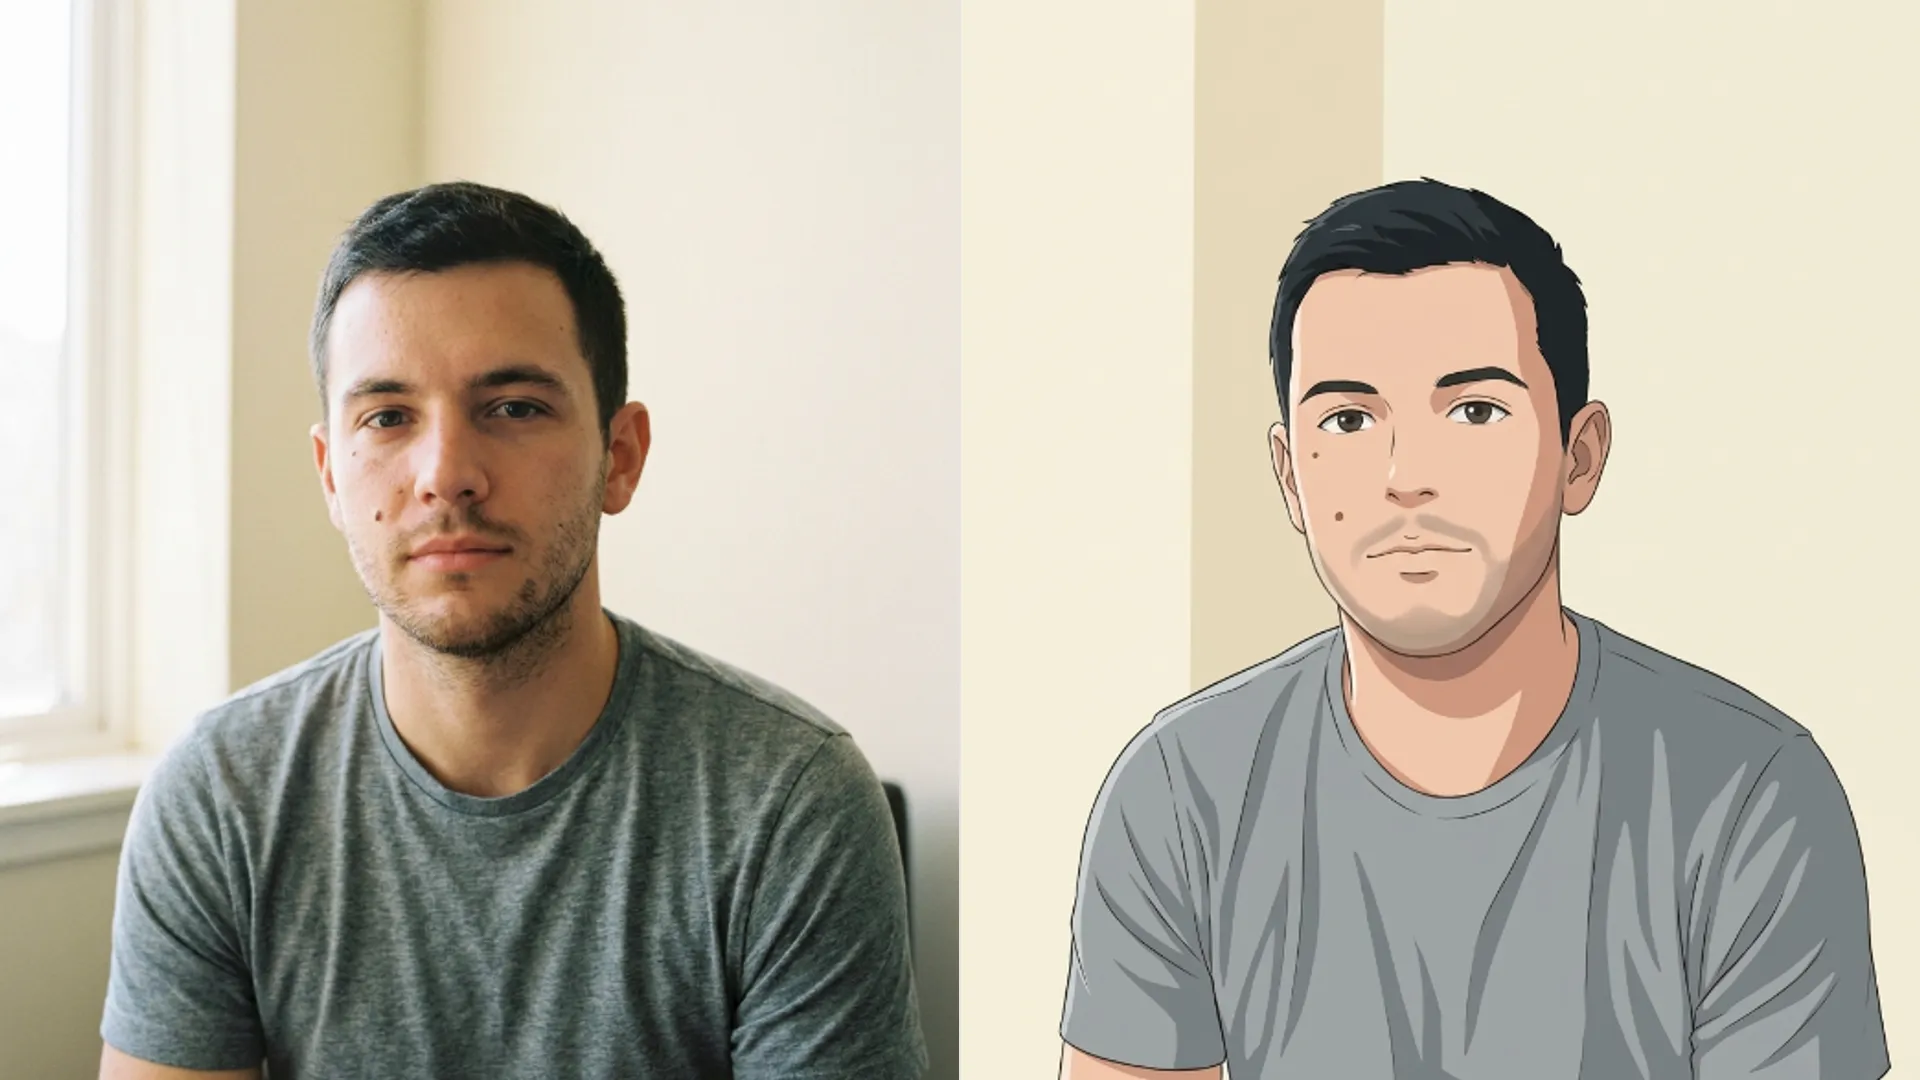
The same question of what a pass keeps versus what it redraws applies to stylised output, and that version is in what the anime pass keeps from your face.
Trust it on fading, scratches and plain areas. Check it on faces and fine detail. Repair first and resize second.