Upscale a product photo for print
A step by step run through taking a small web product shot to print size with the Picverce AI Image Upscaler, including the trap in the upload.
TutorialsA product photo that looks fine on a listing page falls apart on a printed card. The screen was hiding how few pixels were actually there.
This is the run I do before sending anything to a printer, in order, with the decision points that matter.
Check the pixels before you open anything
Print wants roughly 300 pixels per inch. A postcard at 6 by 4 inches therefore needs about 1800 by 1200 pixels.
Open your file and read its dimensions. That number, divided by 300, is the largest print it can carry without help.
A 900 by 600 web image gives you 3 by 2 inches. That is a business card, not a postcard, which is where the upscaling comes in.
Work out the print size you actually need first. Guessing a scale and hoping is how people end up paying 6 credits for an 8x run they did not need.
Pick the scale from the arithmetic
Multiply your current width by 2, 4 and 8, then divide each by 300. Choose the smallest scale that clears your target.
For that 900 pixel wide image, 2x gives 6 inches, 4x gives 12 and 8x gives 24. A postcard is covered by 2x, and everything above it is wasted credit.
A few common targets, assuming that same 900 pixel source, so you can skip the maths.
- Business card or hang tag, up to 3 inches. No upscale needed at all.
- Postcard or product insert, 4 to 6 inches. 2x at 2 credits.
- A5 flyer or a catalogue page, 8 inches. 4x at 3 credits.
- A4 poster or a table sign, 12 inches. 4x still clears it.
- Anything larger than A3. 8x at 6 credits, and check the result before ordering.
Packaging is the exception to all of this. Print shops often want 350 pixels per inch rather than 300, so ask before you commit to a scale.
Run the upscale
Open the AI Image Upscaler, drop the file in, and pick your scale before starting. The choice is 2x, 4x or 8x, billing 2, 3 and 6 credits.
Uploads are capped at 5 MB. A large TIFF from a camera will be refused, so save a JPEG copy first.
If your file is over the cap, export at quality 90 rather than resizing it down. The cap applies to bytes, not to pixels, and a quality drop costs you less than throwing away dimensions.
There is a quieter cap underneath that one. Your browser trims the file to roughly two megapixels before it is sent, because the processing GPU runs out of memory above that.
For a small web image this changes nothing, since it was already well under the ceiling. For a big camera file it means the scale multiplies a trimmed copy rather than your original.
That is the part worth internalising. Feeding a 12 megapixel photo into 8x does not give you 12 megapixels times eight.
Judge the result at full size
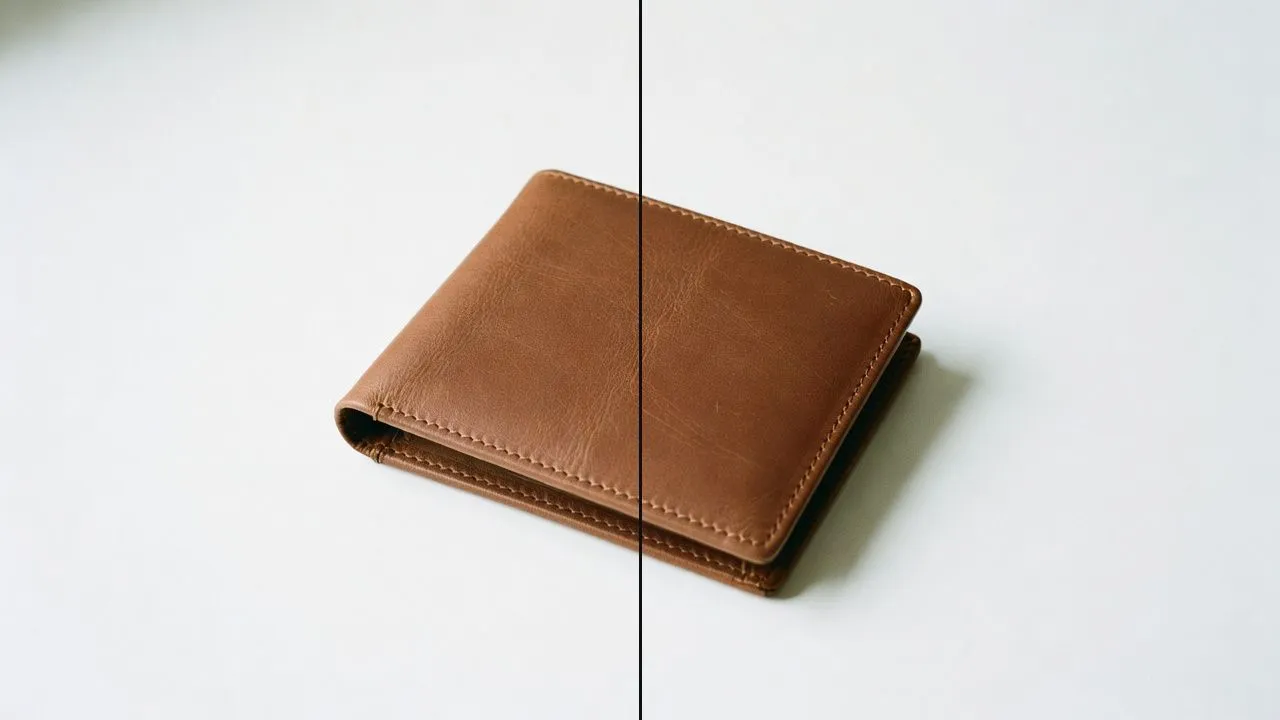
Open the output at 100 percent and look at the parts that carry information rather than the picture as a whole.
- Stitching, seams and thread. These should separate, not merge into a line.
- Any lettering on packaging. Readable is the pass mark.
- Fabric or glaze texture. It should read as material, not a colour field.
- The edge against the background. Clean, without a bright halo.
When I ran a speckled ceramic mug at 4x last month, the glaze speckles held and the rim stamp went slightly soft. That was the moment to stop, not to run it again.
A second pass over an upscaled file makes that stamp worse, not better. The model reads its own first guess as real detail and commits to it harder.
White backgrounds deserve a separate look. A pure white sweep should stay pure white, and if it comes back with faint grey structure in it the pass has invented texture where there was none.
Clean up first when the source is soft
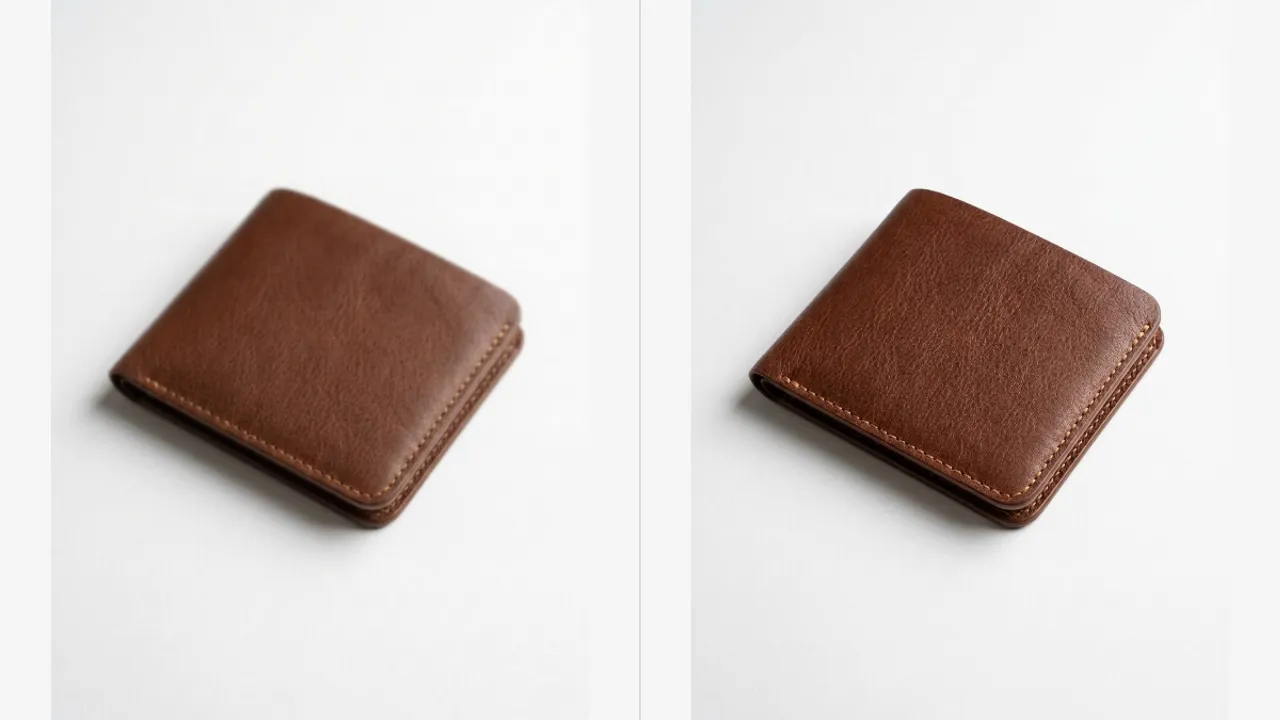
Upscaling multiplies whatever is already in the file. Noise, compression blocks and softness all get bigger with everything else.
If the source looks grainy or slightly mushy, run the AI Image Enhancer at 2 credits first, then upscale the cleaned file. Doing it the other way round means the upscale faithfully enlarges the noise.
That ordering matters more than people expect, and it is the whole subject of an Etsy listing I cleaned before it went live.
Two passes cost 4 credits together at 2x. Compare that against a reshoot and it is usually the cheaper afternoon.
Send the right file to the printer
Download the result and check its dimensions again before you upload it anywhere. This is a ten second check that catches the mistakes.
Keep the original alongside it. If the printer asks for a different size later you want to start from the source, not from an already processed copy.
Every finished run also writes to your history with both versions attached, so the original is recoverable even if you delete the local file.
Name the files so the scale is in the filename. Three weeks later a folder of four near identical mugs is genuinely hard to sort out.
One last thing that costs nothing. Print a single proof before ordering fifty. Screens are generous about softness and paper is not.
Proof on the paper stock you are actually ordering, too. Matte swallows fine detail that gloss holds, and a result that passed on screen can miss on uncoated card.