Clean up a soft phone photo in four steps
A short, repeatable pass for indoor phone shots that came out soft, plus what to do when one pass is not enough.
TutorialsIndoor phone photos go soft for a boring reason. The room is darker than it looks, the shutter stays open longer than your hands stay still, and the phone hides the damage until you open the file on a bigger screen.
This is the pass I run on those. It takes about a minute and works on most of them.
It also assumes you are starting from the right file, which is where most of these attempts go wrong before anything is uploaded.
Before you upload
Find the original. Not the copy someone sent you in a chat app, not a screenshot of the gallery. Every one of those hops recompresses the file and throws away detail you are about to ask a model to rebuild.
Phone galleries make this harder than it should be. Sharing a photo out of a messaging app almost always hands you a resized copy, not the file your camera wrote. Export from the gallery app itself when you can.
Check two things while you are there. The file has to be under 5 MB, and the photo should be reasonably in focus. Softness recovers well. A shot where the camera locked onto the wall behind your subject does not.
The four steps
Step one, open the tool
Open the AI Image Enhancer and drop the file onto the upload area. You will see it appear in the preview panel with the model menu beside it.
The preview is worth a look before you go further. If the photo appears rotated or cropped oddly here, fix that first in any photo app, because the pass will not correct orientation for you.
Step two, pick the setting
Leave it on Image Enhancer for a first attempt. It costs 2 credits, which is cheap enough that trying is a better plan than deliberating.
If the photo is one you actually care about, switch to Image Enhancer PRO instead. It costs 6 credits and skips the compression step, so the model sees your full file.
Both settings run the same way from here. Nothing else on the panel needs touching for a first attempt.
Step three, decide about faces
The Face enhance toggle is off by default. Turn it on when the people in the shot are small in the frame, and leave it off for a close portrait, where it tends to smooth skin more than most people want.
Cost is the only real difference in the decision. Two credits is worth spending on a maybe. Six credits is worth spending on a photo you would be annoyed to lose.
Step four, compare and download
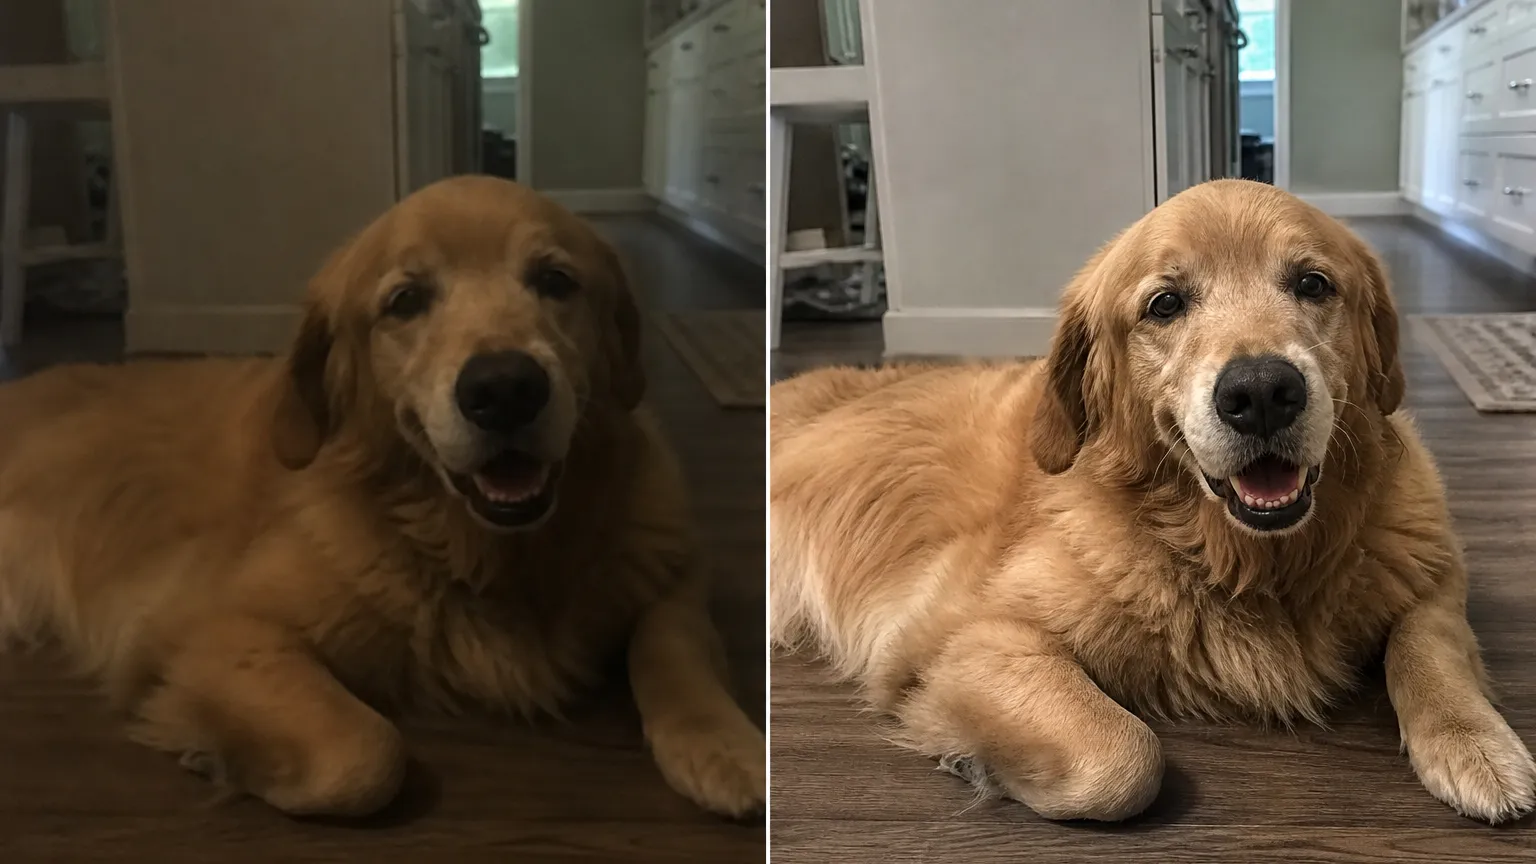
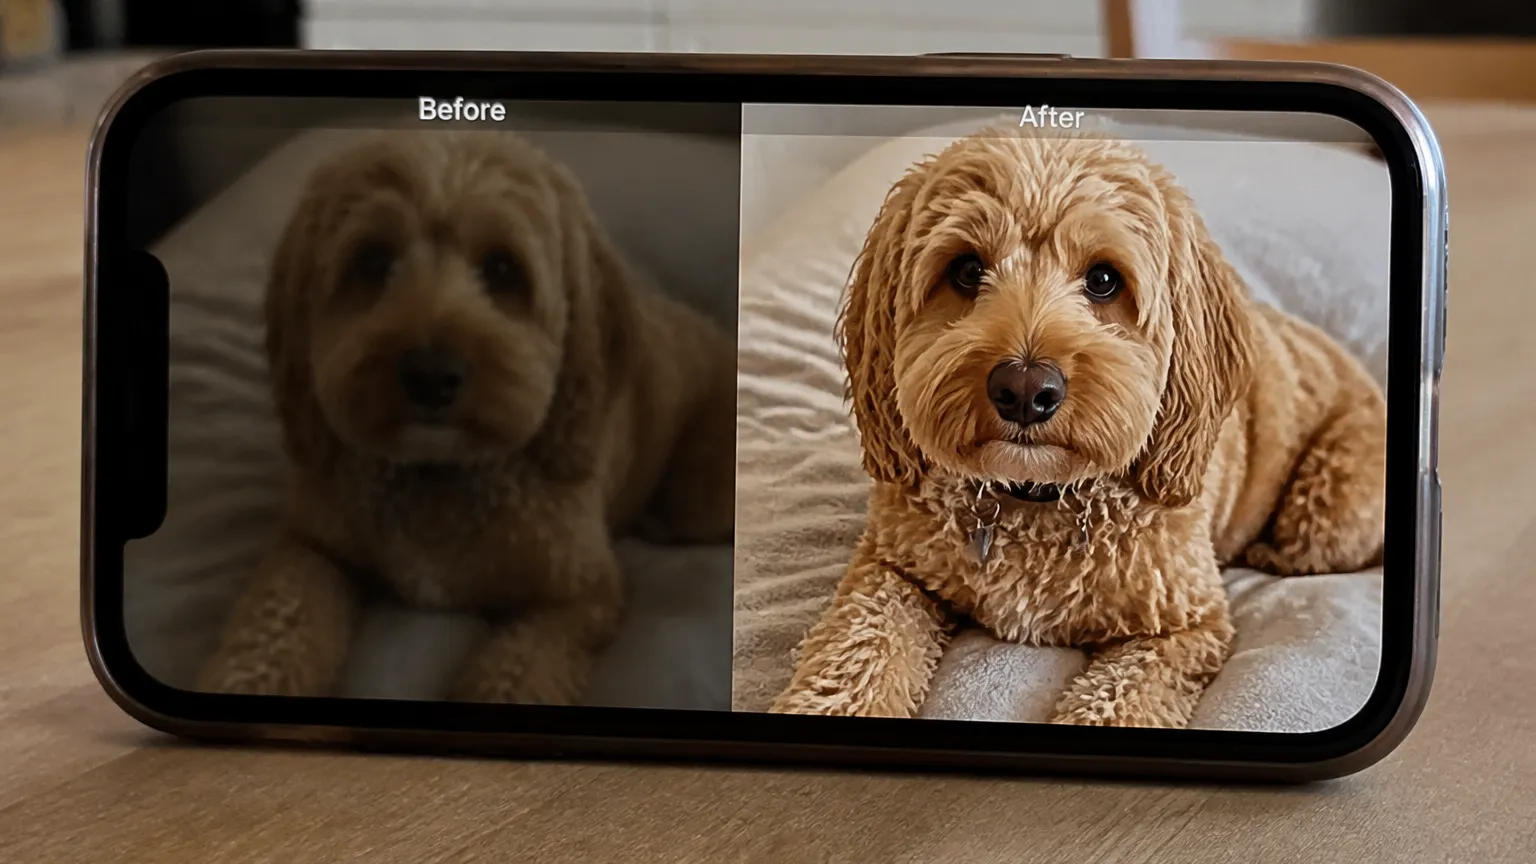
When the run finishes, the result opens in a before and after slider. Drag it across the part of the photo you care about, not the middle by default. Hair, fabric, and eyes tell you more than a wall does.
If it holds up, download it. The file also lands in your history, so you can come back to it without rerunning anything.
If it still looks soft
Do not run the same pass again. A second run compounds the model guesses and the skin goes plastic.
One habit saves time later. Look at the result at full size, not at the thumbnail. A pass that looks great small can show smoothed skin or flattened fabric the moment you open it properly.
Try a different tool instead. The AI Image Sharpener is built for edge recovery rather than general cleanup, and it costs the same 2 credits, so switching is cheap.
When I tested both on the same slightly soft photo of a dog on a rug, the sharpener brought back individual hairs that the general pass had smoothed into a mass. On a noisy low light shot the order reversed and the general pass won.
There is no rule that predicts which wins. Two credits each is a low enough price to just try both and look.
Neither tool has a strength control, so if both results overshoot there is no dial to back off. In that situation the original file, left alone, is often the better choice. Not every soft photo needs rescuing.
One note on file size
If your file will not upload, it is over the 5 MB cap. Resaving at slightly lower quality in any photo app gets you under it without visible loss.
It also helps to know what happens to large files on the standard path, which is covered in how the Image Enhancer actually works. The short version is that anything over about two megapixels gets resized before processing.
Anything over the 5 MB cap simply refuses to upload, which at least fails loudly. The two megapixel resize is the quiet one, since it happens without a message and applies to almost every modern phone photo on the standard path.
That is the whole routine. Original file, one pass, compare on the detail that matters, download.