Colorizer before or after restore
When to run Photo Restore first, when the colorizer on its own is enough, and when a damaged print is past what either pass can honestly do for it.
RecommendationsTwo tools, one photo, and an order of operations that costs you 7 credits either way. The order still changes the result, which is why the question keeps coming up.
The short answer is restore first. The longer answer is that plenty of photos do not need both, and a few do not benefit from either.
Why restore comes first when it comes at all
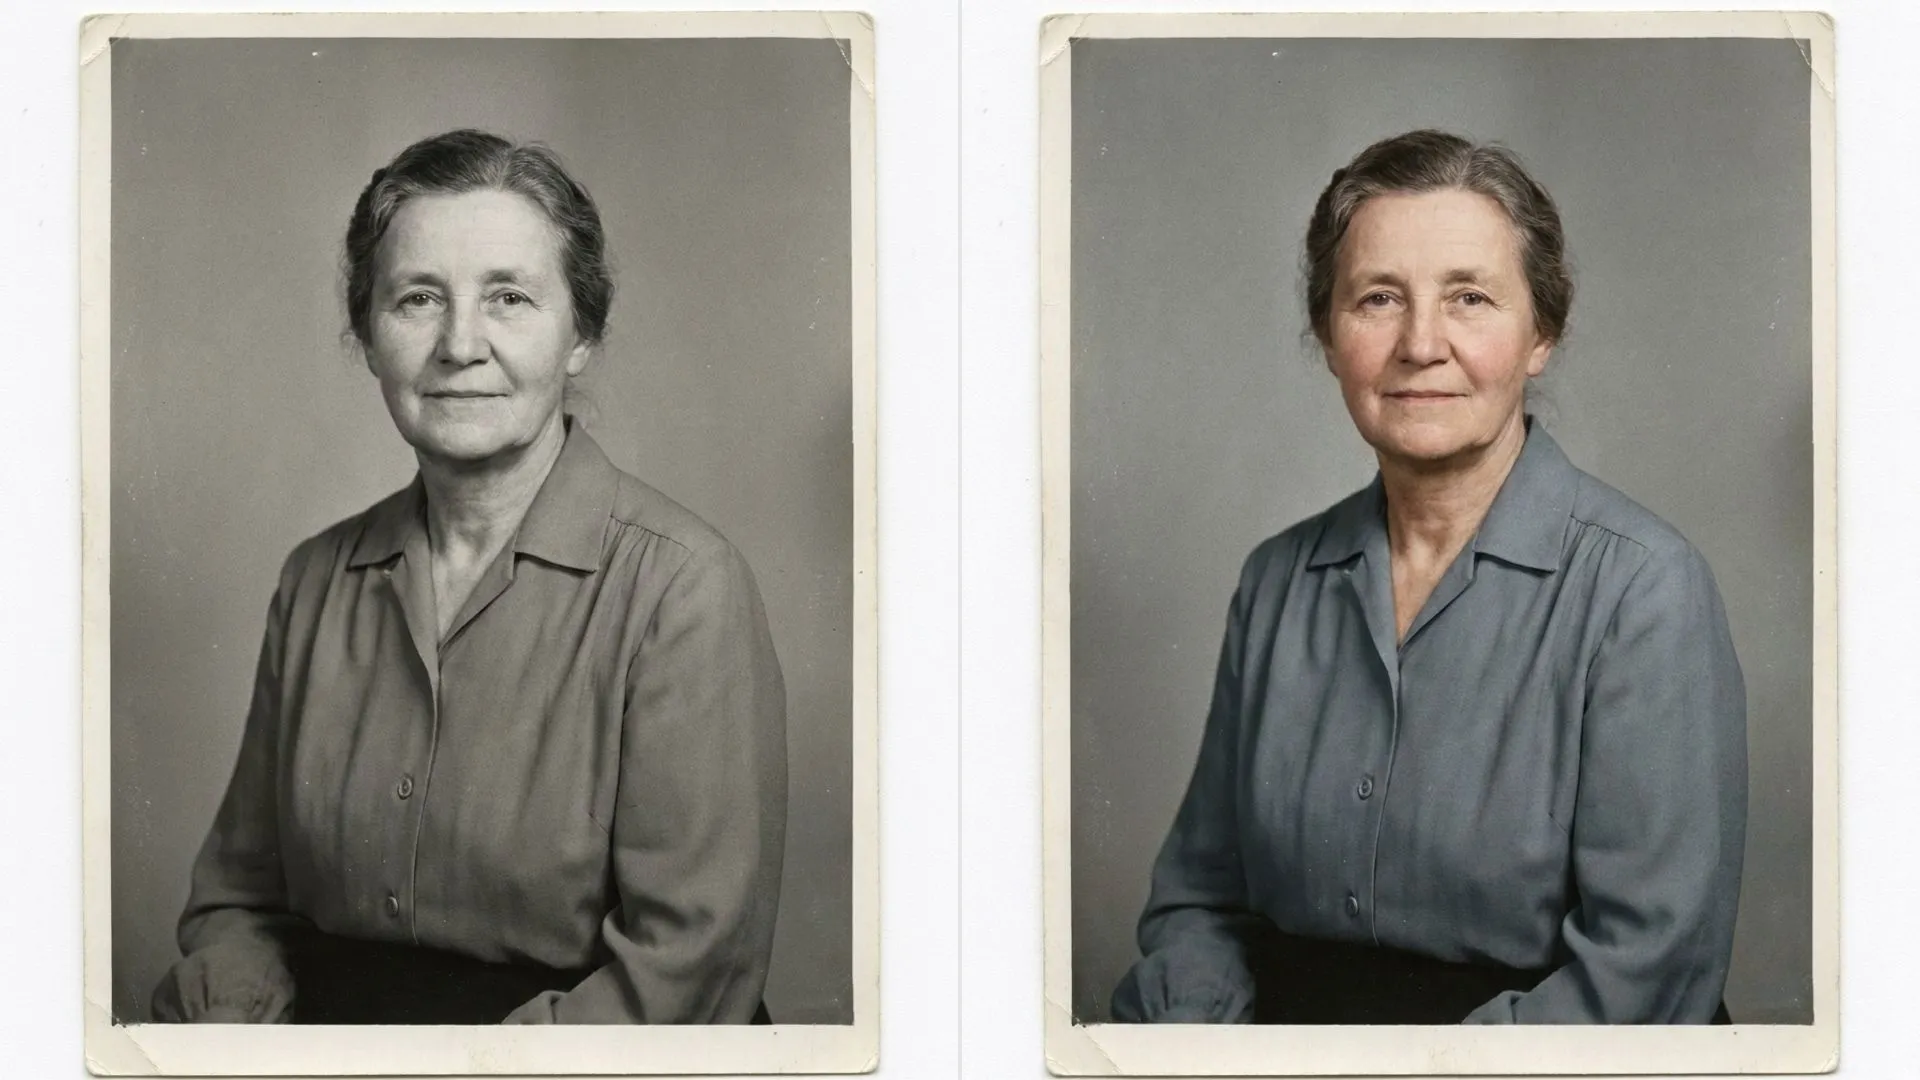
A colorizer looks at a monochrome image and decides what each region probably was. Run AI Image Colorizer on a scratched print and it treats the scratch as part of the picture.
A grey scratch on a monochrome print is obvious. The same scratch after colorizing might come back as a pale pink line across a cheek, which reads as a skin problem rather than as paper damage.
That is the real argument for the order. It is not that the colors are more accurate on a restored file, it is that the mistakes are easier to see and easier to explain.
So when a print carries visible damage, run AI Photo Restore first at 4 credits, then colorize the cleaned result at 3.
I ran the wrong order once on a print with a faded corner. The faded patch came back a soft pink that did not match the skin next to it, and I only noticed after sending the file to three people.
When the colorizer alone is enough
Plenty of black and white photos are not damaged at all. A studio portrait that has sat in an album, a press print, or a modern monochrome photo shot deliberately in black and white are all clean files that happen to have no color.
Running a restore pass on those buys you very little. There is no fading to lift and no speckling to clear, so you are spending 4 credits to change almost nothing.
- A sharp black and white photo with even tone across the frame and no visible marks
- A digital photo converted to monochrome, where every pixel is intact and only the color information was discarded
- A well kept album print with good contrast, where the paper has aged evenly rather than in patches
- A photo you have already restored in a previous session and saved, since a second restore pass tends to flatten what the first one recovered
A modern scan of a well kept print lands here more often than people expect. If the album stayed out of sunlight, the paper can look old while the image underneath is in fine condition.
The test I use takes about ten seconds. Zoom to the darkest area of the photo, and if the shadows still hold detail and the surface is clean, skip the restore and go straight to color.
Last time I checked a batch of eleven family prints this way, six needed restoring first and five went straight to the colorizer. Skipping those five saved 20 credits for nothing lost.
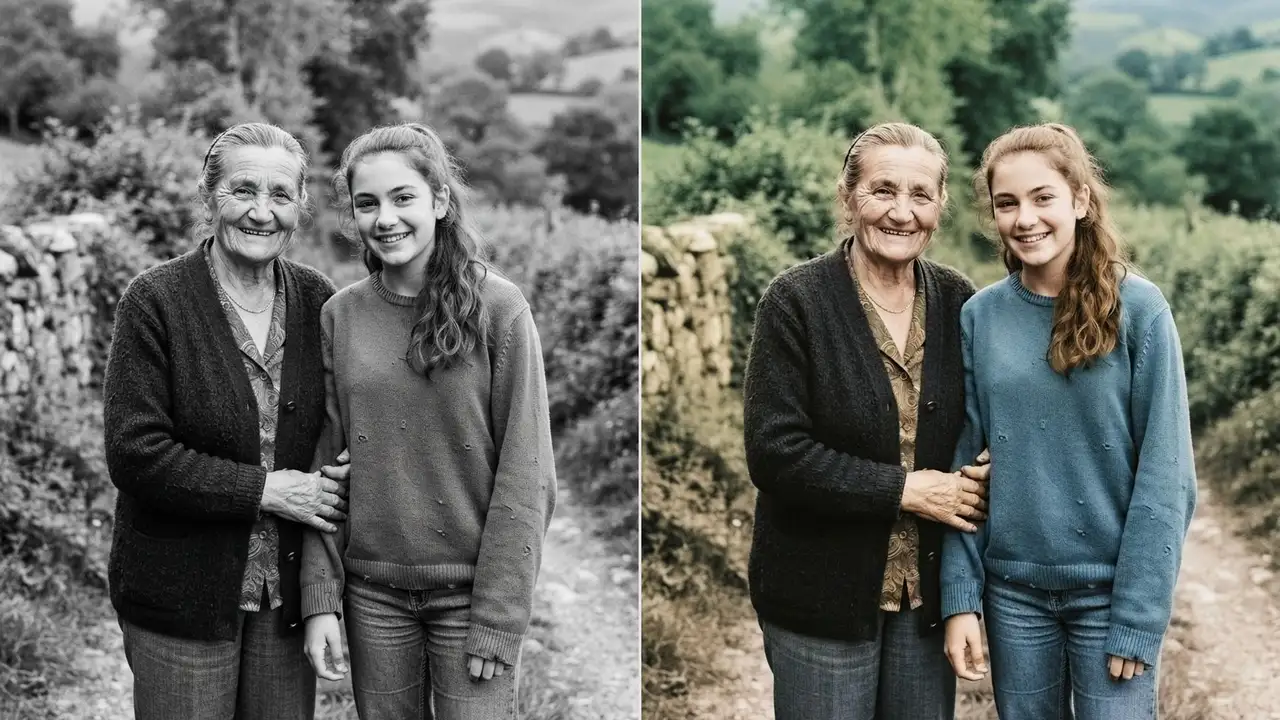
When neither pass saves the file
Some prints are past the point where either tool helps, and knowing them saves credits and disappointment in equal measure.
A photo that was out of focus in the camera is the clearest case. The detail was never recorded, so restoring cannot recover it and colorizing simply paints over a blur.
Missing paper is the second. A torn corner or a hole from a drawing pin has no image data underneath, and both passes will produce something plausible there rather than something true.
Very small scans are the third and the most common. A 400 pixel scan of a print has less information than the phone photo you could take of the same print in ten seconds.
Photocopies are a fourth case worth naming. A copy of a photograph has already thrown away most of the tonal range, and neither pass can recover what the copier never put on the page.
When I hit one of these I stop and rescan rather than spending more credits. A better capture beats any number of passes on a poor one, every single time.
The decision in one pass
- Visible scratches, speckling, uneven fading, or yellowed paper means restore first at 4 credits, then colorize at 3
- Clean monochrome with even tone means colorize alone at 3 credits and keep the other 4
- Out of focus, torn, or scanned very small means fix the capture before spending anything
- Faded color rather than true black and white means restore only, since the color is present and it is the balance that has drifted
That last case catches people out regularly. An orange looking print from the seventies is not a black and white photo, and sending it to a colorizer asks the tool to invent color that is already sitting in the file.
Once you get to a colorized result, the next thing worth knowing is which colors to trust. Skin sky and fabric guesses the colorizer makes covers where the guesses are dependable and where they are confident and wrong.
Both tools cap uploads at 5 MB and accept JPEG, PNG, WEBP and HEIC, so a file that goes into one goes into the other. Credits come off only when a run finishes, which makes checking a doubtful print cheaper than it sounds.