Fan art print from a small PNG
A 900 pixel character illustration pushed to a printable size, the two passes it took, what the line work did, and what the finished job cost in credits.
MarketingA friend commissioned a character illustration years ago and lost the layered file. What survived was a 900 pixel PNG that had been posted, saved, and reposted enough times to look tired.
She wanted it on a wall at roughly A4. At 900 pixels across, that print would have been about three inches wide before it started falling apart.
Two passes and 5 credits later it went to the printer. Here is what actually happened at each step, including the part that nearly ruined it.
The problem was compression before it was size
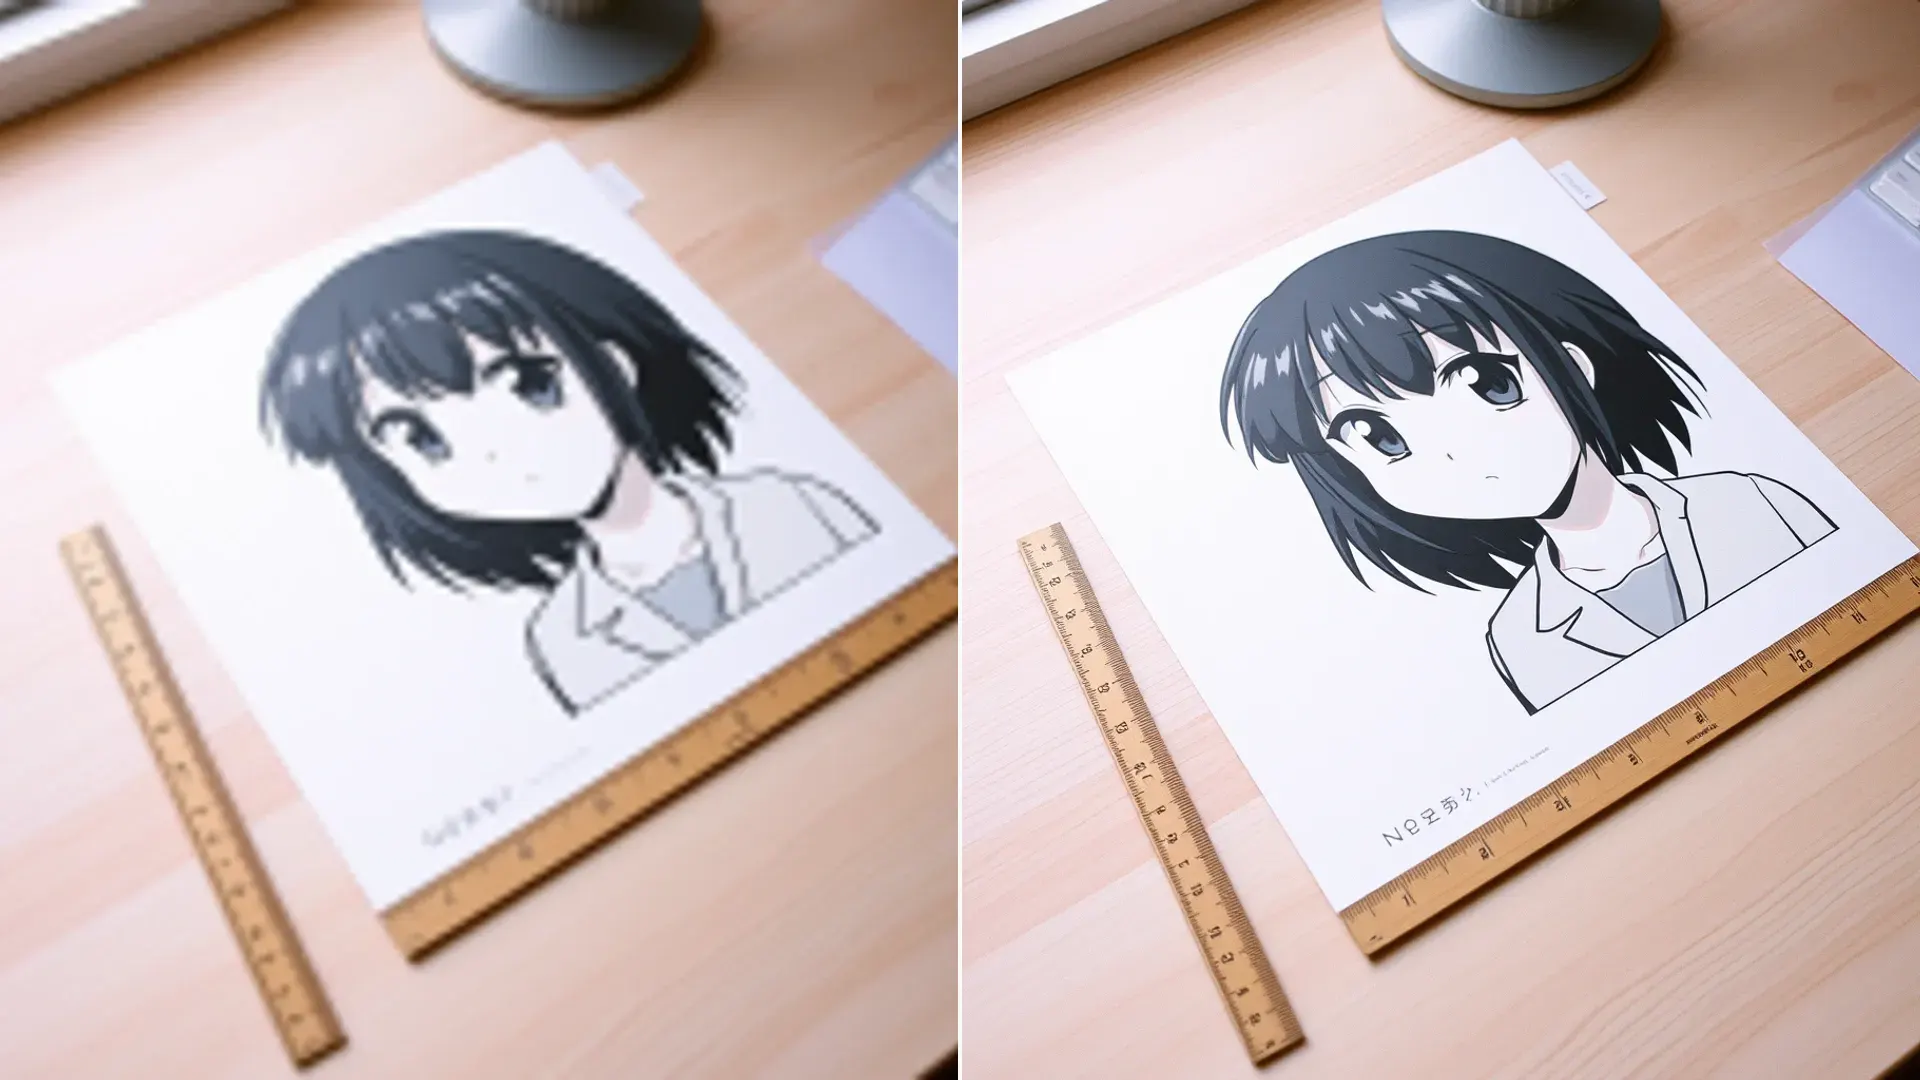
The file looked soft, but softness was not the real issue. Zooming in showed blocky squares clustered around every dark outline, the signature of an image saved as a JPEG somewhere in its history and converted back to PNG afterward.
That distinction decides the order of operations. Upscaling first would have taken every one of those blocks and made it four times larger.
So the first pass was AI Anime Enhancer at 2 credits, which is tuned for drawn line work rather than photographs.
It has one control, a toggle labelled anime face enhance, and the workspace warns you that turning it on may slightly alter facial features. On a character with a very specific face, that warning is the whole decision.
I ran it off. The face was the part my friend would notice, and a subtly different face on someone else artwork is not a result worth having.
What the line work did
Outlines came back as continuous strokes instead of stepped edges. That was the clearest single improvement and it happened everywhere at once.
Flat color fills cleaned up almost completely. The blocky patches inside the hair and the jacket flattened out into the solid colors they were supposed to be.
Screentone was the one area that got worse. A patterned shadow on the sleeve turned into a slightly mushy grey, because a regular dot pattern and a compression artifact look similar at that scale.
Small text on a badge in the corner stayed unreadable. It had been unreadable in the source too, so this was a fair outcome rather than a failure.
Background gradients behaved better than I expected. A soft glow behind the character stayed smooth instead of breaking into visible bands, which is where cleaned up illustrations often fall apart.
The eyes were the surprise. With the face toggle off, they came back sharper than I expected, which made the decision to leave it off easy to defend afterward.
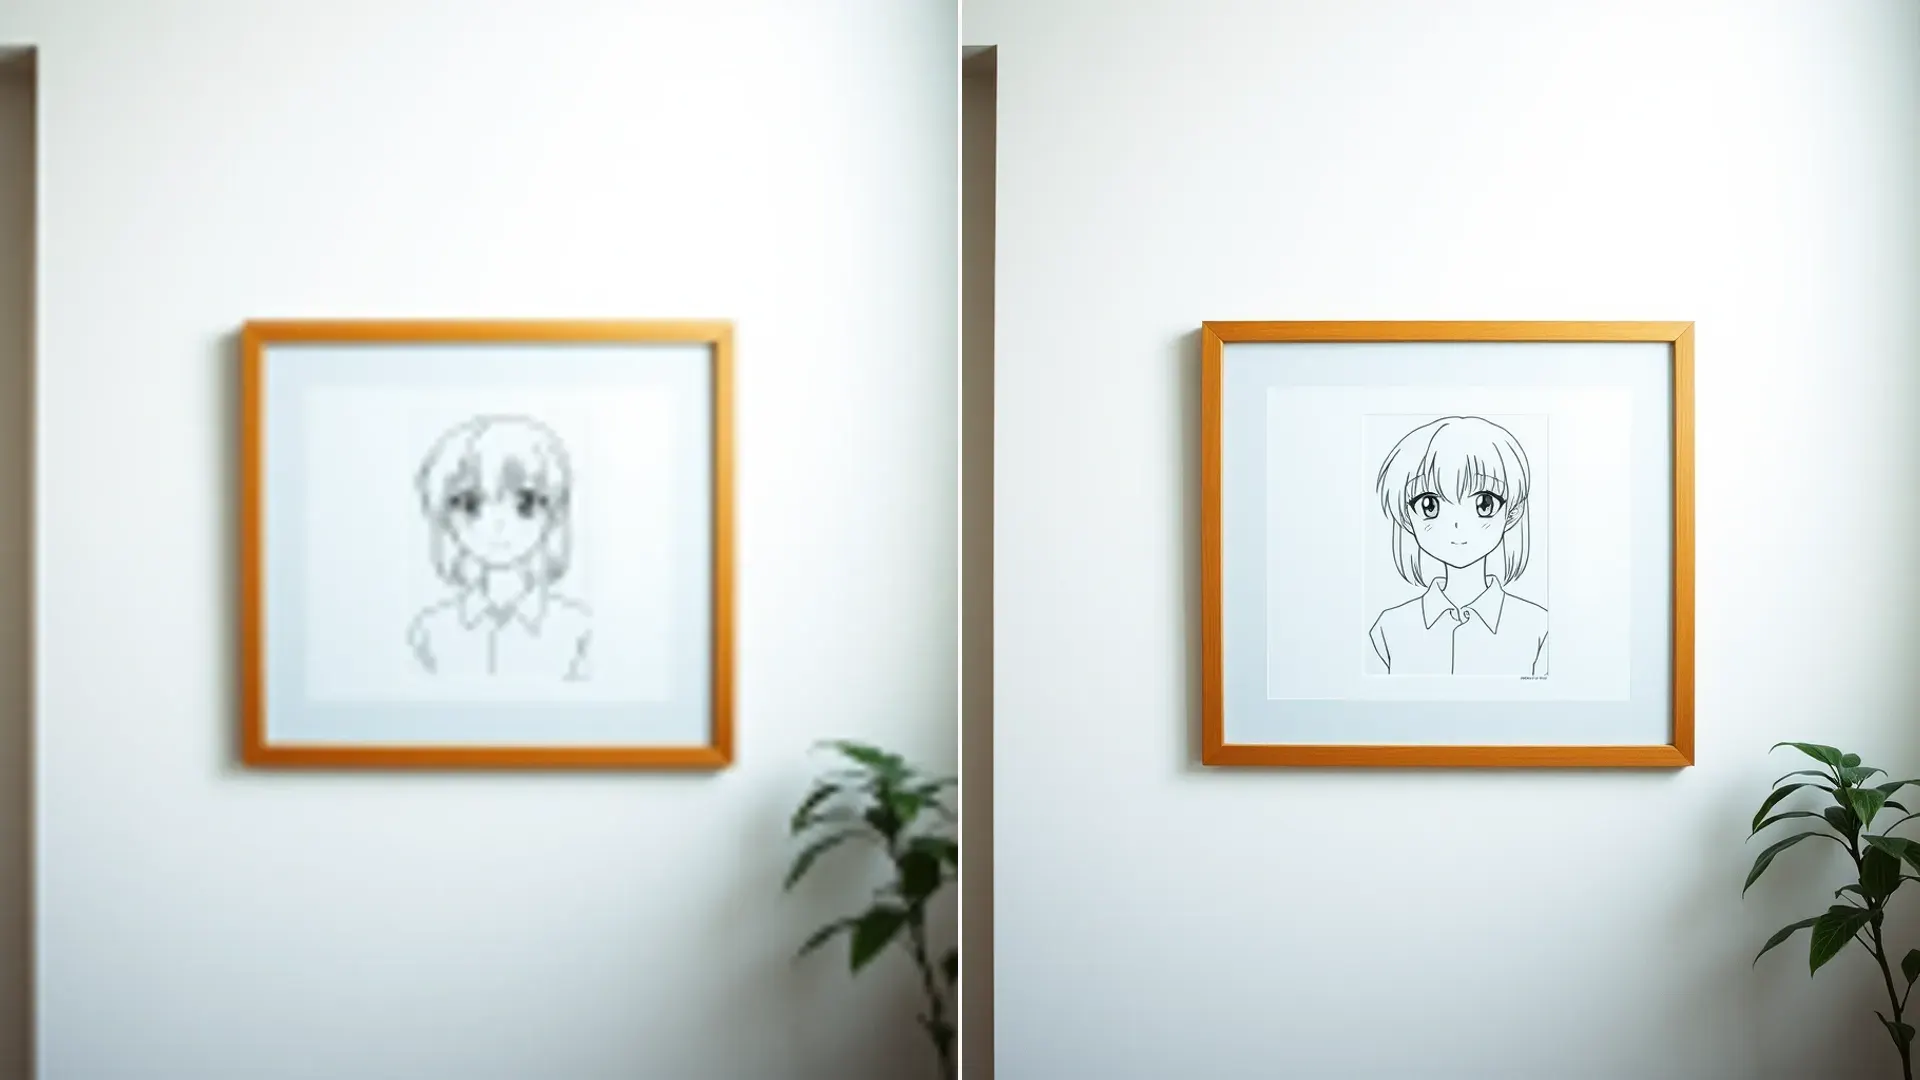
Choosing the upscale
With clean lines to work from, the size problem became simple arithmetic. Print at 300 dots per inch means a 900 pixel image covers three inches, and A4 needs about eight inches on the short side.
4x on AI Image Upscaler turns 900 pixels into 3600, which is twelve inches at 300 dpi and comfortably past what the frame needed.
The scale picker sits above the model list as three buttons, 2x, 4x and 8x, costing 2, 3 and 6 credits. I picked 4x for 3 credits.
8x was tempting and would have been a waste. It would have produced a 7200 pixel file at double the credit cost for a print that was never going to be larger than a sheet of paper.
The upscaled lines held. Line art upscales better than photography does, because a clean stroke is a simple shape to extend and skin texture is not.
Check the output size before you download. A 3600 pixel PNG is a large file, and uploading it to the print shop took longer than either of the two passes did.
The same arithmetic applies to product work, and upscale a product photo for print walks through the version of this job where the source is a photograph rather than a drawing.
The transparency mistake
The original PNG had a transparent background. It came back with a solid white one.
That is not a bug in the anime pass. Your browser converts and compresses the file before it uploads, and flattening is part of that step across every tool that shares the upload path.
For a print it made no difference, since the paper was going to be white anyway. Had she wanted it on a dark mug or a coloured shirt, that flattened background would have cost a redo.
The flattening happens on the way in, not on the way out. Saving a copy with the background you actually want, before uploading, is the only reliable way to control what comes back.
If transparency matters to your job, work out the background before you spend the credits rather than after. I now check the alpha channel on every PNG before uploading, which takes about two seconds and has saved me at least one full sequence.
What the job cost and what I would change
- Anime pass at 2 credits to clean the outlines and the flat fills before any resizing happened
- 4x upscale at 3 credits to reach 3600 pixels, enough for A4 at 300 dpi with room spare
- Total of 5 credits, which fits inside a single day on the free plan with change left over
- One reshoot avoided entirely, since the artist was not available and the layered file was gone for good
The one thing I would change is the order I checked things in. I spent the credits and then noticed the transparency, when a ten second look at the source would have told me first.
The print came back better than the file deserved. At arm length on a wall, nobody can tell it started at 900 pixels, and the screentone patch that bothered me on screen disappears completely on paper.