Picverce AI Image Sharpener explained
What the Image Sharpener actually changes, how it differs from the Enhancer, the file limits, and when a soft photo will not come back crisp.
GuidesA soft photo and a blurry photo look the same at a glance, but they need different fixes. Run the wrong one and you either get almost no change or a smeared mess with harder edges.
The AI Image Sharpener is built for the first case, not the second, and knowing which one you have before you upload saves a credit and a few minutes.
What sharpening actually changes
Sharpening works on edges and micro contrast. It looks at the boundary between a dark pixel and a light one next to it and pushes that boundary to read as more defined.
Nothing about the pixel dimensions changes. A 1200 by 900 photo goes in and a 1200 by 900 photo comes out, just with tighter edges and a bit more separation between textures.
That is different from adding detail that was never captured. The tool is not guessing what a soft patch of skin or fabric should look like. It is working with the detail already in the file and making it read more clearly.
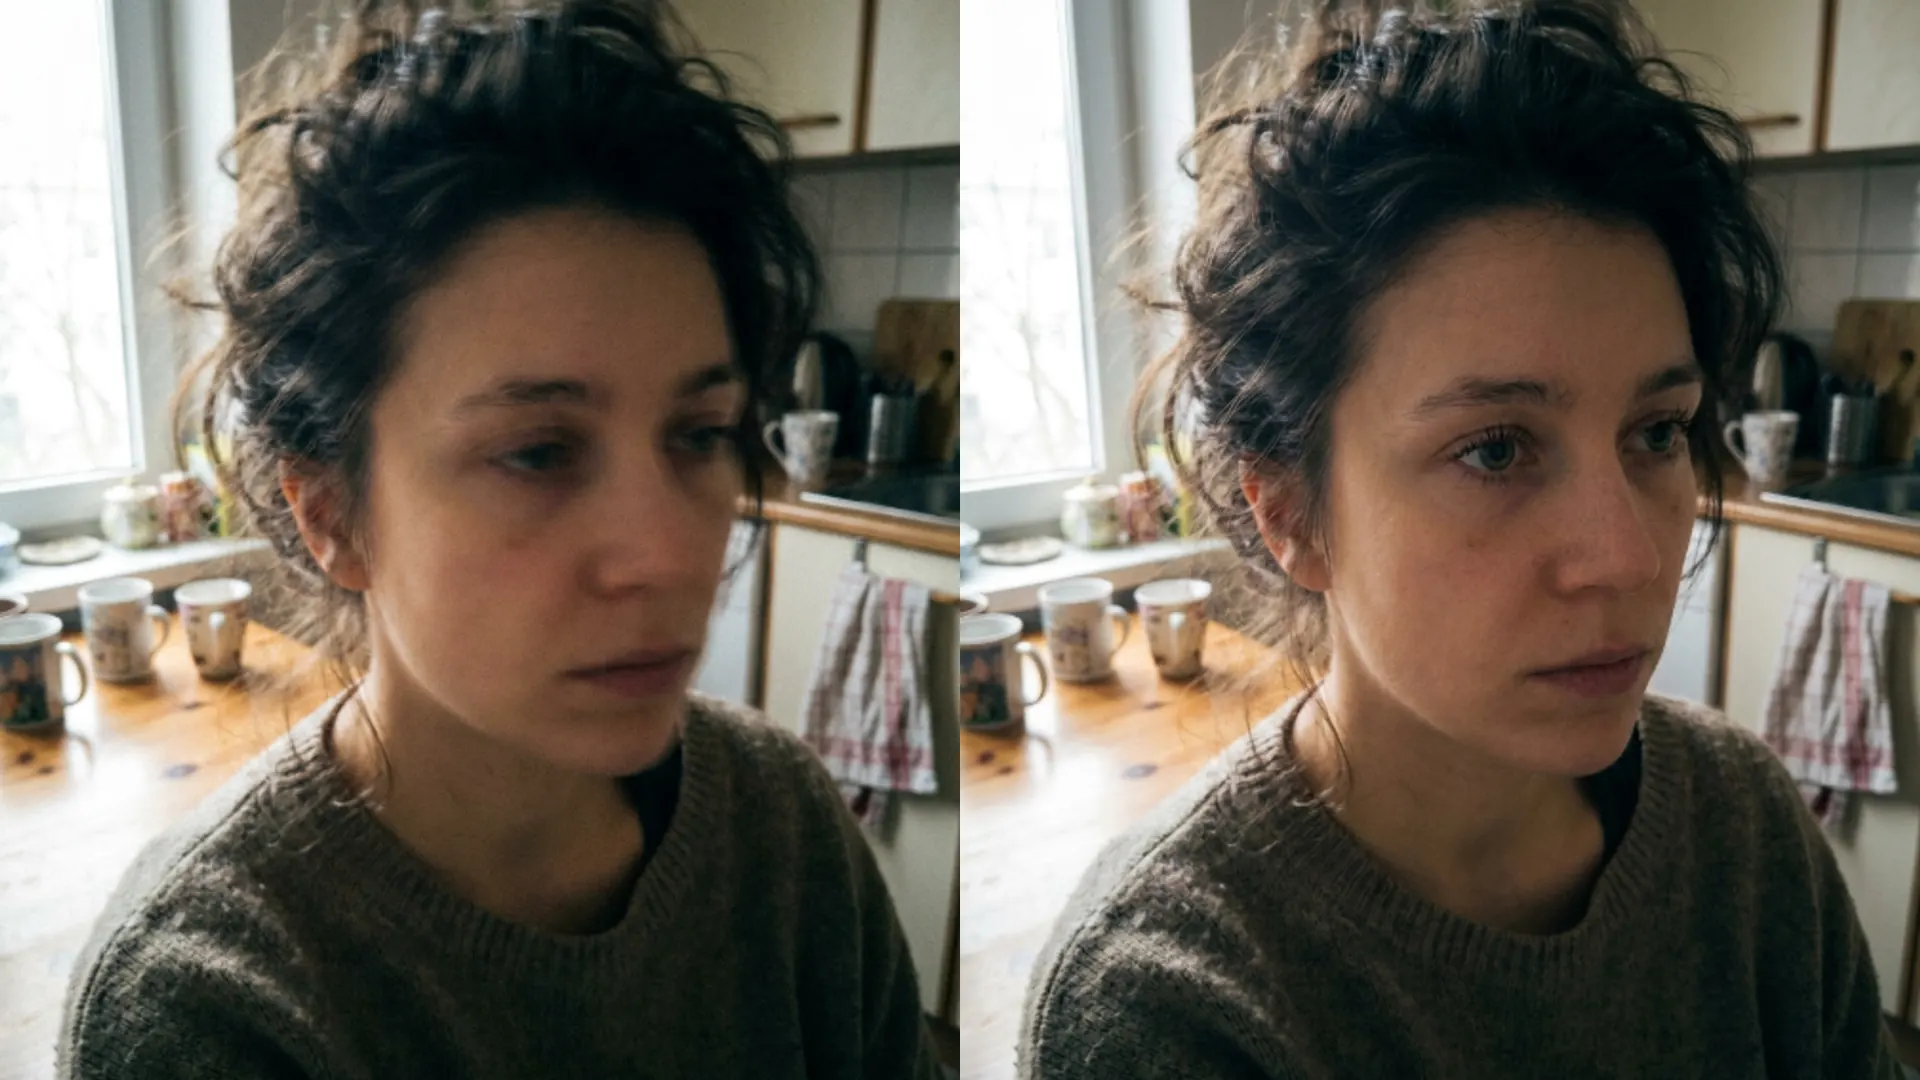
On screen the difference shows up fastest around text, hard edges like door frames, and fine texture like hair or fabric weave. Flat areas like sky or a plain wall barely move.
A stack of grocery receipts I photographed for an expense report is the clearest example I have. The numbers were legible before the pass and easier to scan afterward, without the paper texture around them turning noisy.
Compare it to what a printer does when it raises contrast at the edge of a scanned document. The whole page is not redrawn, but the line between ink and paper reads more clean at a glance.
The before and after slider in the workspace makes this easy to check without guessing. Drag it slowly across a hard edge like a doorframe or a printed logo and the difference is usually obvious inside two seconds.
How it differs from the enhancer
Picverce AI also runs the AI Image Enhancer on the same kind of files, and the two get confused constantly since they cost the same 2 credits and share an upload screen.
The enhancer runs a broader pass. It looks at noise and general softness across the whole frame, and rebuilds plausible detail where the file recorded less than it should have.
The sharpener is narrower on purpose. It does not touch noise reduction and it does not try to invent texture in a flat area. It just tightens what is already there.
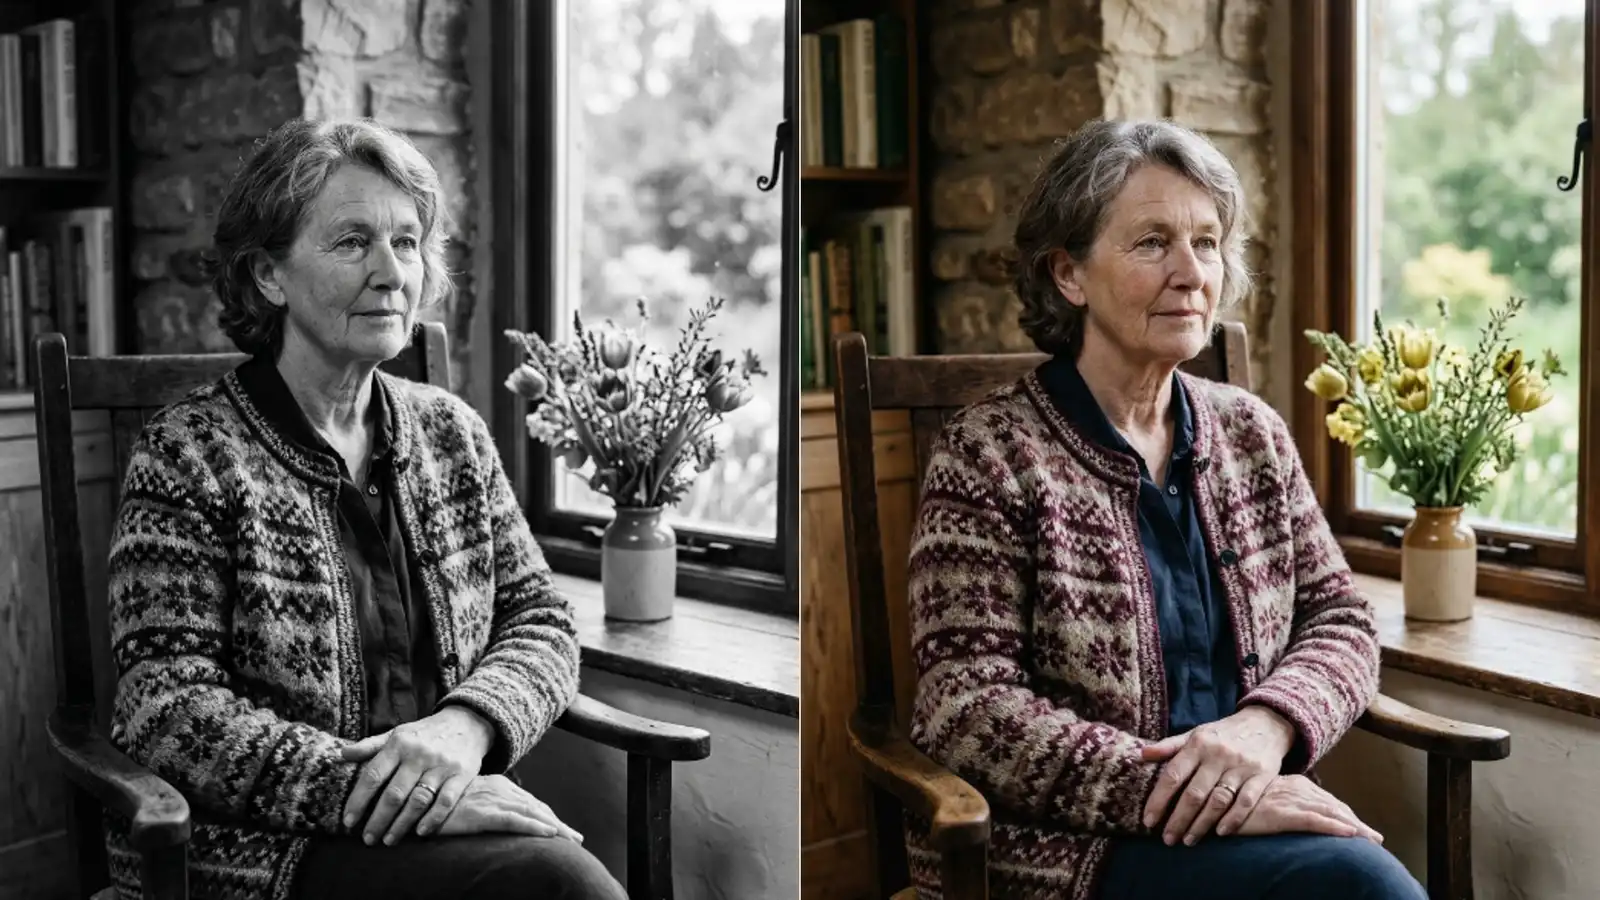
I have run the same soft photo through both and compared results side by side more than once. On a portrait with visible skin texture, the enhancer tends to smooth things out while cleaning up noise, and the sharpener tends to leave the noise alone while making the eyes and hairline read more defined.
Text is the fastest way to tell them apart in a side by side test. Run a page of small print through both, and the sharpener tends to make the letterforms read cleaner while the enhancer sometimes softens tiny text slightly in the process of smoothing everything else.
There is no setting to blend the two passes or run a partial version of either. You pick one, spend the credit, and check the result before deciding whether the other tool is worth a second try.
Neither is strictly better. They solve different problems, and the fastest way to pick is to ask whether the photo has noise and softness everywhere, or whether it is otherwise clean and just needs its edges tightened.
What happens before your file is processed
Upload is capped at 5 MB. Go past that and the tool tells you plainly rather than failing partway through a run.
Your browser also converts and compresses the file before it leaves your machine, the same step every tool on the shared upload path uses. A PNG with a transparent background gets flattened in that step, so a cutout comes back with a solid backing rather than transparency.
The 5 MB limit applies to the file as you hand it over, before any of that browser side work happens. A photo straight off a recent phone usually lands well under that, but a large scan sometimes does not.
If a file gets rejected for size, the fix is usually a quick re-export at slightly lower quality from whatever app opened it, not a different tool.
Output comes back as the same file type you uploaded in most cases, so a JPEG in gives a JPEG out rather than switching formats on you without warning.
None of the browser side steps depend on your connection speed. They run locally before the upload starts, so a slow connection changes how long the upload takes, not what the file looks like once it arrives.
None of this shows up while the job runs. The progress bar you watch is about the sharpening pass itself, not about what happened to the file a few seconds earlier in your browser.
When sharpening helps and when it does not
- A photo that is slightly soft but still in focus, the kind you get from a phone held a little too far from the subject
- A scan or screenshot where the source detail is real but got dulled by a second or third save
- Listing or product photos where edges need to read cleanly at thumbnail size
- Motion blur, where the subject or camera moved during the shot. Sharpening reads the smear as an edge and makes the smear more visible, not less
- Photos that are already heavily compressed, since sharpening pushes on block artifacts along with real edges
Last time I tested this on a photo shot through a car window at a stoplight, the motion blur on the background came back looking like it had been drawn on with a hard pencil. The subject in focus improved. The blurred background got worse in a way that was hard to unsee.
A phone screenshot of a spreadsheet is a useful edge case in the other direction. The columns and gridlines are hard edges the tool can grab onto, so the numbers usually come back more legible even though the file started as a screenshot rather than a photo.
Screenshots deserve their own mention. A screenshot of a photo already lost detail to the display and the capture before you got to it, and sharpening a screenshot mostly sharpens whatever compression pattern is already baked into the pixels.
The same caution applies to heavily filtered photos from social apps. If a beauty filter already smoothed the skin before you saved the file, sharpening brings back edges in the wrong places, like fabric or background clutter, while the smoothed skin stays smoothed.
Credits and where it fits in a session
A sharpening run costs 2 credits, the same as the standard enhancer pass. The free plan refills 10 credits a day, which covers five runs before you hit the wall.
Paid plans move to a monthly pool instead, at 400 credits on Basic, 1000 on Standard, and 2500 on Premium. Credits are shared across every tool in the workspace, so a sharpening run competes with whatever else you did that day.
Credits are only charged once a run finishes, so a rejected upload or a failed job does not cost you anything beyond the wait.
If you are working through a batch of similar photos, sharpening is cheap enough to run on everything rather than trying to guess in advance which ones need it. A wasted 2 credits on a photo that did not need it is a small cost next to reshooting or rescanning.
Comparing a sharpened result against the original before downloading takes a few seconds and avoids a more expensive habit, running the enhancer afterward out of routine, which just redoes work the sharpener already finished.
The enhancer post walks through what the Image Enhancer does to noise and edges in more depth, which is worth reading if you are deciding between the two before you spend a credit.
The short version holds up under repeated testing. Sharpen what is already sharp enough to have real edges, and send anything softer or noisier to the enhancer first. One pass is usually enough either way, since a second sharpening run tends to push edges past crisp into a slightly gritty look, especially on skin.