What the Image Enhancer does to noise and edges
Grain, colour blotches, and compression blocks are three different problems. The model treats them very differently.
Image EditingPeople say a photo is noisy the way they say a room is messy. It covers several unrelated problems that happen to look similar at a glance.
Knowing which one you have tells you whether a cleanup pass will help or make things worse.
Noise is not one thing
Three different faults get the same name.
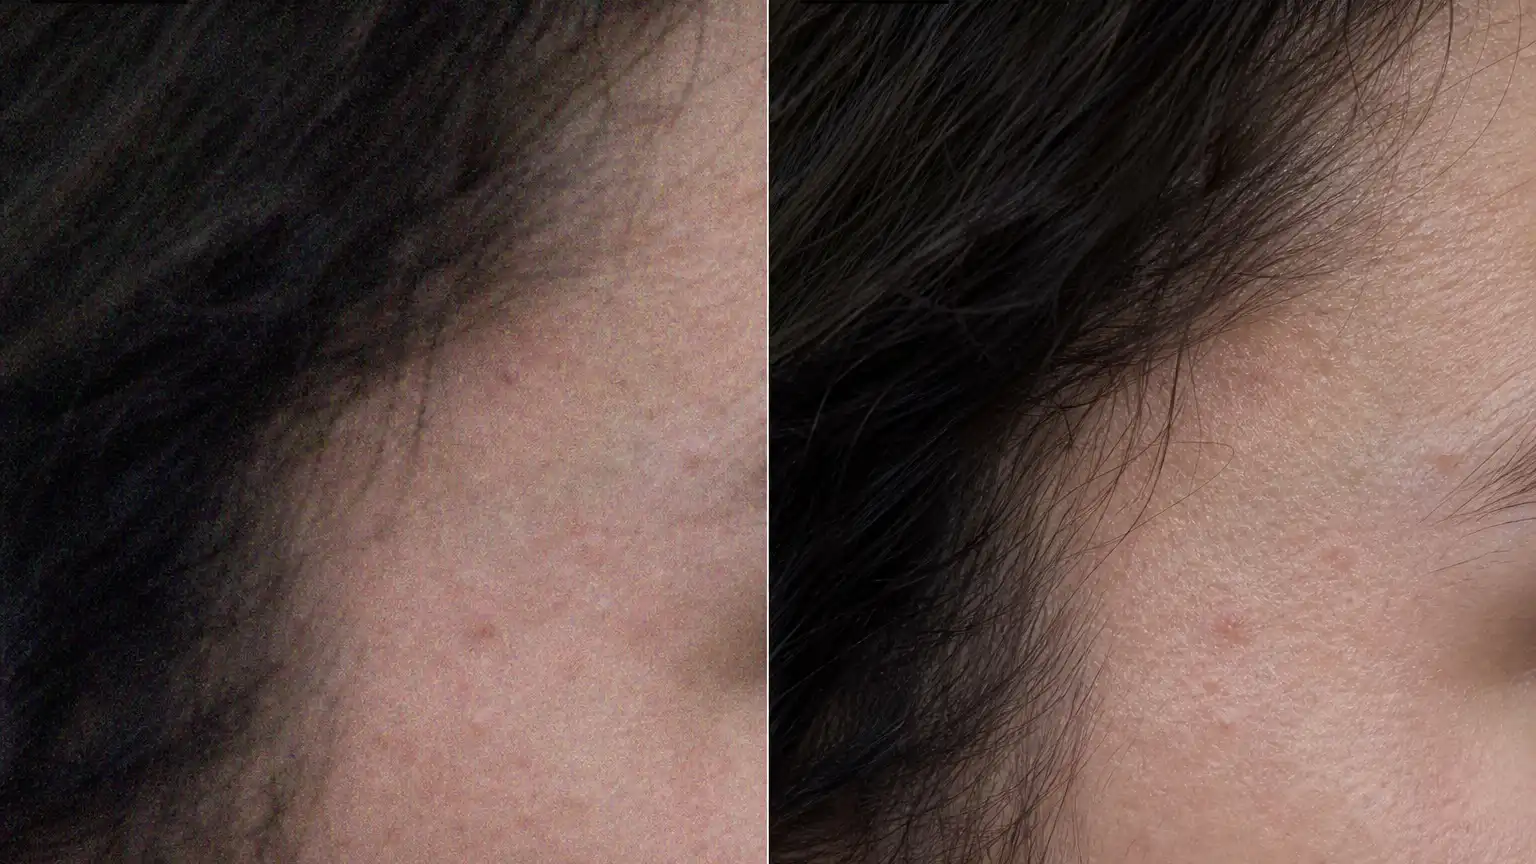
- Luminance noise. Fine grain, evenly spread, brightness varying pixel to pixel. Comes from a small sensor pushed to high ISO.
- Chroma noise. Blotches of wrong colour, usually red and green, worst in dark areas. Same cause, uglier result.
- Compression artifacts. Square blocks and ringing around hard edges. Comes from saving a JPEG too hard, or too many times.
The first two are recorded by the camera. The third is added afterwards by software, which matters because it is structured rather than random.
You can usually tell them apart by looking at a flat area at full size. Even sandy speckle across a wall is luminance noise. Coloured patches in a dark corner are chroma noise. Straight edged squares along a hard boundary are compression.
What the model does with grain
Random grain is the easy case. A trained model has seen millions of sharp photographs, so it has a strong sense of what a smooth wall or an out of focus background should look like. It replaces the grain with its best guess and the guess is usually right.
Chroma blotches clear up well for the same reason. Skin has a narrow range of plausible colours and the model knows it.
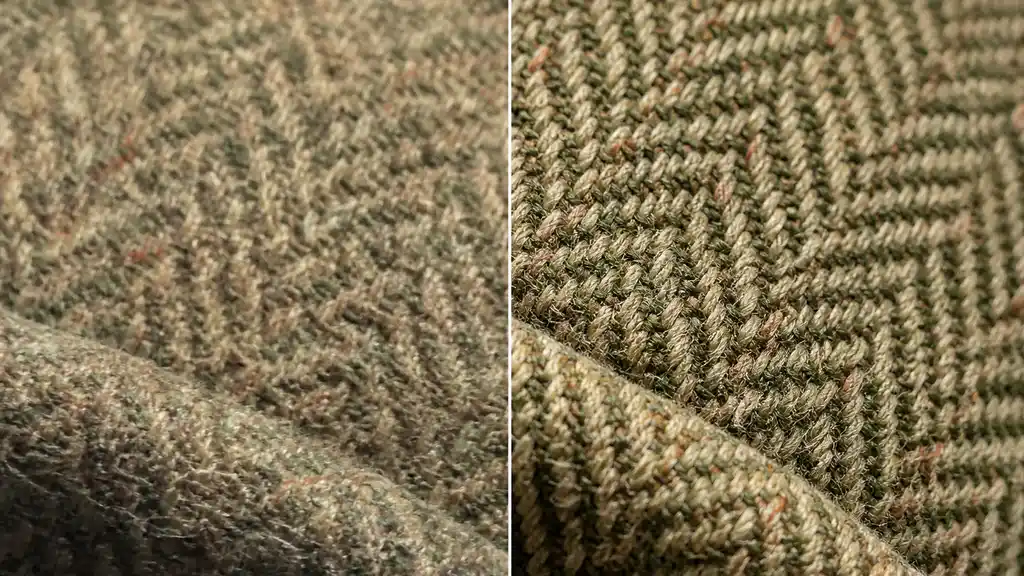
Where this goes wrong is fine real texture that resembles grain. Woven fabric, distant foliage, sand, and stubble all sit close enough to noise that a cleanup pass sometimes flattens them.
When I ran a portrait of a man in a knitted jumper through the AI Image Enhancer, the face improved and the knit lost about a third of its weave. That is the trade, and it is not adjustable.
Compression blocks are the hardest of the three. They are square, regular, and aligned to a grid, so the model reads them as real structure and often sharpens them instead of removing them. A photo that has been through several rounds of resaving can come back looking crisper and more damaged at once.
What it does with edges
Edges get the opposite treatment. The model finds a boundary and commits to it, redrawing it harder and cleaner than the original.
On architecture, text, and product outlines this is exactly what you want. A slightly soft roofline comes back crisp.
On a face it is the source of the plastic look. Skin has no hard edges. When a model decides a soft transition between light and shadow is an edge, you get a face that looks vector drawn along the jaw and nose.
That is also why running two passes is a bad idea. The second pass reads the first pass output as ground truth, finds the edges it just created, and hardens them again.
Text inside a photo behaves like an edge and benefits in the same way, up to a point. Small lettering on packaging usually gets more readable. Lettering that was already illegible tends to come back as confident nonsense, because the model fills in letter shapes that were never recorded.
Reading the result at 100 percent
Judge the result at full size, on the parts that carry information.
- Hair at the temples. Individual strands should still separate.
- The iris. It should have visible pattern, not a flat ring.
- Fabric weave. Should read as texture, not as a colour field.
- A dark shadow area. Should be clean without going flat black.
If three of those four hold up, the pass worked. If the face is smooth and the fabric has gone quiet, you have over cleaned it and the original was probably better.
Do the comparison honestly. Flip between the before and after at the same zoom rather than judging the result on its own, because almost anything looks sharper when you have nothing beside it.
Where a different tool is the answer
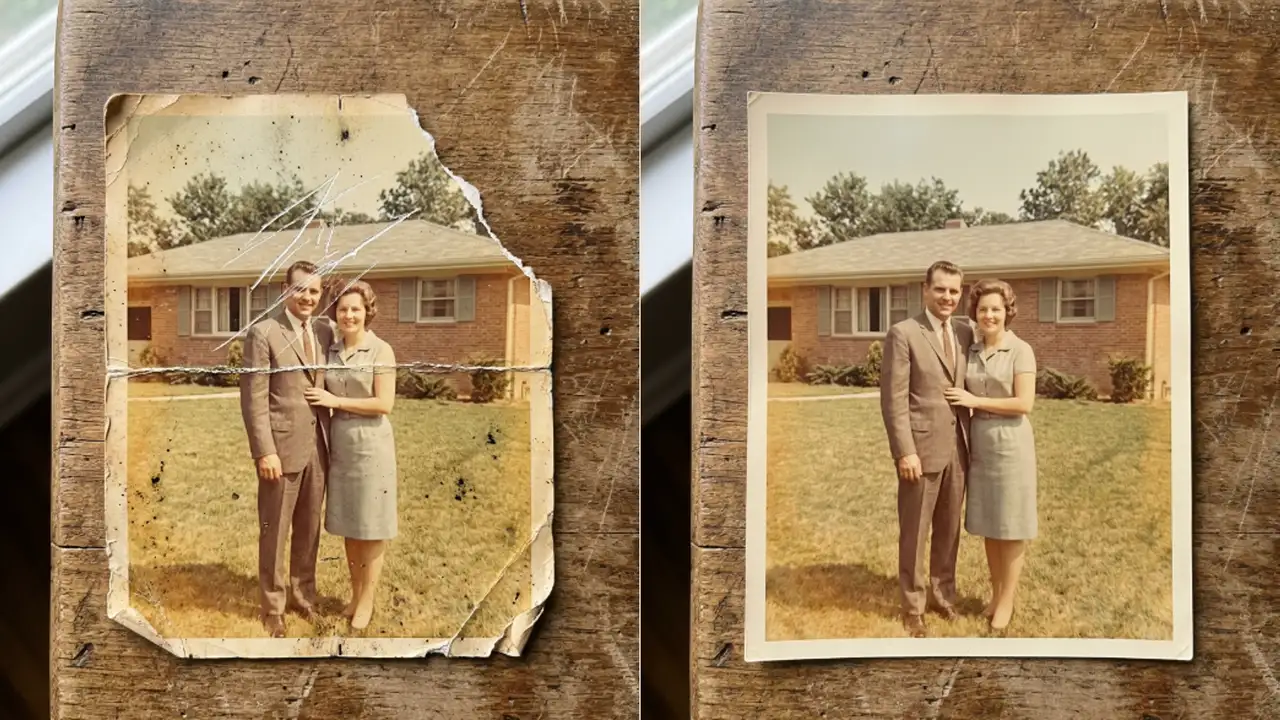
Cleanup is not the right tool for damage. Grain is a recording problem, but scratches, tears, fading, and chemical stains on an old print are physical, and they need a model trained on that.
For anything scanned from paper, start with the AI Photo Restore tool at 4 credits instead. It expects the faults a print accumulates rather than the faults a sensor produces.
And if the file is clean but small, cleanup is not the answer either. That decision is laid out in enhancer or upscaler which one to run first.
Most disappointing results come from running a general cleanup at a problem that was never general. Name the fault first, then pick the tool.