Picverce AI Image Upscaler 2x 4x and 8x
What each upscale setting costs, the pixel sizes they actually produce, which subjects survive the jump, and when 8x is simply money thrown away.
AI ModelsThree buttons sit above the model list, 2x, 4x and 8x, and they cost 2, 3 and 6 credits. That pricing is not proportional to the numbers, which is the first thing worth noticing.
Going from 2x to 4x on AI Image Upscaler costs one extra credit. Going from 4x to 8x costs three more, and doubles the pixel count in each direction on top of that.
Picking the right one is mostly arithmetic and partly knowing what your subject does when it gets stretched.
Start with the output size you need
The setting is a multiplier, not a target. A 1000 pixel image becomes 2000, 4000 or 8000 pixels wide depending on which button you press.
Print work makes the sum easy. Divide the output width by 300 and you get the inches you can print at full quality.
- A 1000 pixel source at 2x gives 2000 pixels, which prints cleanly at about six and a half inches wide
- The same source at 4x gives 4000 pixels, or roughly thirteen inches, which covers A4 and most framed prints
- At 8x it gives 8000 pixels and about twenty six inches, which is poster territory and rarely what anyone actually needs
- For screen use, almost nothing needs more than 2x, since a typical display tops out well below 4000 pixels wide
Work the sum backwards from the finished job and the choice usually makes itself. I do this before uploading now, because deciding after seeing a result tends to end in a second run.
The 5 MB upload cap sits in front of all of this. It applies to what you hand over, not to what comes back, so a large source can be rejected while a small one happily produces an enormous output.
What each subject does under a jump
Different material survives scaling differently, and the gap widens as the multiplier grows.
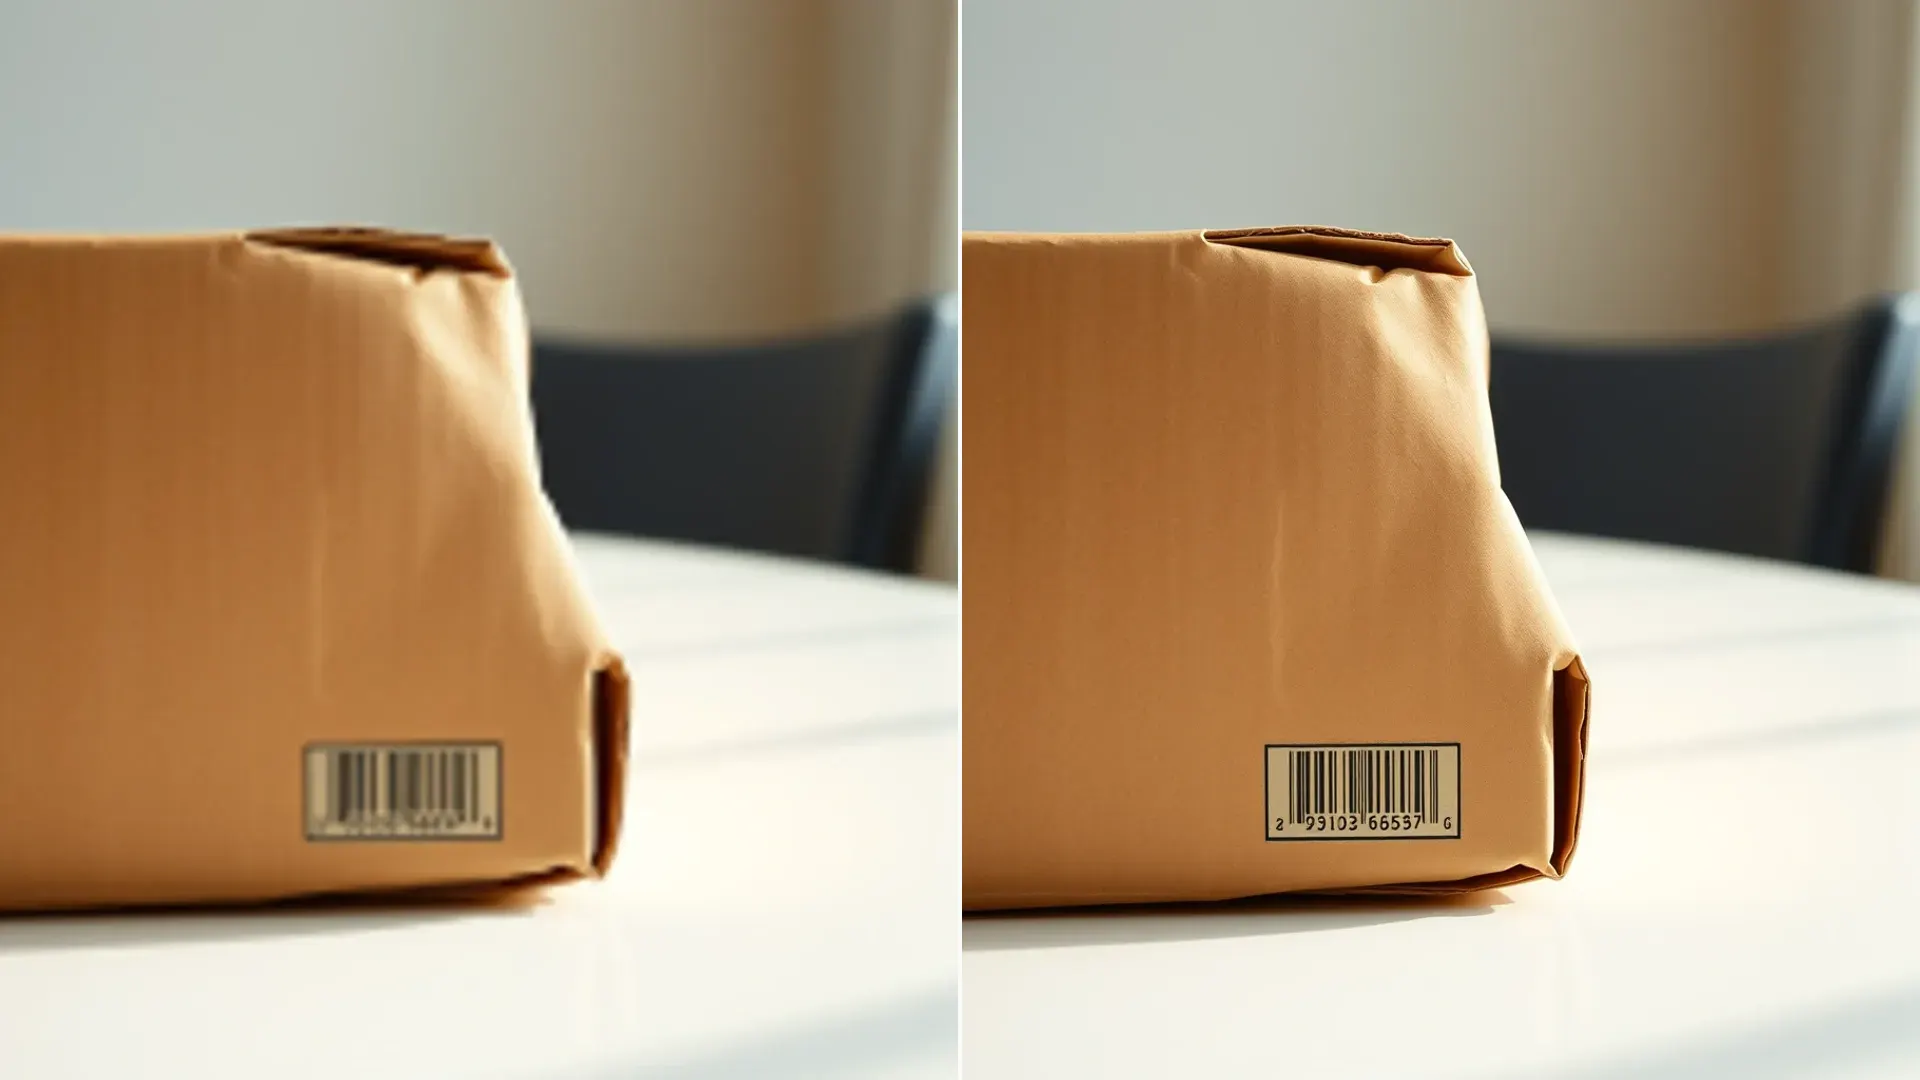
Hard edges do best. Product outlines, packaging, lettering on a box, and drawn line work are simple shapes to extend, so they hold up at 4x and often at 8x.
Faces are the opposite. Skin is fine irregular texture, and the further you push it the more the tool has to invent, which is where a face starts looking smooth in a way real skin never does.
Fabric and hair sit in between. Both come back convincingly at 2x and 4x, and both tend toward a painted look at 8x where individual strands stop being separate.
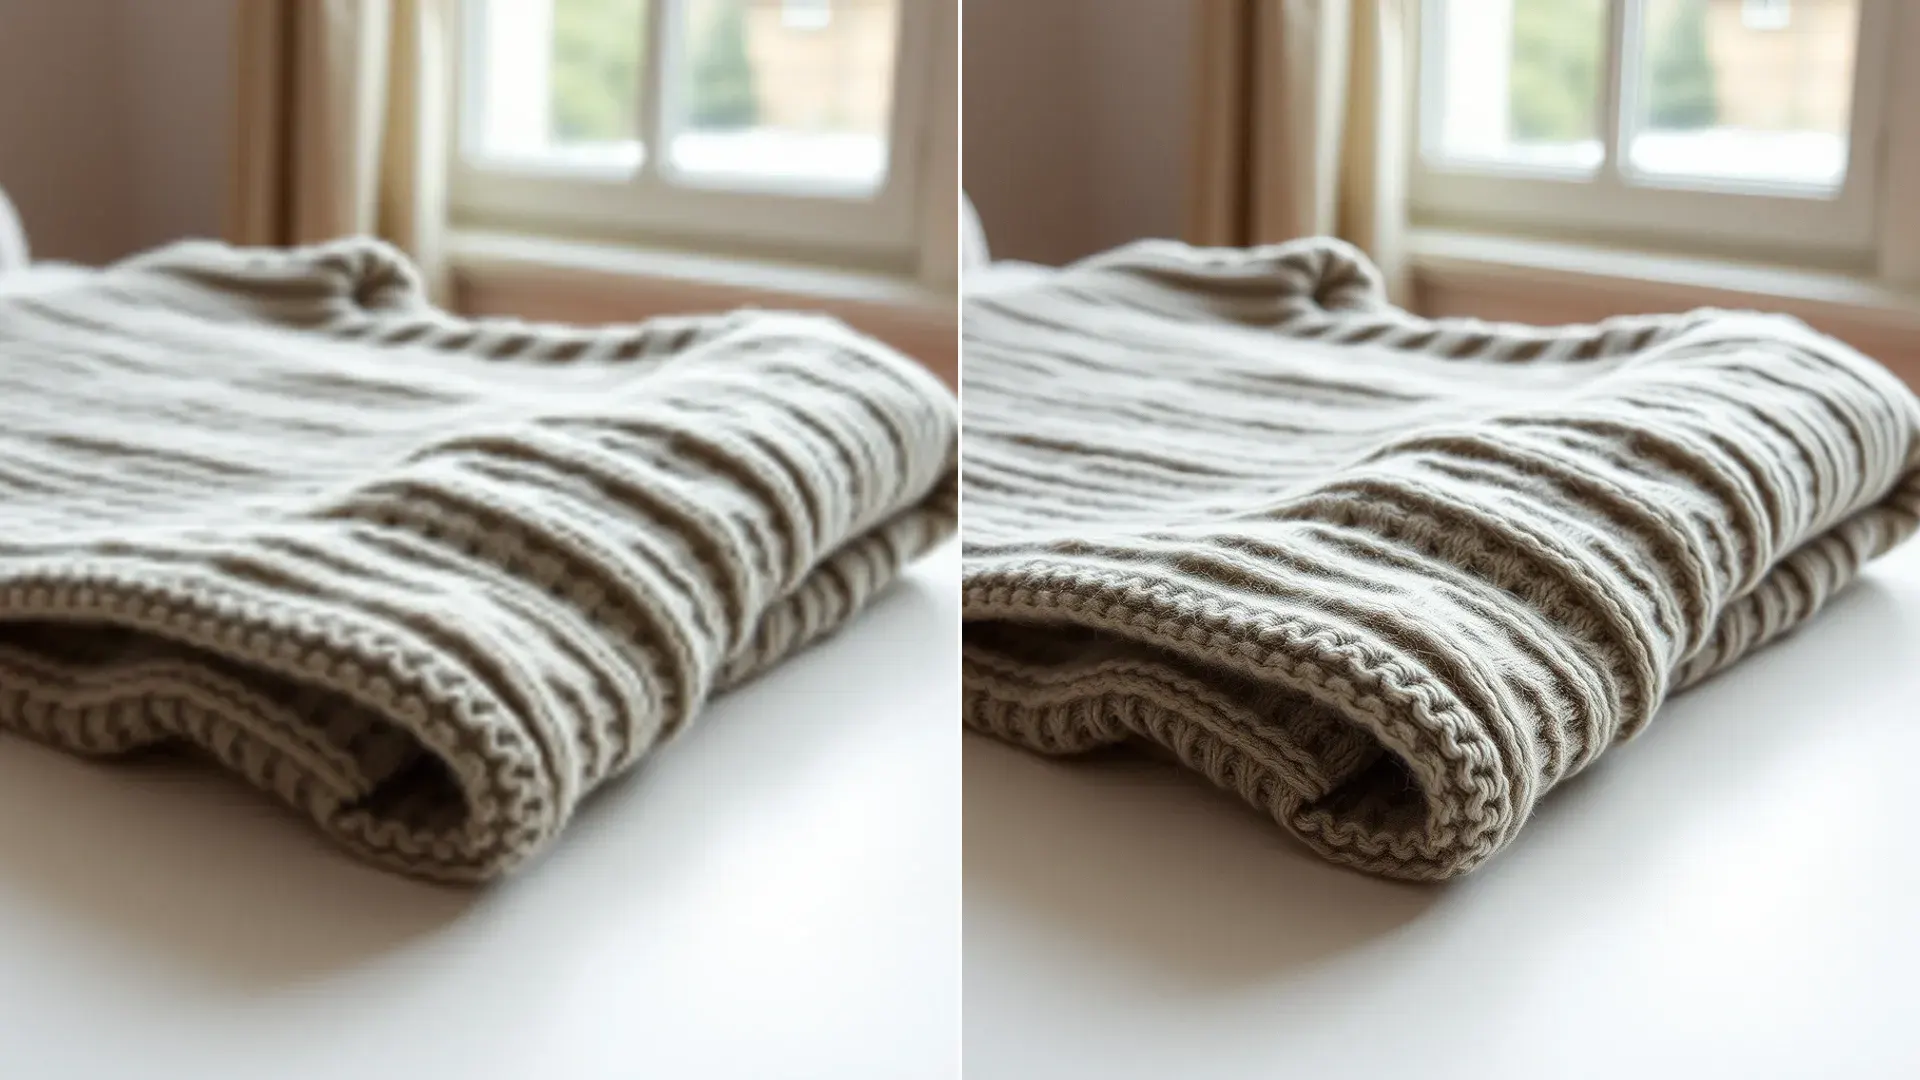
A knitted wool jumper I ran at all three settings made this obvious in one sitting. Individual stitches stayed separate at 2x and 4x, and at 8x the wool had smoothed into something closer to felt.
Portrait work has enough of its own rules to deserve separate treatment, and when 4x beats 8x on faces goes through the skin and eye behaviour in more detail than fits here.
When 8x is money thrown away
Six credits is three ordinary runs, so 8x needs to earn its place rather than being the default because it is the biggest number.
- The source is already large. Upscaling a 4000 pixel photo to 32000 pixels produces a file most software struggles to open and no printer will ever use
- The result is for a screen. Web pages, social posts and presentations all downscale whatever you give them, so the extra pixels are discarded on arrival
- The source is heavily compressed. Every block artifact gets multiplied along with the real detail, and at 8x those blocks become impossible to ignore
- The subject is a face at any size, unless you have compared it against 4x first and genuinely prefer the larger result
The honest default is 4x for print and 2x for everything else. I have run 8x maybe four times on purpose, and two of those were tests rather than jobs.
Where 8x does earn it is a genuinely tiny source going onto something large. A 500 pixel logo headed for a banner has nowhere else to go, and hard edged graphics are exactly the material that survives the trip.
Upscaling against cleaning up
A soft photo at a good size does not need more pixels, it needs better ones, and that is a job for the AI Image Enhancer at 2 credits instead.
The two get confused because both make a photo look better in a thumbnail. They are doing different work, and running the wrong one wastes a credit and a couple of minutes.
The question to ask is whether your problem is measured in pixels or in quality. Not enough pixels for the size you need is an upscaling job. Enough pixels but a soft or noisy result is not.
When a file has both problems, clean it up first and scale afterward. Multiplying noise is the fastest way to turn a fixable photo into an unfixable one, and I have done it often enough to stop arguing with the order.
Credits only come off when a run finishes, so a rejected upload costs nothing. That makes testing 2x against 4x on one important file a reasonable use of 5 credits rather than an indulgence.