Pick a model for a product mock
Choosing a generation model for product imagery on Picverce AI, the settings that matter for a mock, and the limit worth knowing before you start.
AI ModelsA product mock is a specific job with specific constraints, and those constraints narrow the model choice far more than taste does.
Start with the limit, because it decides whether generation is the right tool at all.
The limit worth knowing first
A generation model does not know your product. It makes a plausible object of the type you described.
For a mock of a generic thing, a mug, a candle, a bottle, that is fine and often ideal.
For your actual product, with its actual label and its actual shape, it is the wrong tool. Nothing in a prompt will reproduce a specific object faithfully.
That is the decision to make before spending anything. Generating a scene is a different job from photographing your stock.
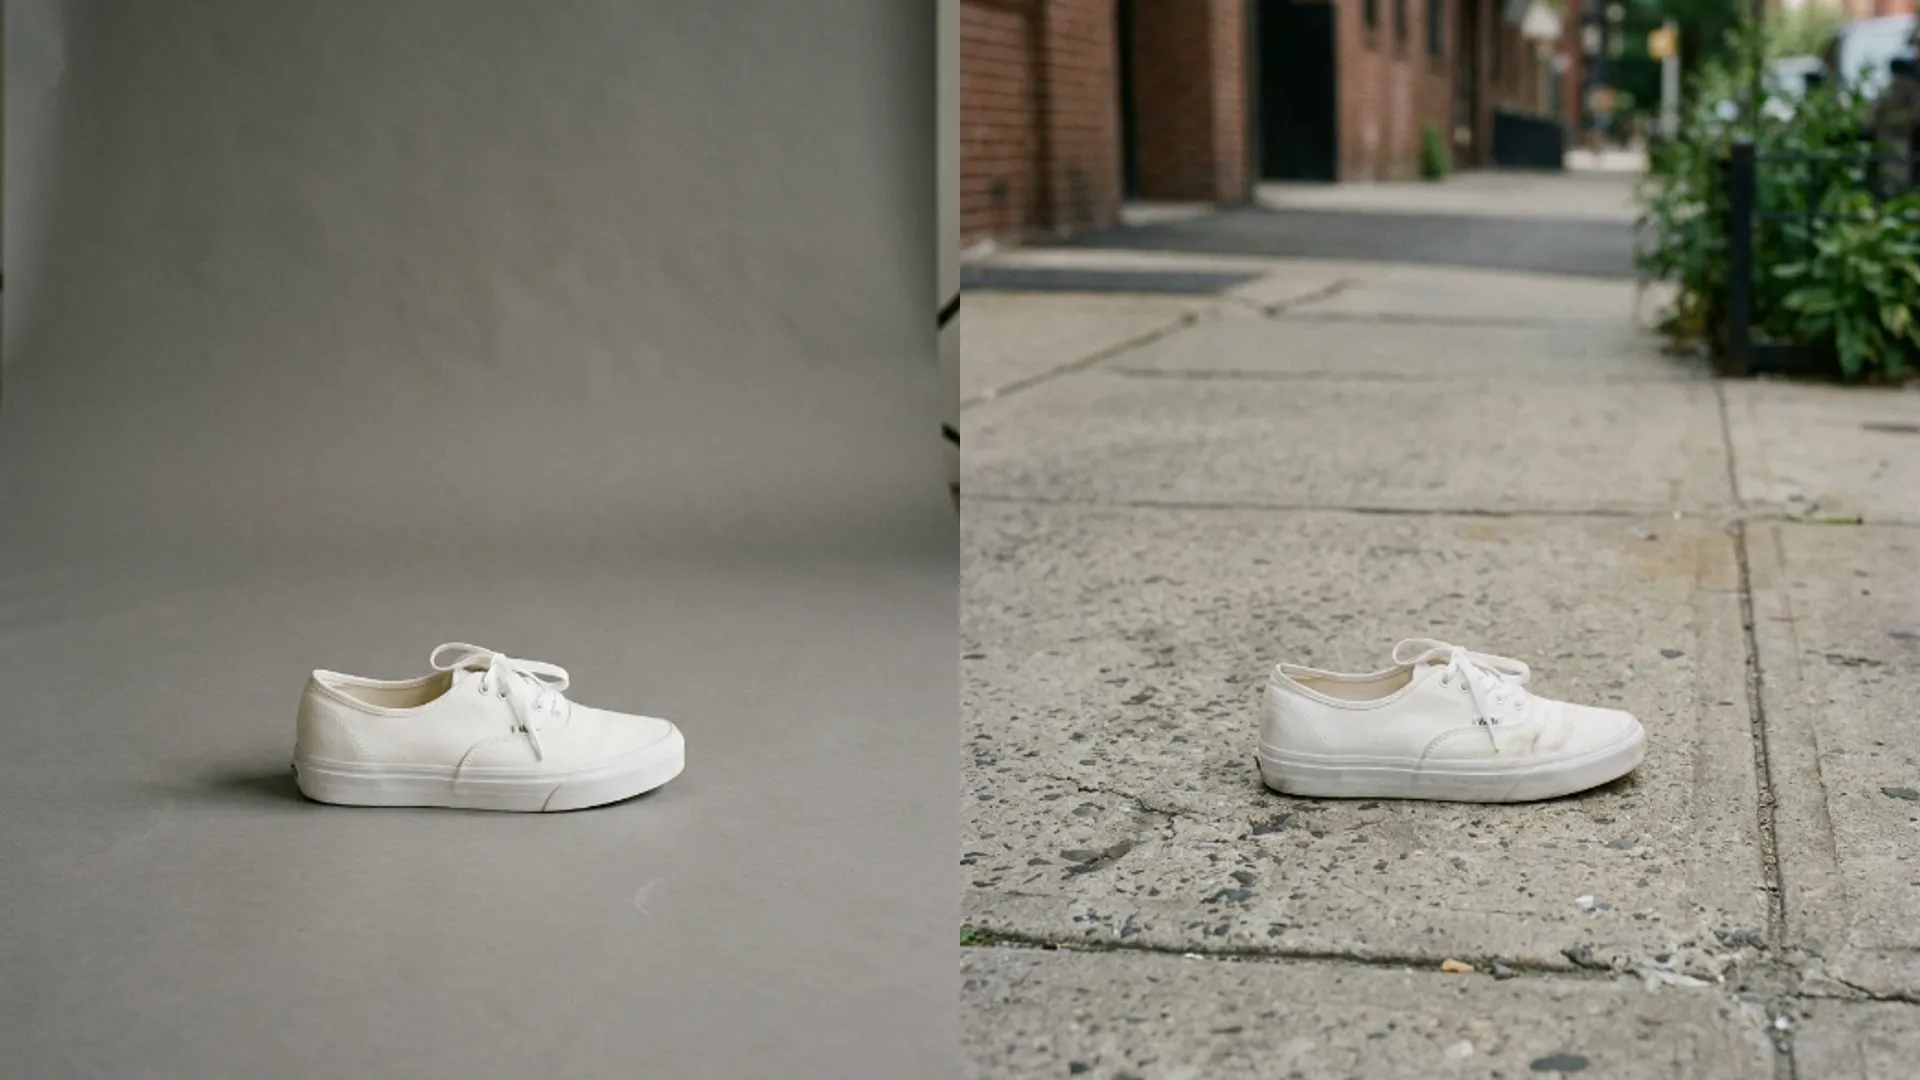
The middle ground is real though. Generating a background or a surface and placing your real product on it gets you a mock that is genuinely yours.
If the product exists and you have a photo of it, the repair and cutout tools in the AI Image Generator are not what you want, and a background swap on the real photo will beat any generated approximation.
What a mock actually needs from a model
Three things, and they point at different models than a general purpose picture would.
- Clean even light, because product imagery lives or dies on it.
- Believable materials. Ceramic, glass and metal are where models differ most.
- A ratio that matches where the mock is going, decided before you start.
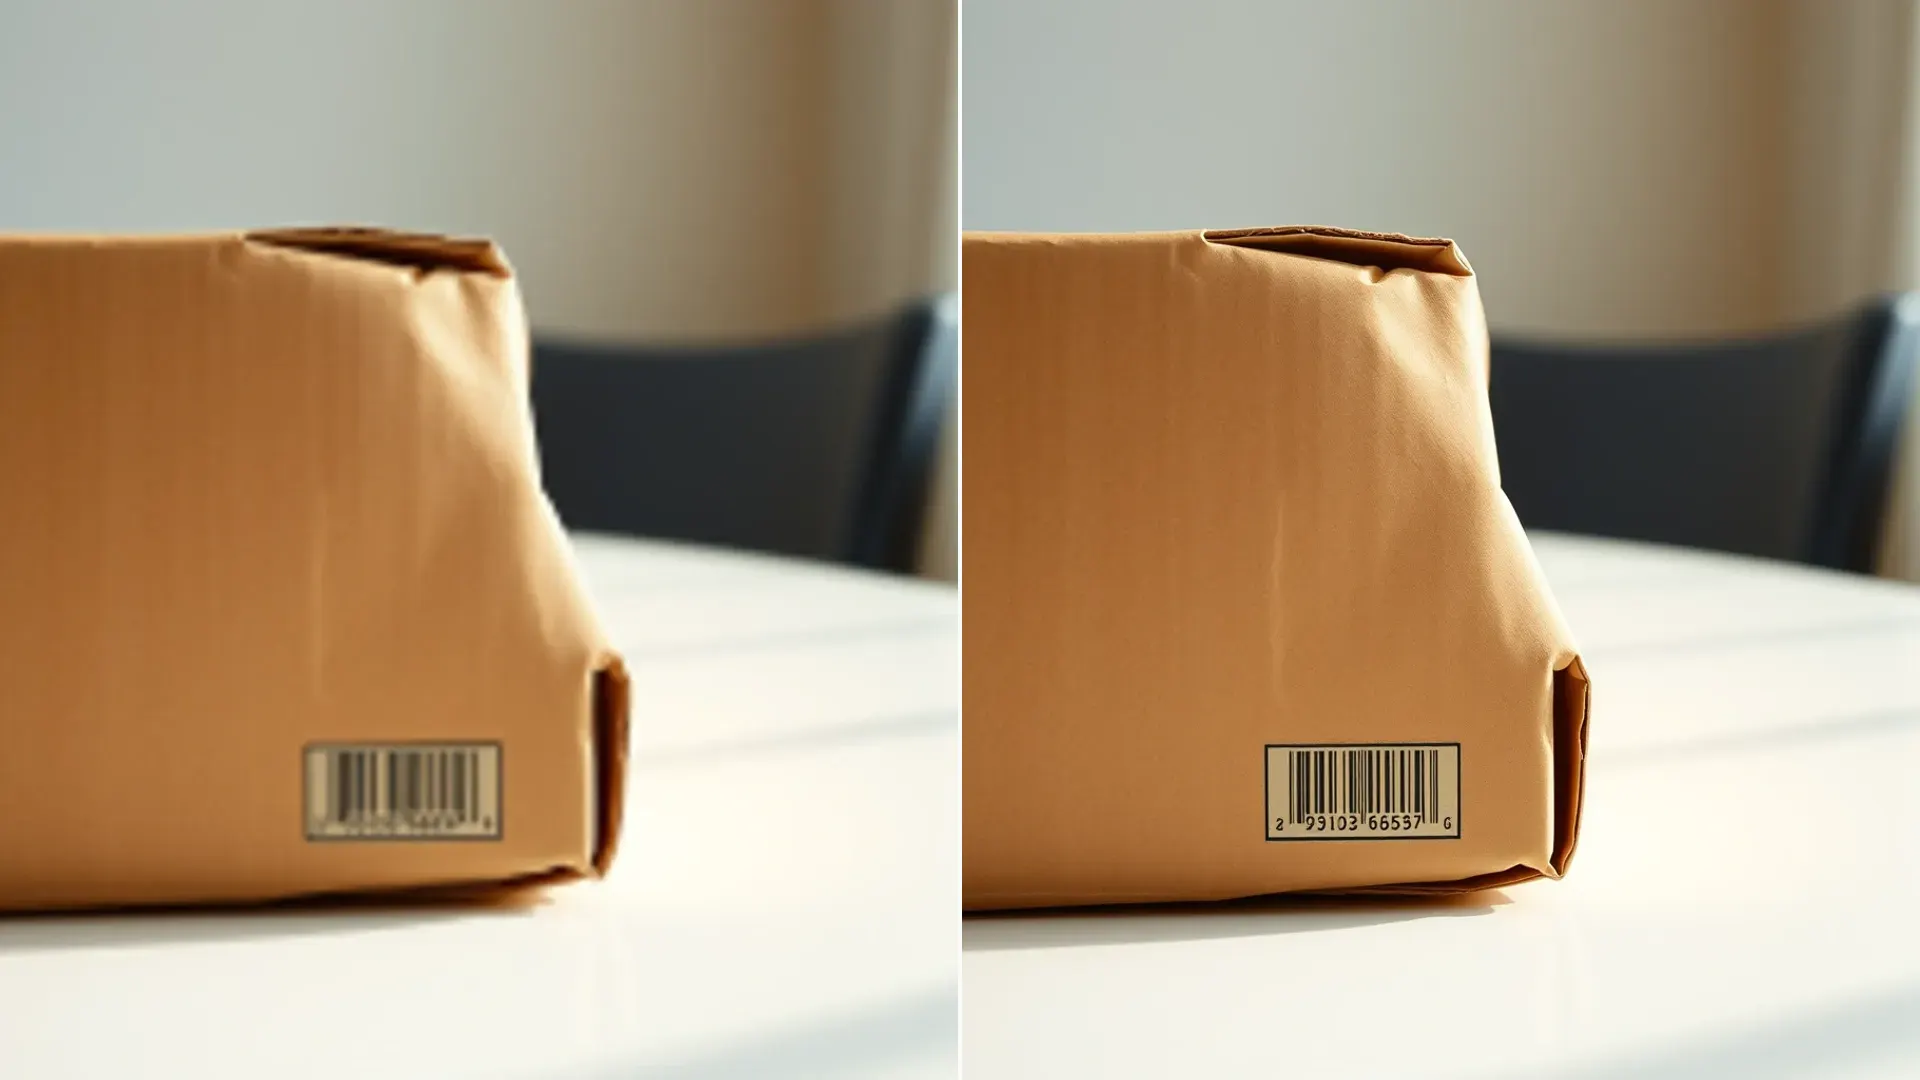
Text on packaging is the fourth thing and it is the hardest. If your mock needs a readable label, that narrows the field sharply and is worth testing first.
Glass and reflective surfaces are the other differentiator. Some models render a convincing bottle and others produce something that reads as plastic.
When I tested this on a candle in a glass jar, two models handled the wax and only one handled the glass without it looking painted.
Testing the hardest material first is the shortcut. Whatever handles your glass or your metal will handle the easy parts too.
The settings that matter here
Most generation settings are about exploration. For a mock, two of them are about the final file.
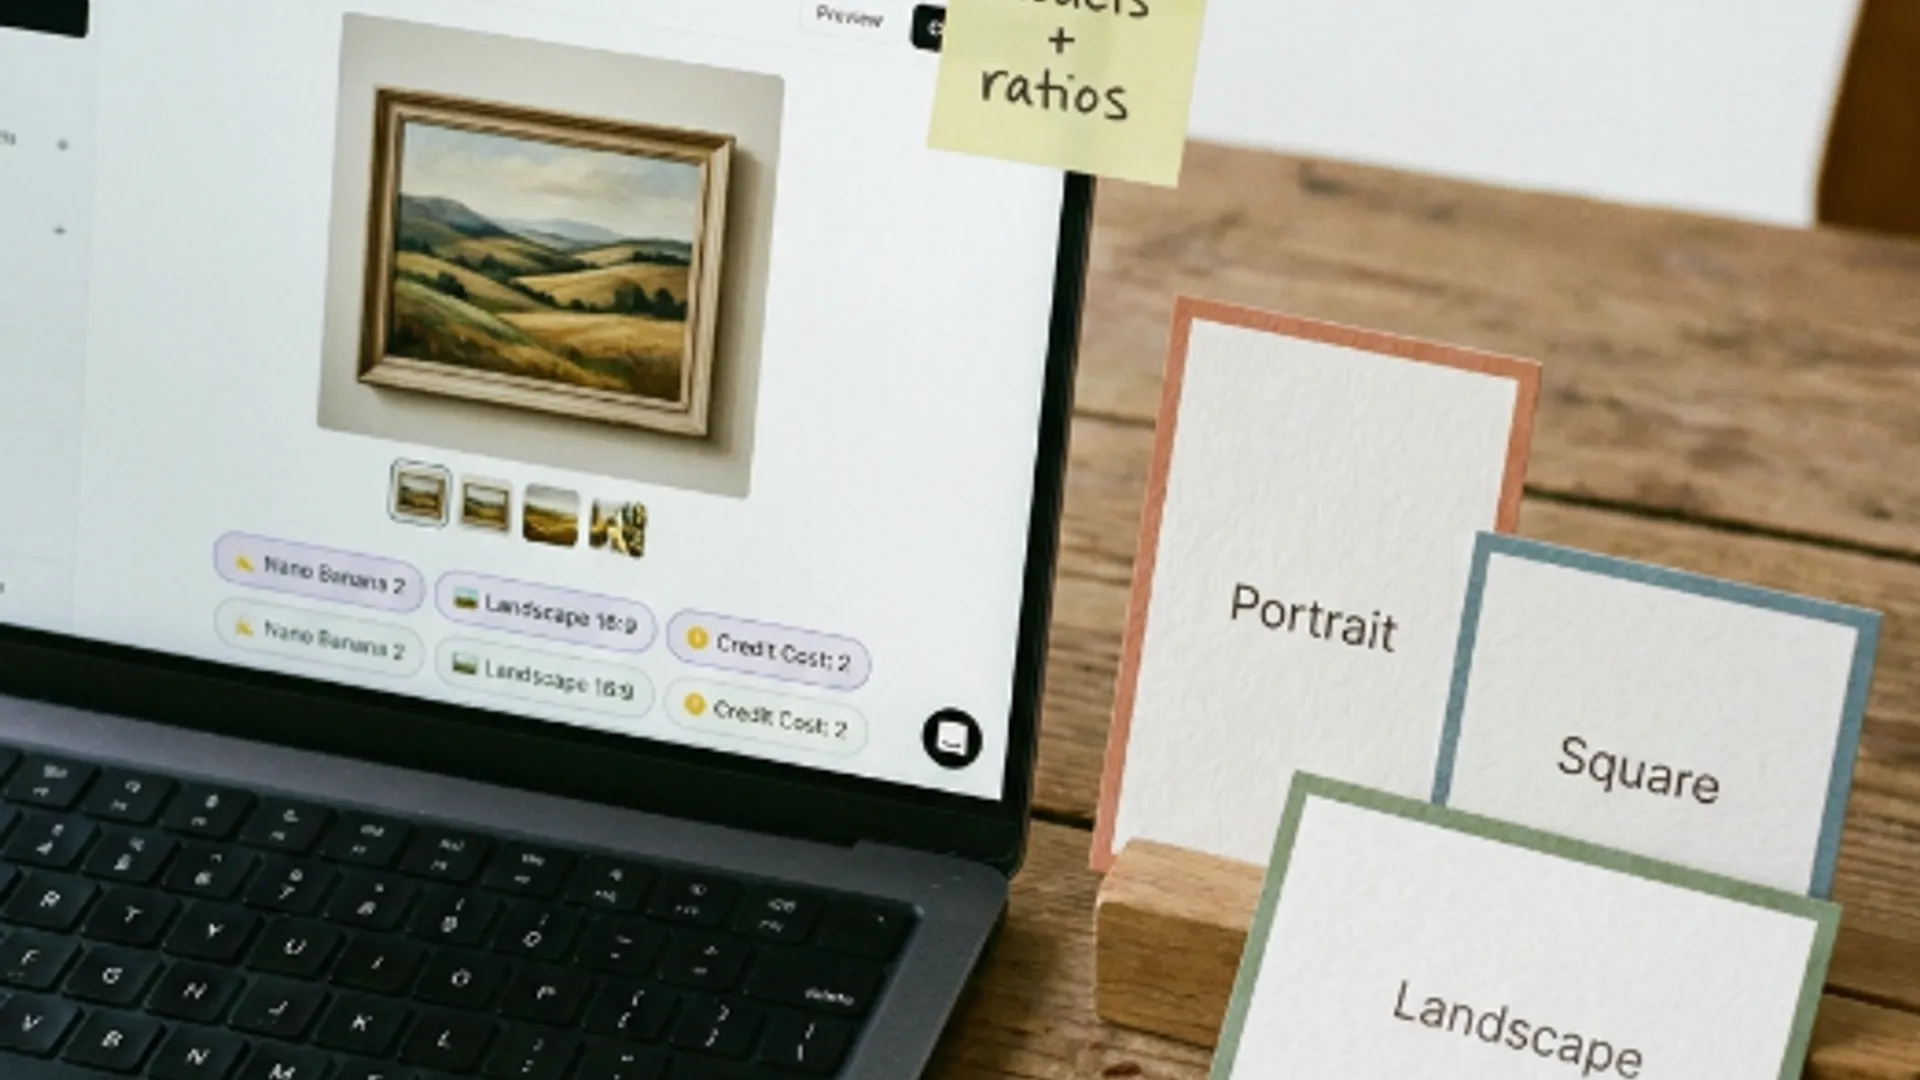
Ratio comes first because a mock has a destination. A listing image, a slide, a banner, each has a shape and you should set it rather than crop later.
Resolution decides the price, and it is the setting to leave low until the composition is settled.
Variations are more useful on mocks than on most jobs, because small differences in light and angle are exactly what you are choosing between.
Raise variations only after the prompt is right though. Four variations of a bad composition is four times the waste.
A reference image, on models that accept one, is worth trying if you have an existing shot whose framing you want to echo.
Not every model takes one, so if that matters to you it narrows the list before anything else does.
Some will also match the ratio of the reference, which removes one decision from the setup.
What each model accepts is published per model, and the list lives in the AI Models directory rather than being the same everywhere.
A sequence that works
Five steps, and it has never taken me more than half an hour.
- Decide the ratio from where the image is going.
- Write the prompt naming the object, the surface it sits on, and the light direction.
- Draft on two or three models at the lowest resolution, one variation each.
- Pick the model that handled your material best, then fix the light over a few more cheap drafts.
- Raise resolution and variations once, choose from the results, and stop.
The material test in step three is the one that actually separates the models. Everything else they will all do adequately.
Judge the final at full size before using it. Generated product imagery often has a small oddity that a thumbnail hides, and a handle or a seam is where to look.
And if the mock is going to print, size it properly at the point of generation rather than enlarging afterwards, for the reasons in upscale a product photo for print.
Generic object, clean light, right ratio, cheap drafts. A mock is one of the easiest generation jobs once you accept it will not be your actual product.
The moment you need your real product in the frame, stop generating and start photographing. That boundary is the one thing worth being strict about.
Everything downstream of that decision is easier once it is made honestly.
Generated mocks are for concepts, layouts and placeholders. Those are real uses and they cover a lot of ground.
What they are not is a photograph of a thing you sell, and saying so up front avoids an awkward conversation later.