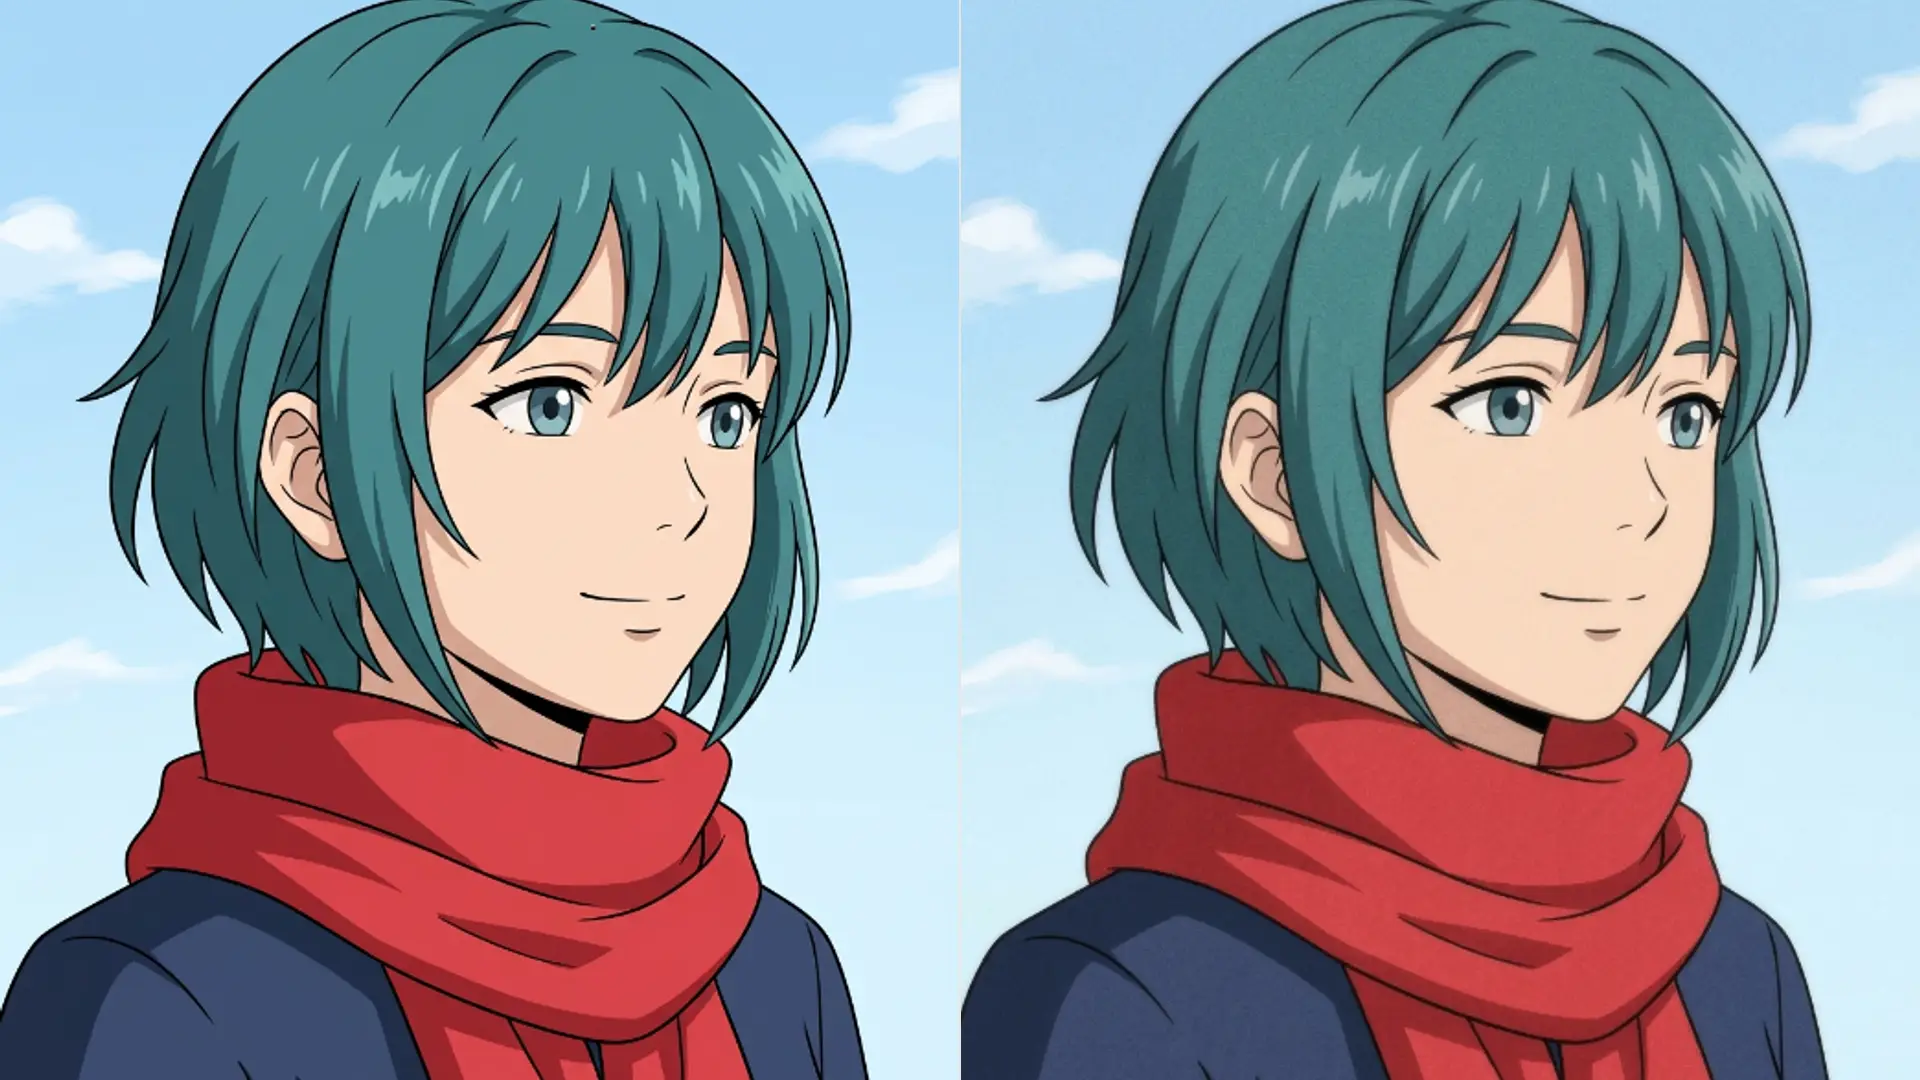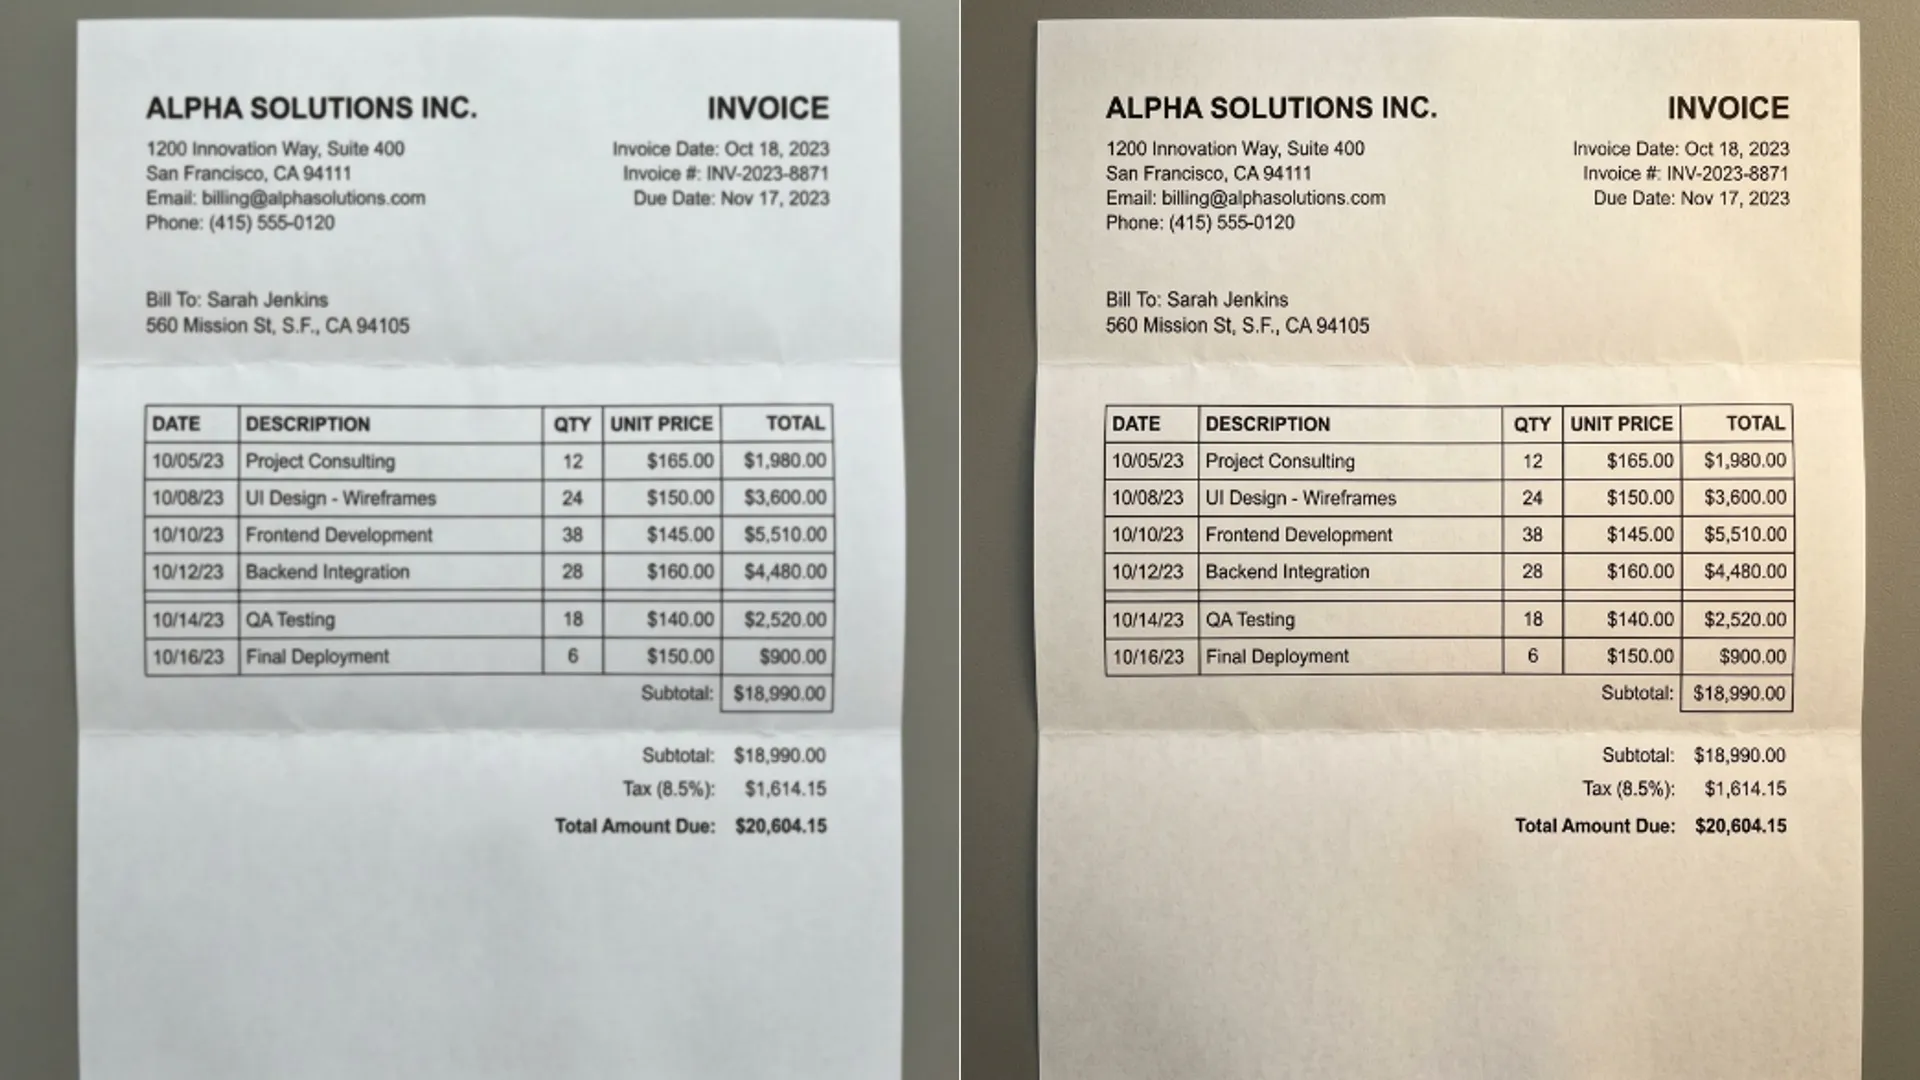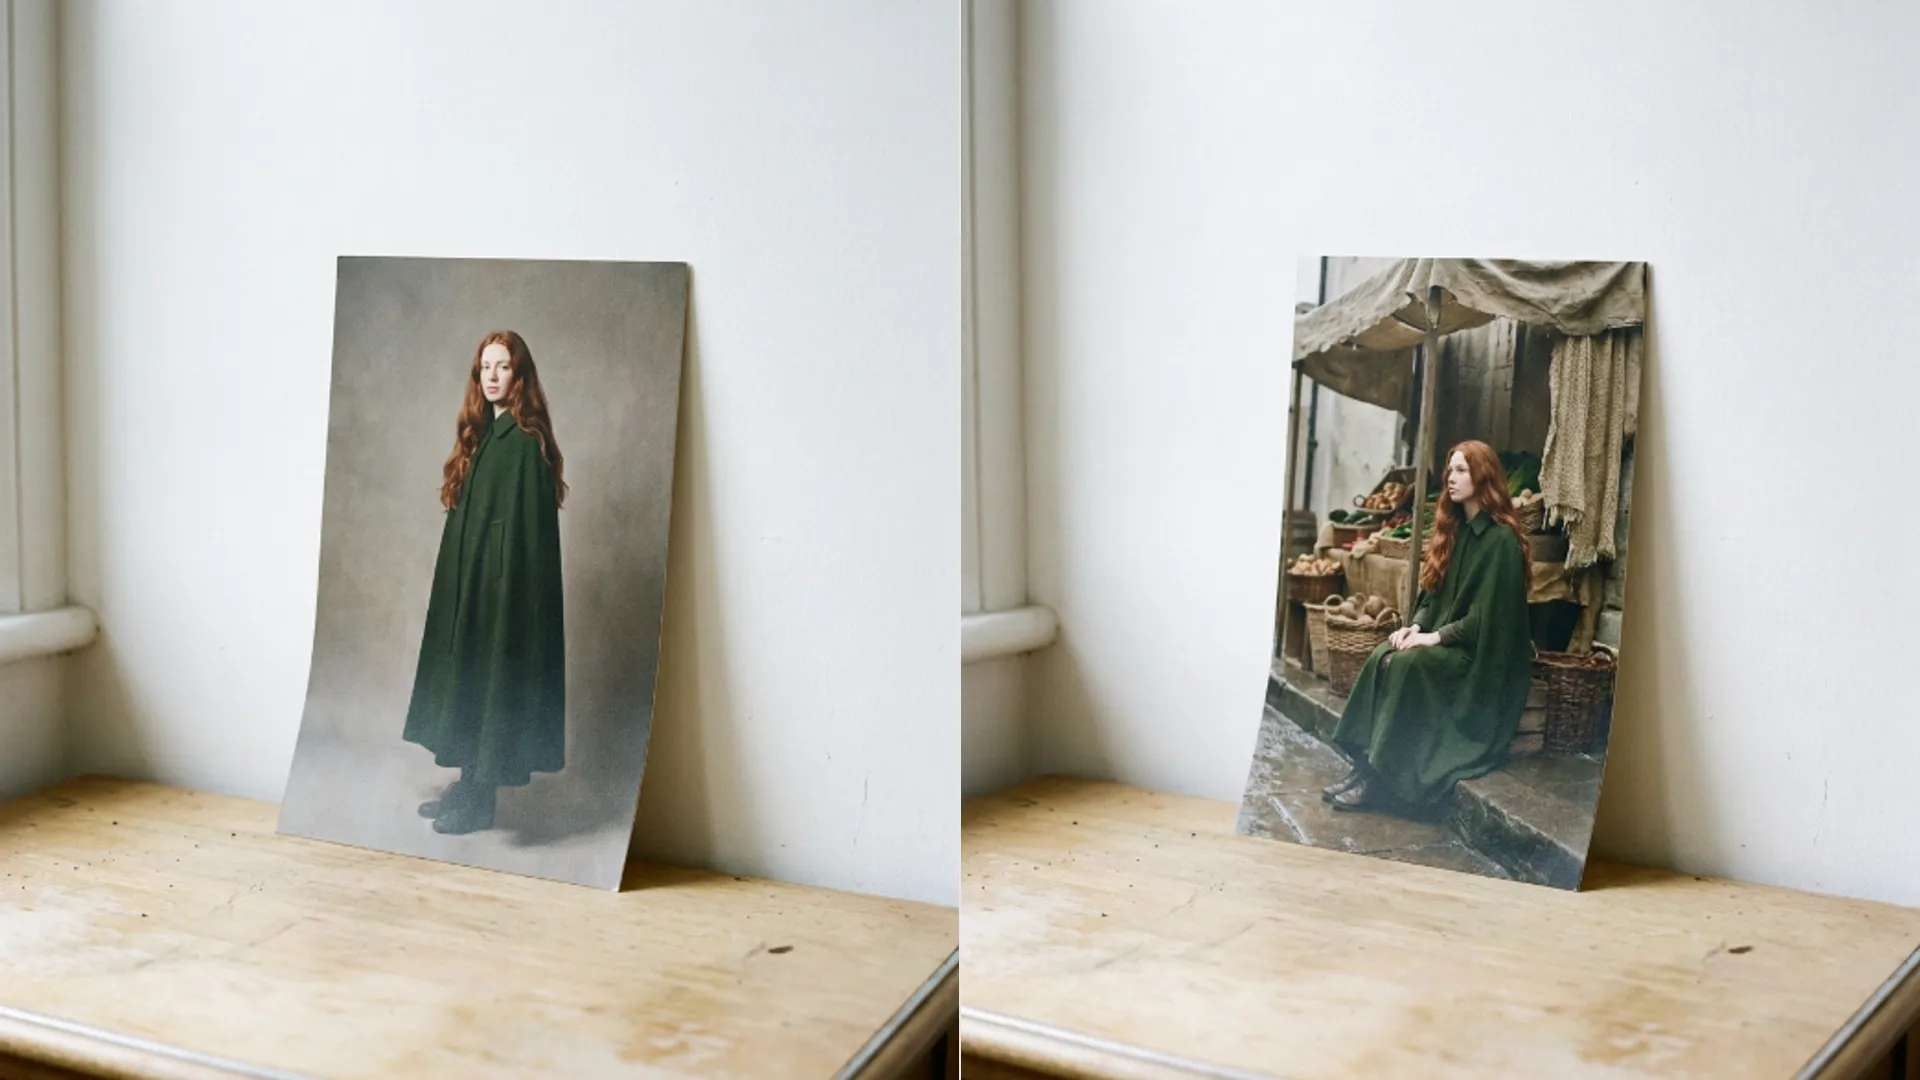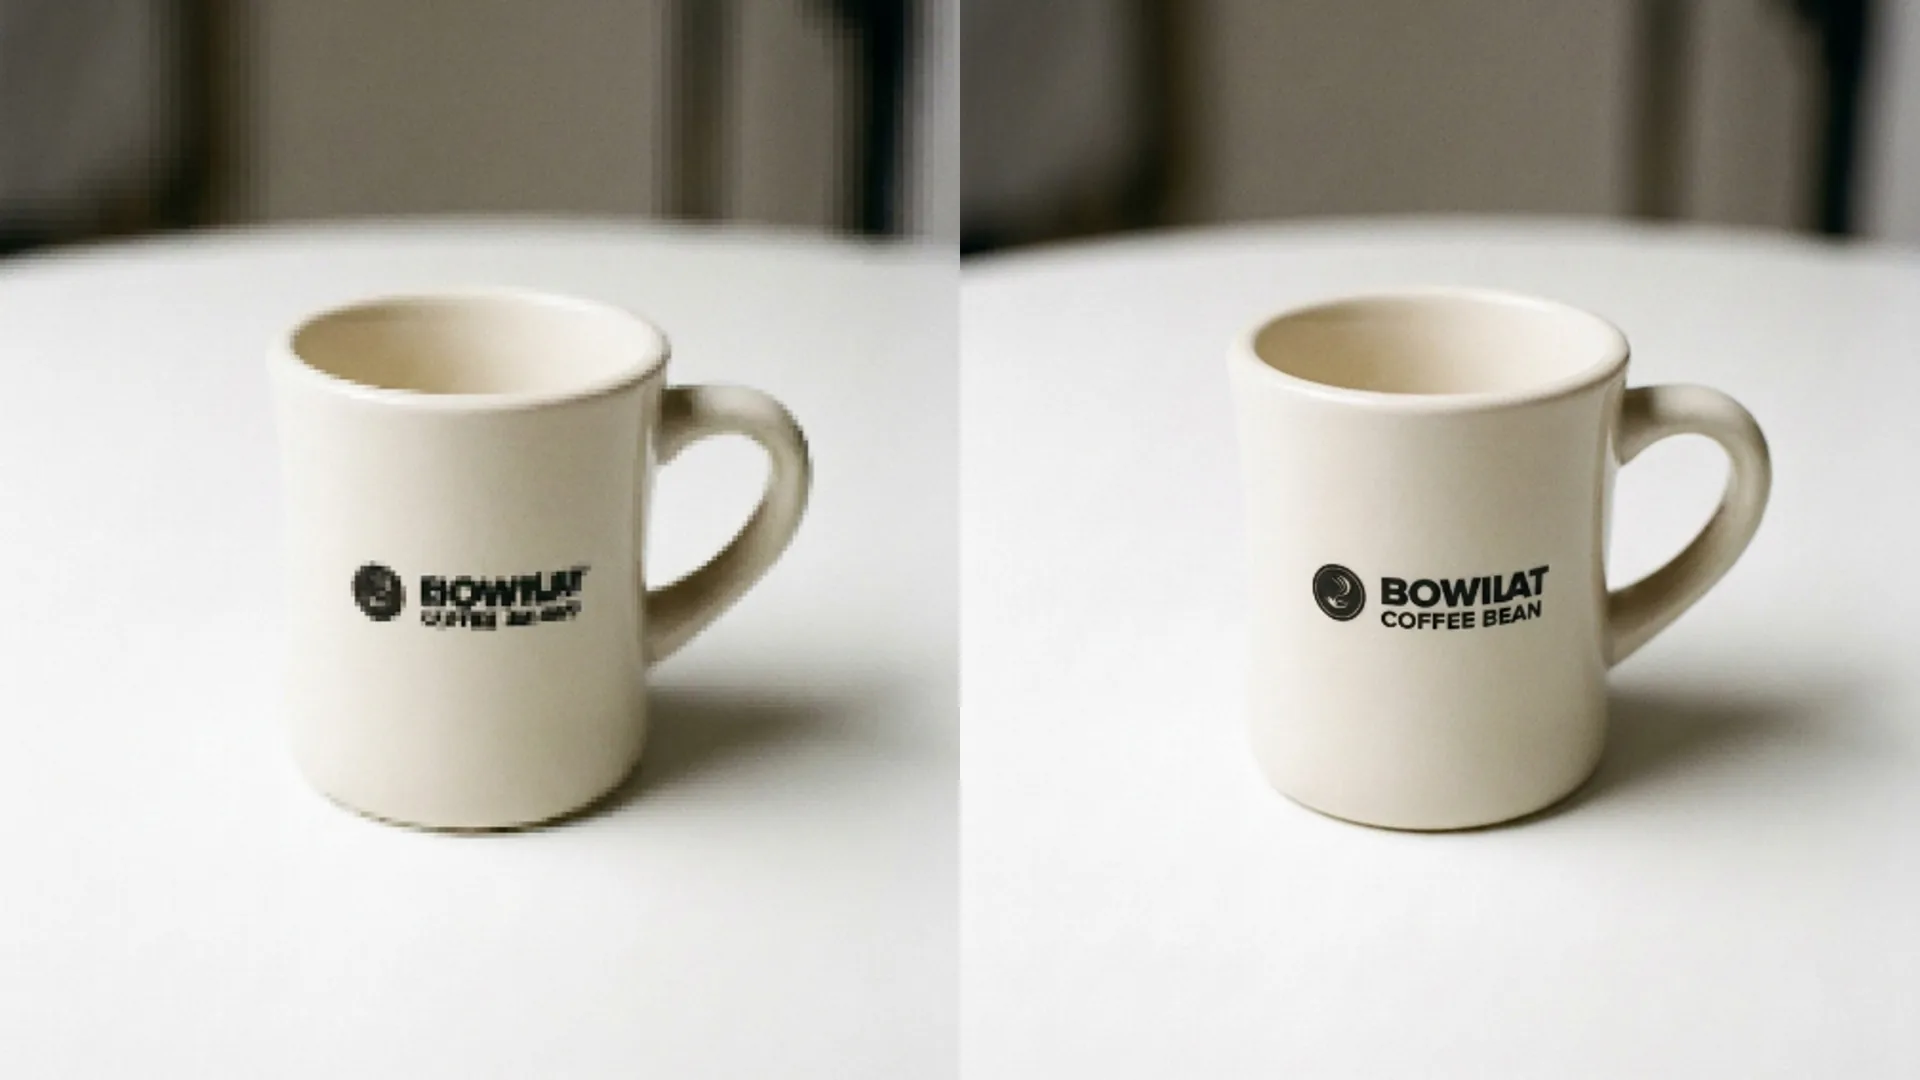
Upscaler vs sharpener for blurry photos
An honest split between enlarging with the Upscaler and tightening edges with the Sharpener, including when to run both and when neither helps.
RecommendationsBlurry is not one problem. A photo can be small, soft, or genuinely out of focus, and each of those wants a different tool from the same workspace.
I have picked the wrong one enough times to write down the actual split, rather than the guess I used to make before checking.
What each tool is actually solving
The AI Image Upscaler changes the pixel dimensions. A small file gets bigger, at 2x, 4x, or 8x, with detail rebuilt to fill the extra space rather than the file just getting stretched.
The AI Image Sharpener leaves the dimensions alone and tightens edges and micro contrast on the pixels already there. Nothing gets bigger.
A photo that is small but already crisp needs the upscaler. A photo that is a normal size but reads soft around the edges needs the sharpener. A lot of real photos are both at once, which is where the two get run together.
A quick way to check which case you have: zoom the file to 100 percent on a screen. If it looks fine at 100 percent and only gets soft when stretched larger, that is a size problem. If it looks soft even at 100 percent, that is an edge problem.
Cost and time, side by side
- Upscale 2x costs 2 credits and typically finishes in 10 to 20 seconds
- Upscale 4x costs 3 credits and typically finishes in 20 to 40 seconds
- Upscale 8x costs 6 credits and typically finishes in 45 to 90 seconds
- A sharpening pass costs 2 credits regardless of the source size and usually finishes faster than any upscale step
2x tends to suit screen use and social posts. 4x is closer to what a standard print like an 8 by 10 wants. 8x is for large format prints or a file that needs to hold up at full screen on a 4K display.
None of those numbers are a guarantee. A genuinely soft source photo pushed to 8x is still a soft photo, just a bigger one, so the scale you pick should match the print size you actually need rather than the biggest number on the list.
When to run both
Small and soft is the common case for anything pulled off an old website or scanned at low resolution. Upscale first, then sharpen the result, since sharpening a file at its final size gives a cleaner read on the edges than sharpening before the dimensions change.
I tested it the other order once on a product photo that needed print size, sharpening before upscaling, and the edge definition the sharpener added got stretched along with everything else, which softened it right back down.
The fix was rerunning the sharpener after the upscale finished rather than trying to salvage the first attempt. A wasted first pass is a cheap mistake here, since both tools are two or three credits each.
Running both costs the sum of the two steps. A 4x upscale followed by a sharpening pass is 5 credits total, which is still cheap next to a reshoot.
When neither tool helps
Genuine motion blur, from a moving subject or a shaky hand, is not solved by either tool. The upscaler makes a bigger blurry photo. The sharpener makes the blur read as a harder edged smear rather than a soft one.
I keep a couple of these test cases around specifically to remind myself not to bother. A blurry running shot from a phone camera stays a blurry running shot no matter which of the two tools runs on it, or in what order.
A photo that was small to begin with because the original detail was never captured hits a similar wall. Upscaling adds pixels, not information the sensor never recorded, and pushing 4x into 8x on a file like that mostly amplifies whatever noise was already present.
Heavy compression is the third case. A photo saved and resaved through a chat app several times has real detail loss baked into the pixels, and both tools treat compression artifacts as texture worth keeping rather than damage worth ignoring.
The short version
Check dimensions first. If the file is small for its intended use, upscale to the size you need, then sharpen if the edges still look soft at that size.
Write down the credit total before you start if you are working through more than one photo. It is easy to lose track of a session that runs both tools on every file in a folder.
If the file is already the right size and only the edges feel mushy, skip the upscaler entirely and go straight to sharpening. Spending 6 credits on an 8x upscale you did not need is the most common way I have seen people overspend in this workspace.
For faces specifically, the choice between 4x and 8x has its own tradeoffs, which when 4x beats 8x on faces covers in more detail than fits here.