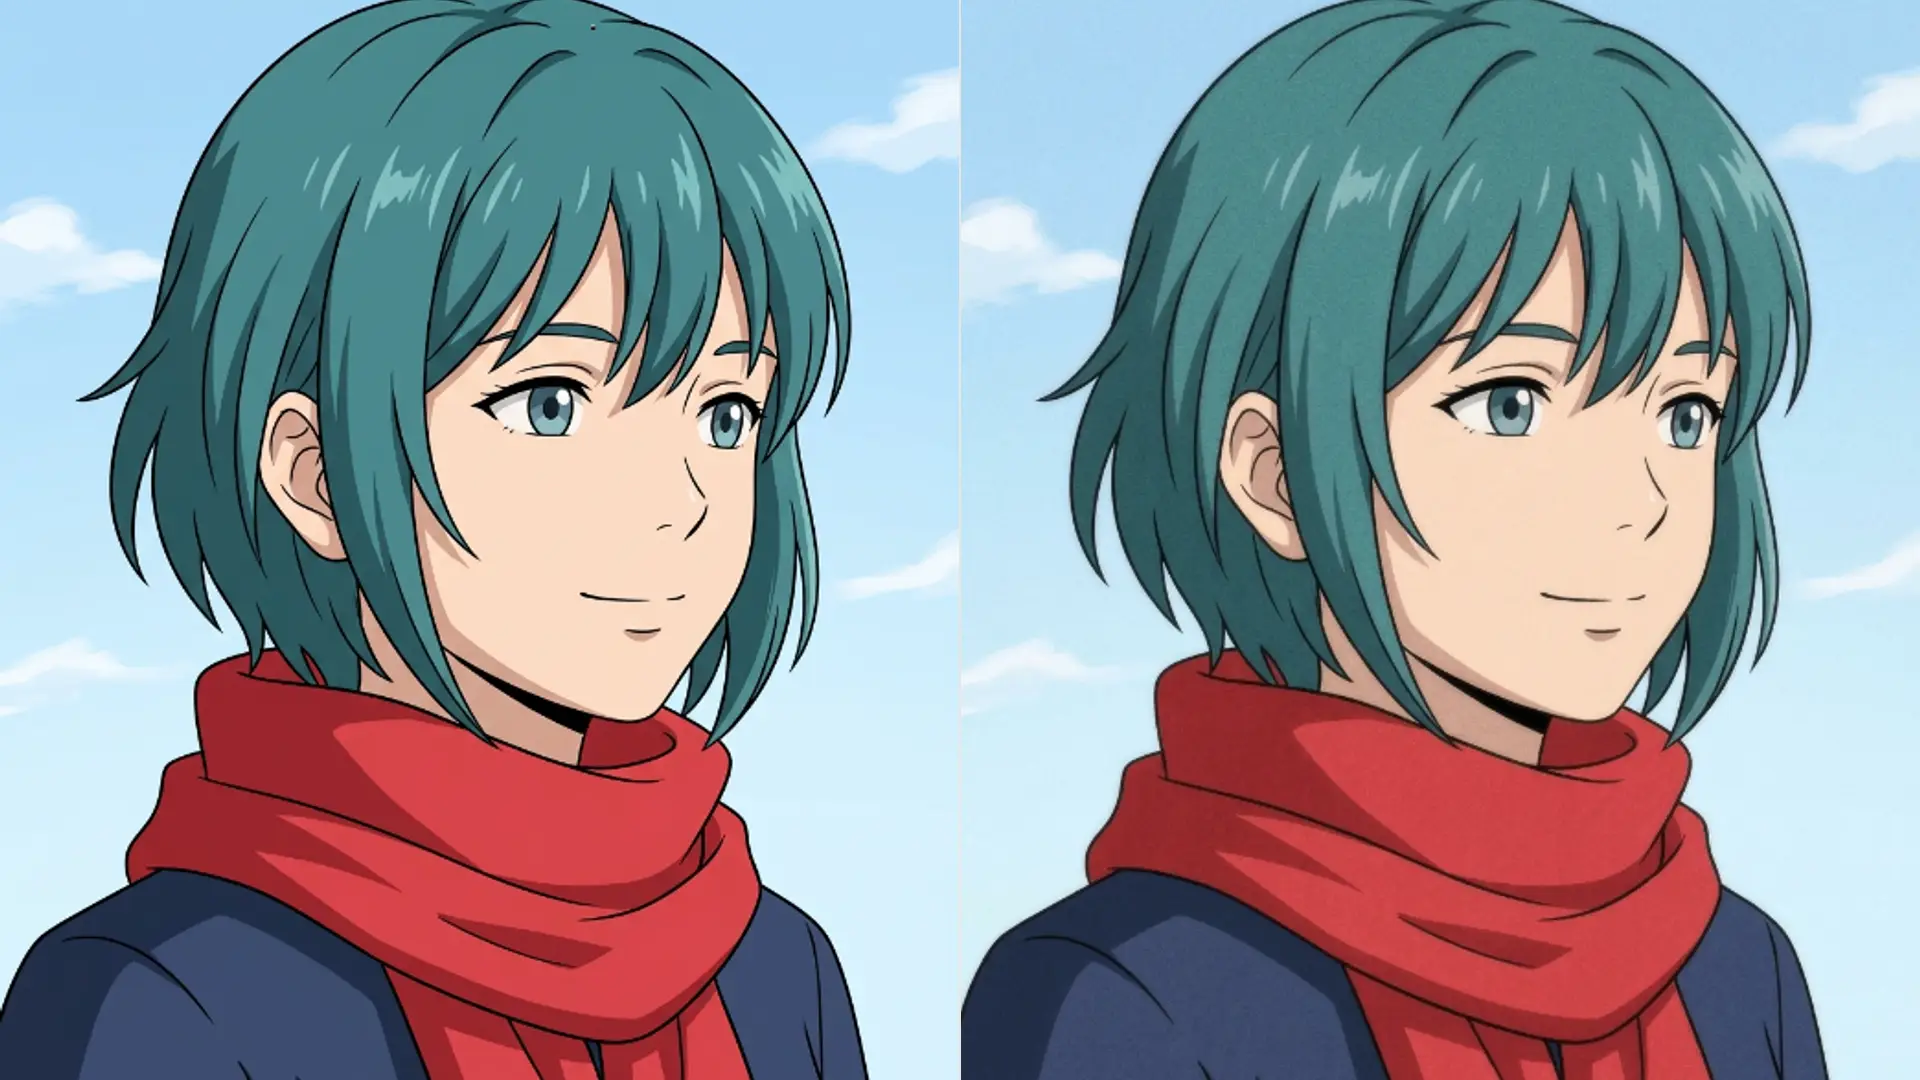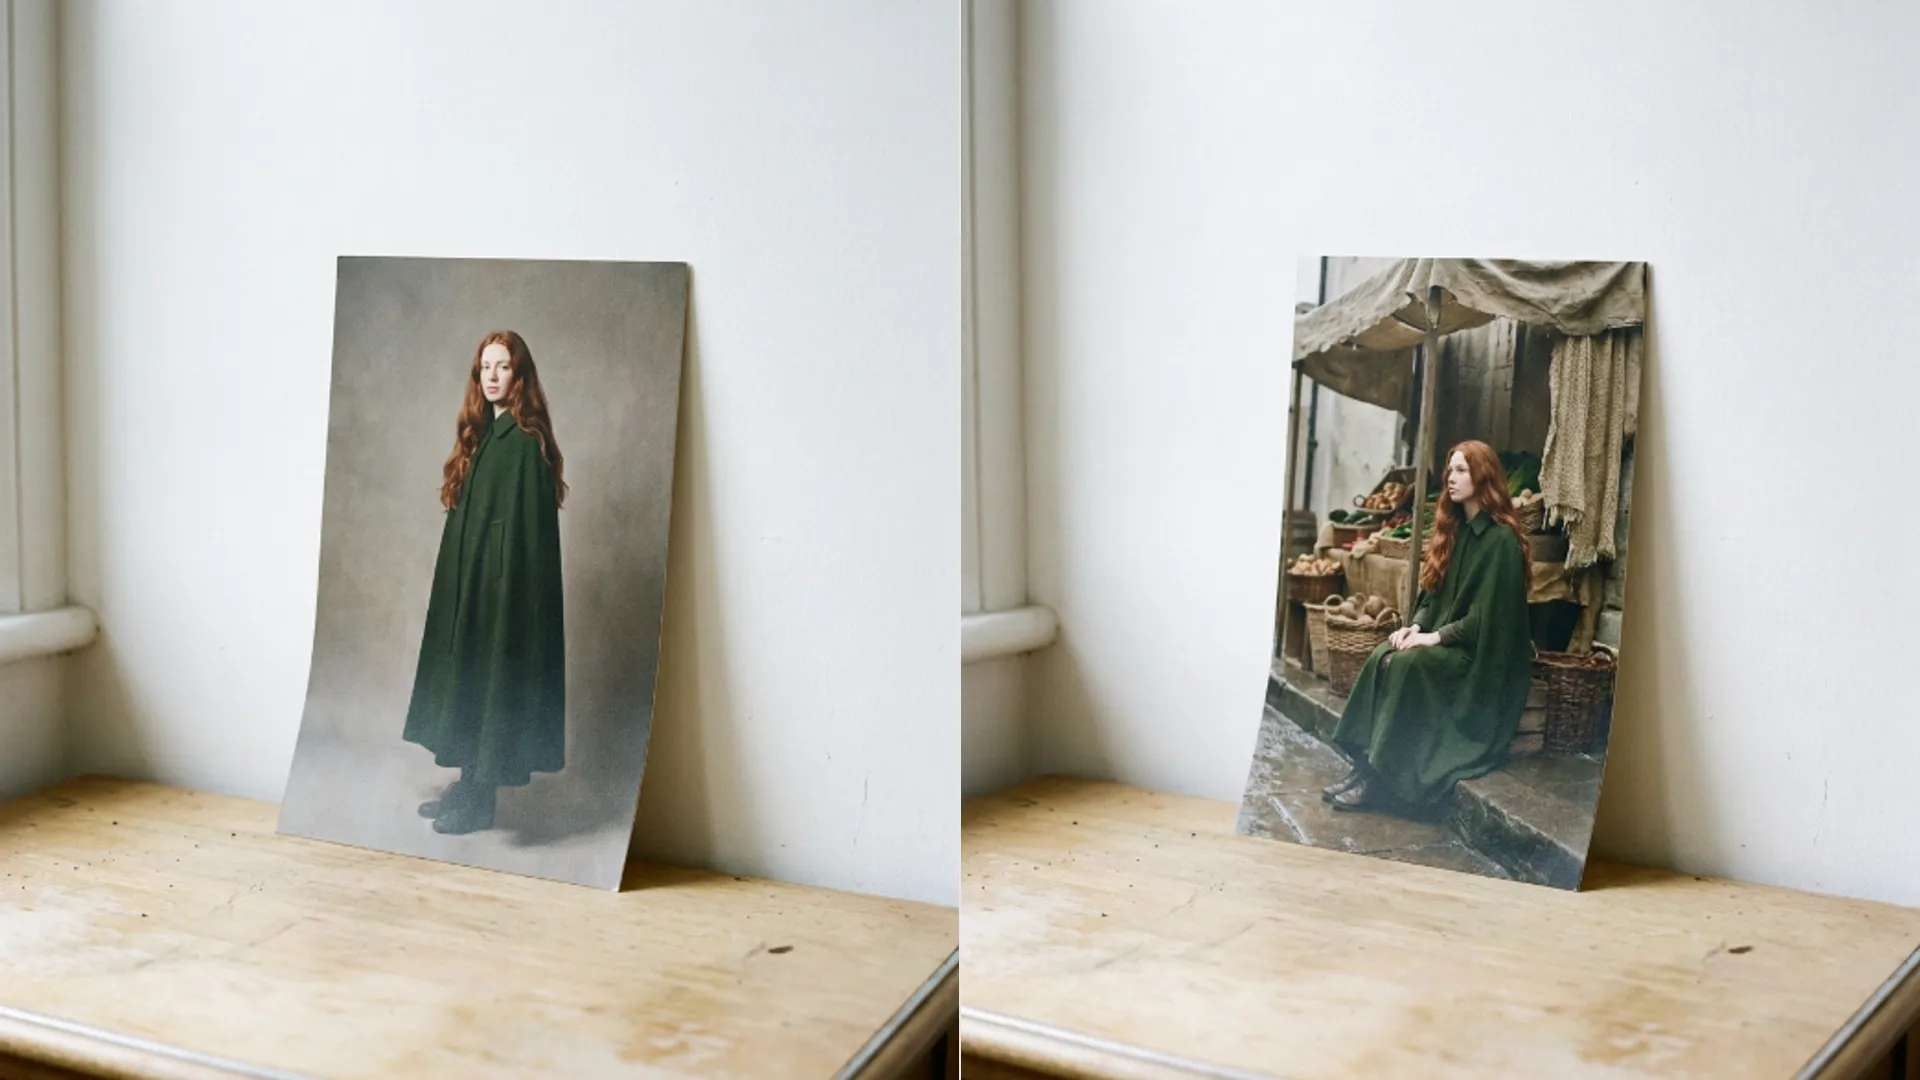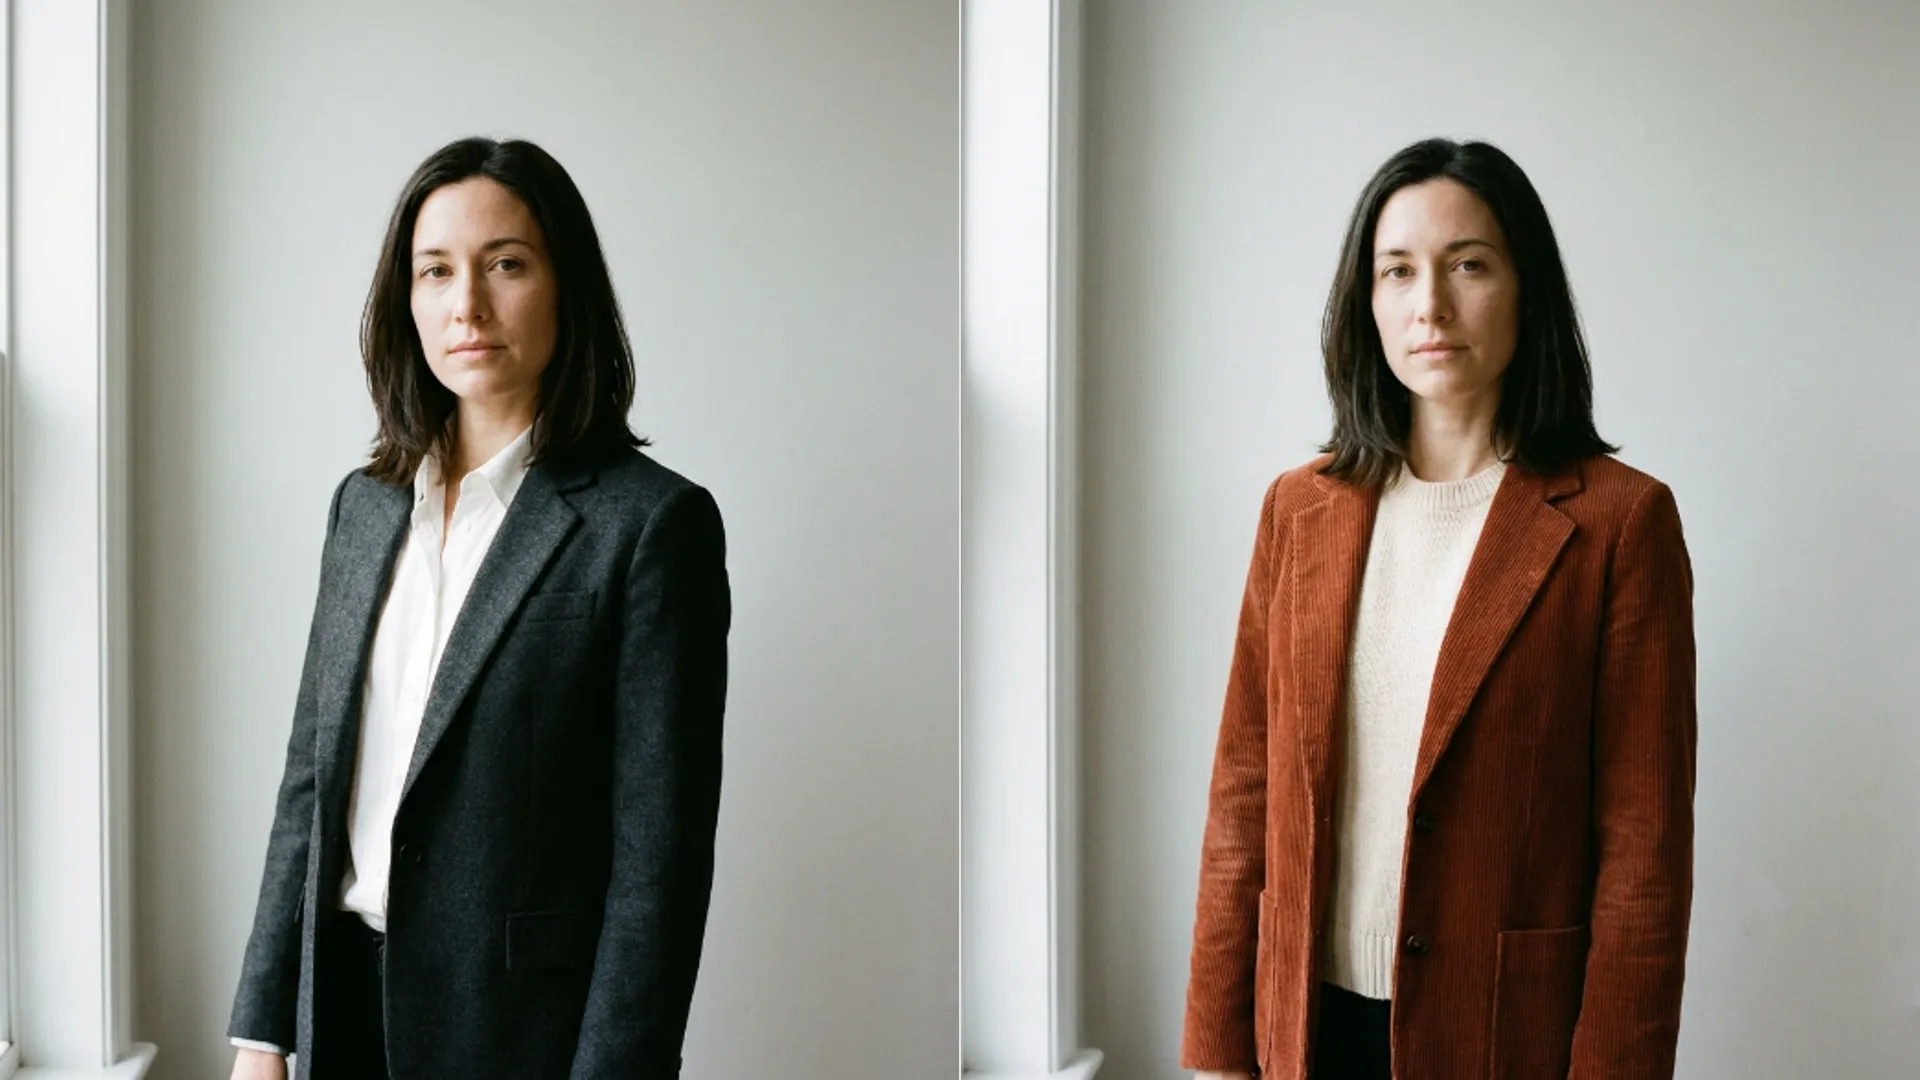
Outfit Studio vs Image Editor
One Picverce AI tool changes clothes from a fixed list and one takes a written instruction. Which to open depends on whether the list has your garment.
RecommendationsBoth of these will put different clothes on somebody in a photo. They go about it so differently that picking the wrong one wastes real credits.
A list against a sentence
The outfit route is a closed catalog. The AI Outfit Generator offers thirty six presets and no way to describe anything outside them.
The editing route is open. The AI Image Editor takes a written instruction, so what you can ask for is limited by your sentence rather than by a grid.
On paper the editor wins on flexibility. In practice the preset route is far more reliable for anything the catalog already contains.
A preset carries a long instruction written for that specific garment, tuned so the face, the pose and the background survive. A sentence you write carries none of that.
So the trade is reliability inside a boundary against freedom outside it.
That trade is worth restating because people reach for the flexible option by default. Flexibility costs attempts, and attempts cost credits.
What the outfit catalog actually gives you
More control than a list of thirty six suggests, because two other settings multiply it.
- Garment scope, which decides what gets replaced. Full outfit covers twenty one presets, outerwear six, dress four, top four and bottom one.
- Up to three colour slots, though a count of three collapses to two on the top and bottom scopes because a single garment has no third zone.
- Preset names are exact strings rather than slugs. It is Smart casual, written that way.
- Every apply costs the same, and results go to history with the original attached.
Outerwear scope is the setting that shows the difference best. Pick a leather jacket on that scope and the shirt already in your photo survives underneath it.
Getting an editor sentence to do that reliably is much harder. You would be describing both the jacket and the requirement that the shirt stays, and the model has to honour both.
When I tried the same leather jacket change both ways, the preset kept the white tee visible first time and the written version covered it twice before I got the wording right.
Colour slots are the other thing the editor cannot match cheaply. Naming a primary, a secondary and an accent in a sentence works sometimes and gets confused often.
Three slots is only offered on the scopes where a garment actually has three zones. On a top or a bottom the count collapses to two, which is the tool refusing to pretend.
When the editor is the only answer
Anything the catalog does not contain, and anything that is not only about clothes.
A specific garment you can picture but cannot find in the grid needs a sentence. Thirty six presets are categories, and no amount of re running produces a jacket that was never on the list.
Changes involving something other than clothing belong here too. Adding a bag, changing an outfit and the background together, or altering one person in a group.
The editor also has no style grid at all, only twelve worked example prompts, which tells you what it expects. You bring the instruction.
The cost is variability. You will spend more attempts getting there and results differ more between runs.
Being specific helps in the same way it does everywhere. Name the garment, name the colour, and say plainly that the face and the background stay as they are.
That last clause is the one people leave out, and it is why an editor result sometimes comes back with a changed room as well as changed clothes.
How to decide in one step
Try to name the garment in three words or fewer.
If you can, and the words are ordinary clothing words, check the catalog. It is probably in there among thirty six entries.
If you cannot name it, or the name needs a qualifying clause, you want the editor.
That test is fast and right most of the time. It also saves you from the common mistake of writing a paragraph to describe something that was one tap away.
There is a middle path worth knowing. Apply a preset first to get the garment shape right, then take that result into the editor for the one detail the catalog could not give you.
Two steps costs more than one, and it still beats six attempts at a sentence.
Neither tool repairs a bad photo before working on it. A soft or badly lit source limits both equally, so fix that first if it needs fixing.
Both also work from one subject. A second person in frame is treated as scenery by the preset route and as ambiguity by the editor.
Results from either land in your history with the original attached, so comparing them later does not depend on you having saved anything.
The same preset against prompt split shows up on the hair side, and that version of the argument is in Hairstyle Studio vs Image Editor.
Name the garment in three words. That sentence picks the tool for you.