Picverce AI Hairstyle Studio controls
Ninety five cuts, thirty colours and two sentinel options in the Picverce AI Hairstyle Studio, what a run costs, and the photos it cannot work with.
GuidesThere is no free text box here. You pick a cut and a colour from two lists, and those two choices are the entire instruction.
The lists in the AI Hairstyle Changer are long enough that knowing how they are organised matters more than reading every entry.
Here is what is in them and how the two choices interact.
Two lists and two sentinels
The cut list holds ninety five styles. The colour list holds thirty.
Both lists also carry two entries that are not really options in the same sense. No Change and Random sit at the top of each.
No Change is the more useful of the two and the one people overlook. Setting the cut to No Change and picking a colour gives you a colour test on your existing hair.
That is the single most practical thing in the whole studio. Deciding whether to go lighter without also changing the cut is a real question, and this answers it directly.
The reverse works too. Keep your colour and try a cut, so you are judging one variable rather than two.
Random is for when you have no target. Three random runs teach you more about what the tool does than scrolling ninety five names.
How to read ninety five cuts
The list is long because it covers several kinds of change, and they are not equally demanding on your photo.
- Length changes, like a bob or a pixie. The biggest visual change and the most reliable.
- Texture changes, like curly, wavy or straightened. Reliable when your hair is clearly visible.
- Styled looks, like a top knot, a French braid or space buns. These rearrange rather than cut.
- Fringe and parting changes, which are the subtlest and easiest to miss at small sizes.
- Cropped and shaved looks, which are the hardest to undo visually if you are only testing an idea.
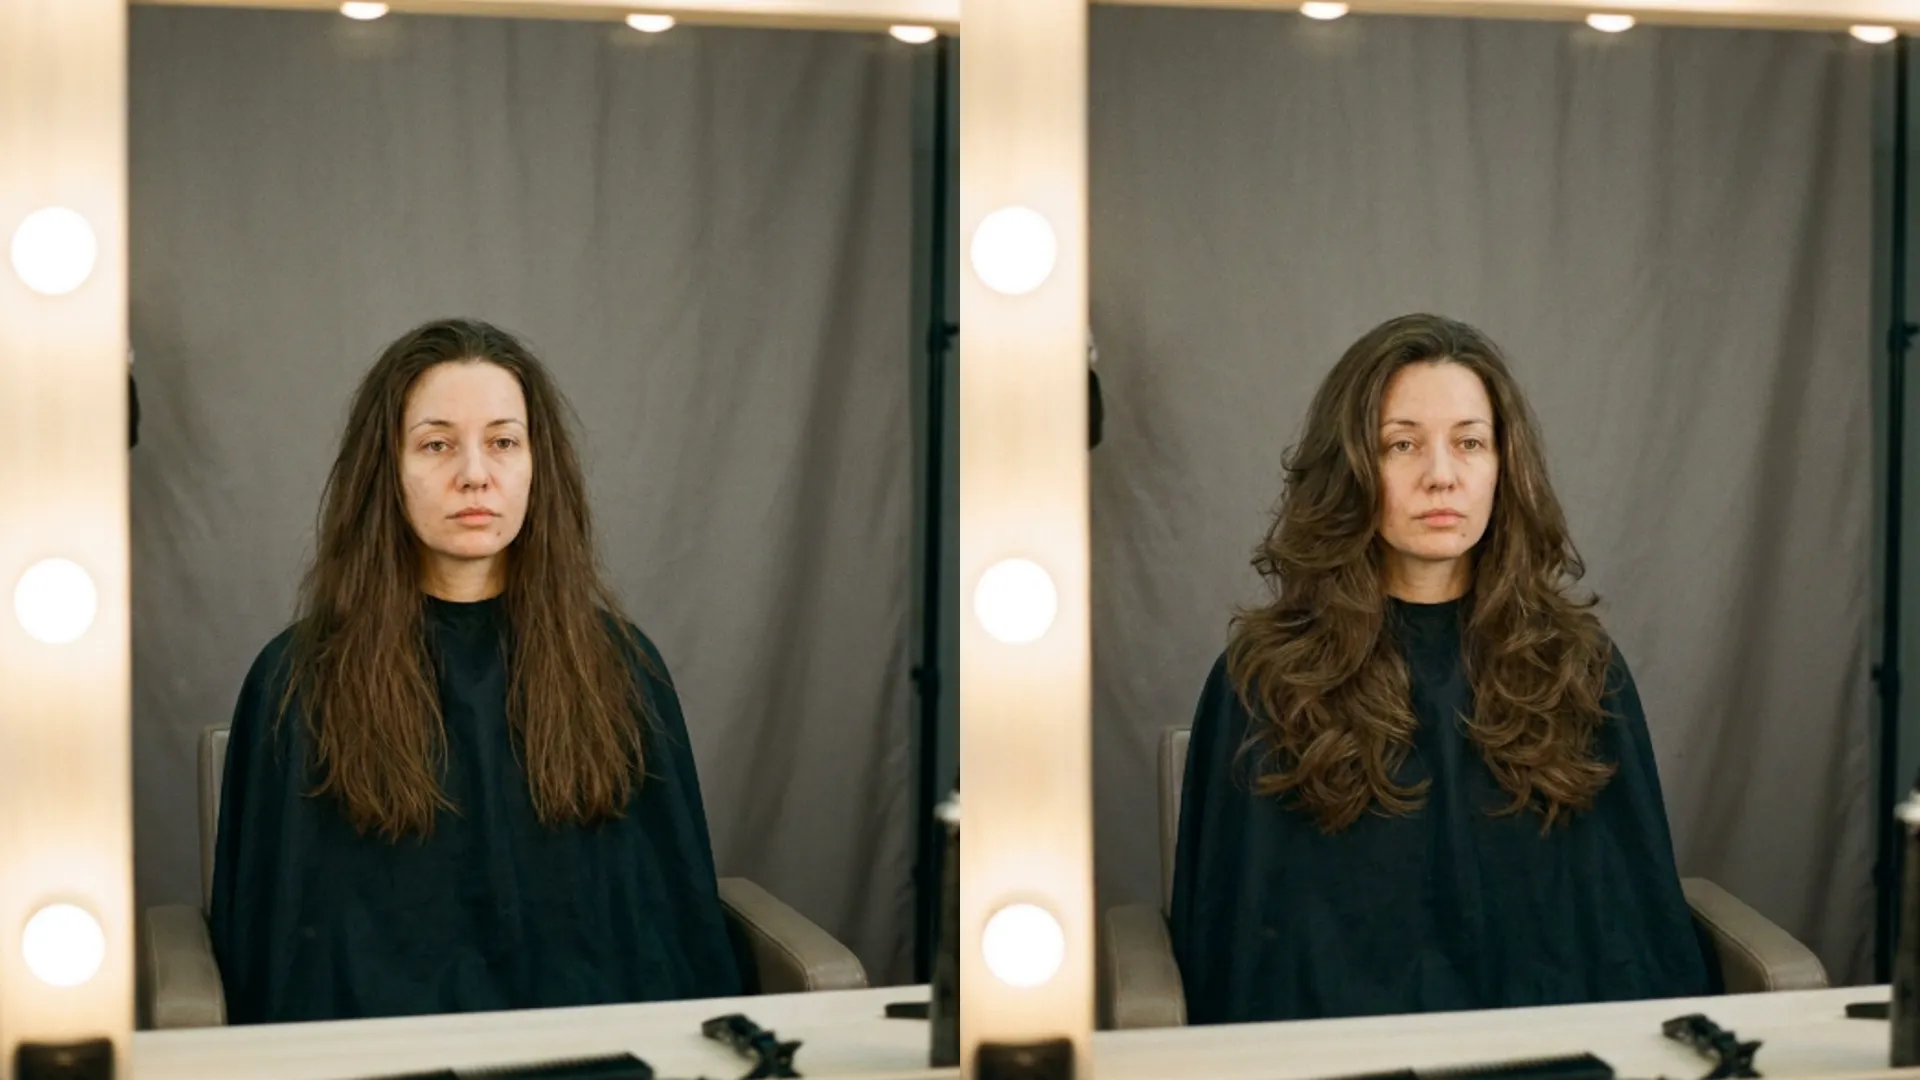
Length changes are where the tool is at its most convincing, because there is a clear before and after and the shape of your face stays put.
Braided and tied looks ask the most of the model, since it has to invent structure that was never in your photo.
When I ran the same photo through a bob and a French braid, the bob was immediately usable and the braid needed a second attempt before the pattern read correctly.
Thirty colours and what they do to skin
The colour list runs from natural shades through to blues, purples and pinks, with plenty of blonde and brown variation in between.
Natural colours near your own are the most convincing, which is unsurprising and worth saying anyway.
Large jumps are where results get uneven. Going from very dark to platinum changes how the whole photo reads, because hair colour affects the apparent tone of the skin next to it.
That is not the tool failing. It is what happens in a salon too, and it is arguably the useful information.
Unnatural colours behave surprisingly well because they are unambiguous. Nothing has to look plausible, so nothing looks slightly wrong.
Test one colour change at a time against No Change on the cut, or you will not know which choice produced what you are looking at.
What a run costs and what it accepts
Each apply costs 4 credits, the same as an outfit change and double a standard cleanup pass.
There is no strength control and no way to ask for a subtler version of a cut. The two selections are the whole instruction.
Results go to your history with the original attached, so comparing four cuts later does not mean running any of them again.
Use that deliberately. At 4 credits a run, a session where you try six cuts is worth keeping rather than remembering.
The instruction sent with your photo is weighted heavily toward preserving your face, your pose and the background. Only the hair is meant to move.
The photos it cannot work with
Four cases fail predictably, and all four are decided before you upload.
Hair tied back or under a hat gives it almost nothing to change. A cut needs visible hair to replace.
Very dark hair against a very dark background merges into one shape, so the boundary the model needs is not there.
A tight crop that cuts off the top of the head removes the space a longer or taller style would occupy.
And a photo taken from below or sharply to the side is harder than a straight on one, because the hairline is partly hidden.
The preset only approach here works exactly the way it does for clothes, and that design is explained in Picverce AI Outfit Generator presets and scopes.
If what you want changed is clothing rather than hair, the AI Outfit Generator is the door for that, at the same 4 credits per run.
One variable at a time, a straight on photo with visible hair, and the history to compare afterwards. That is the method.