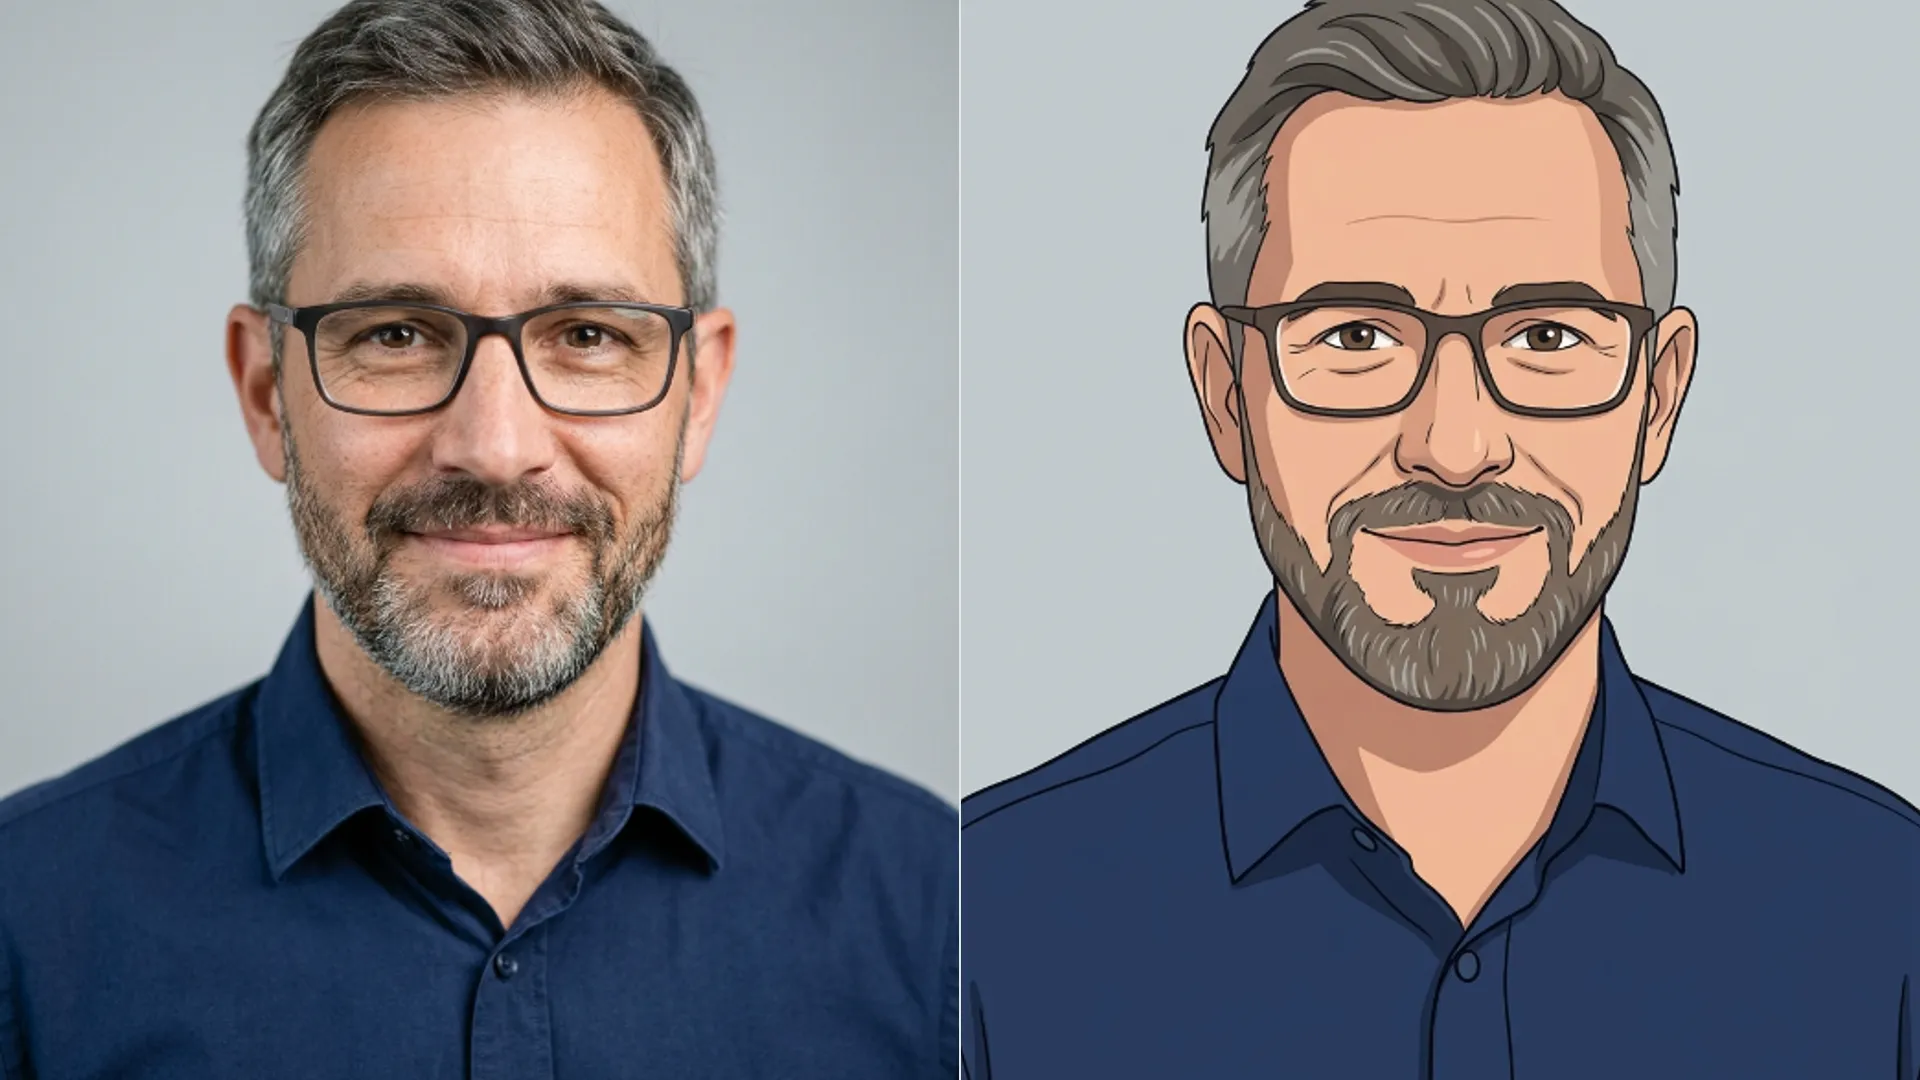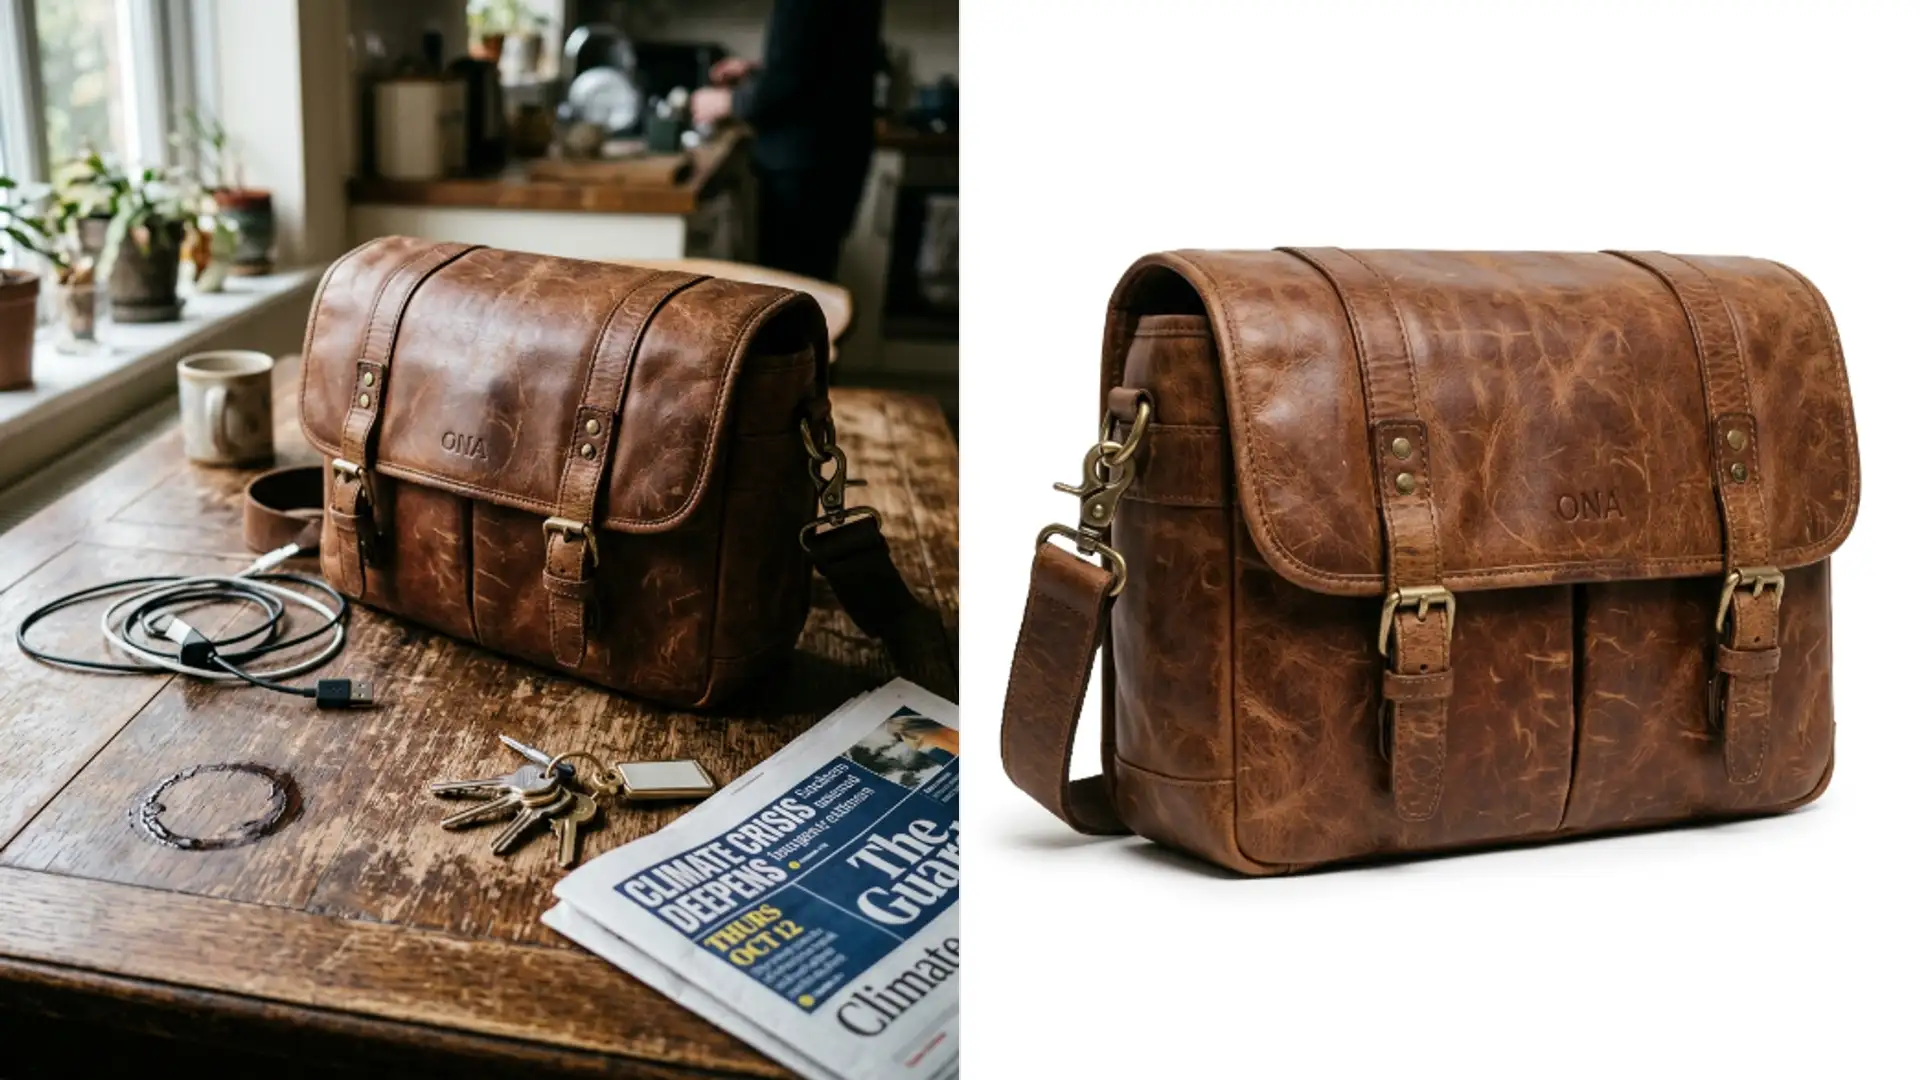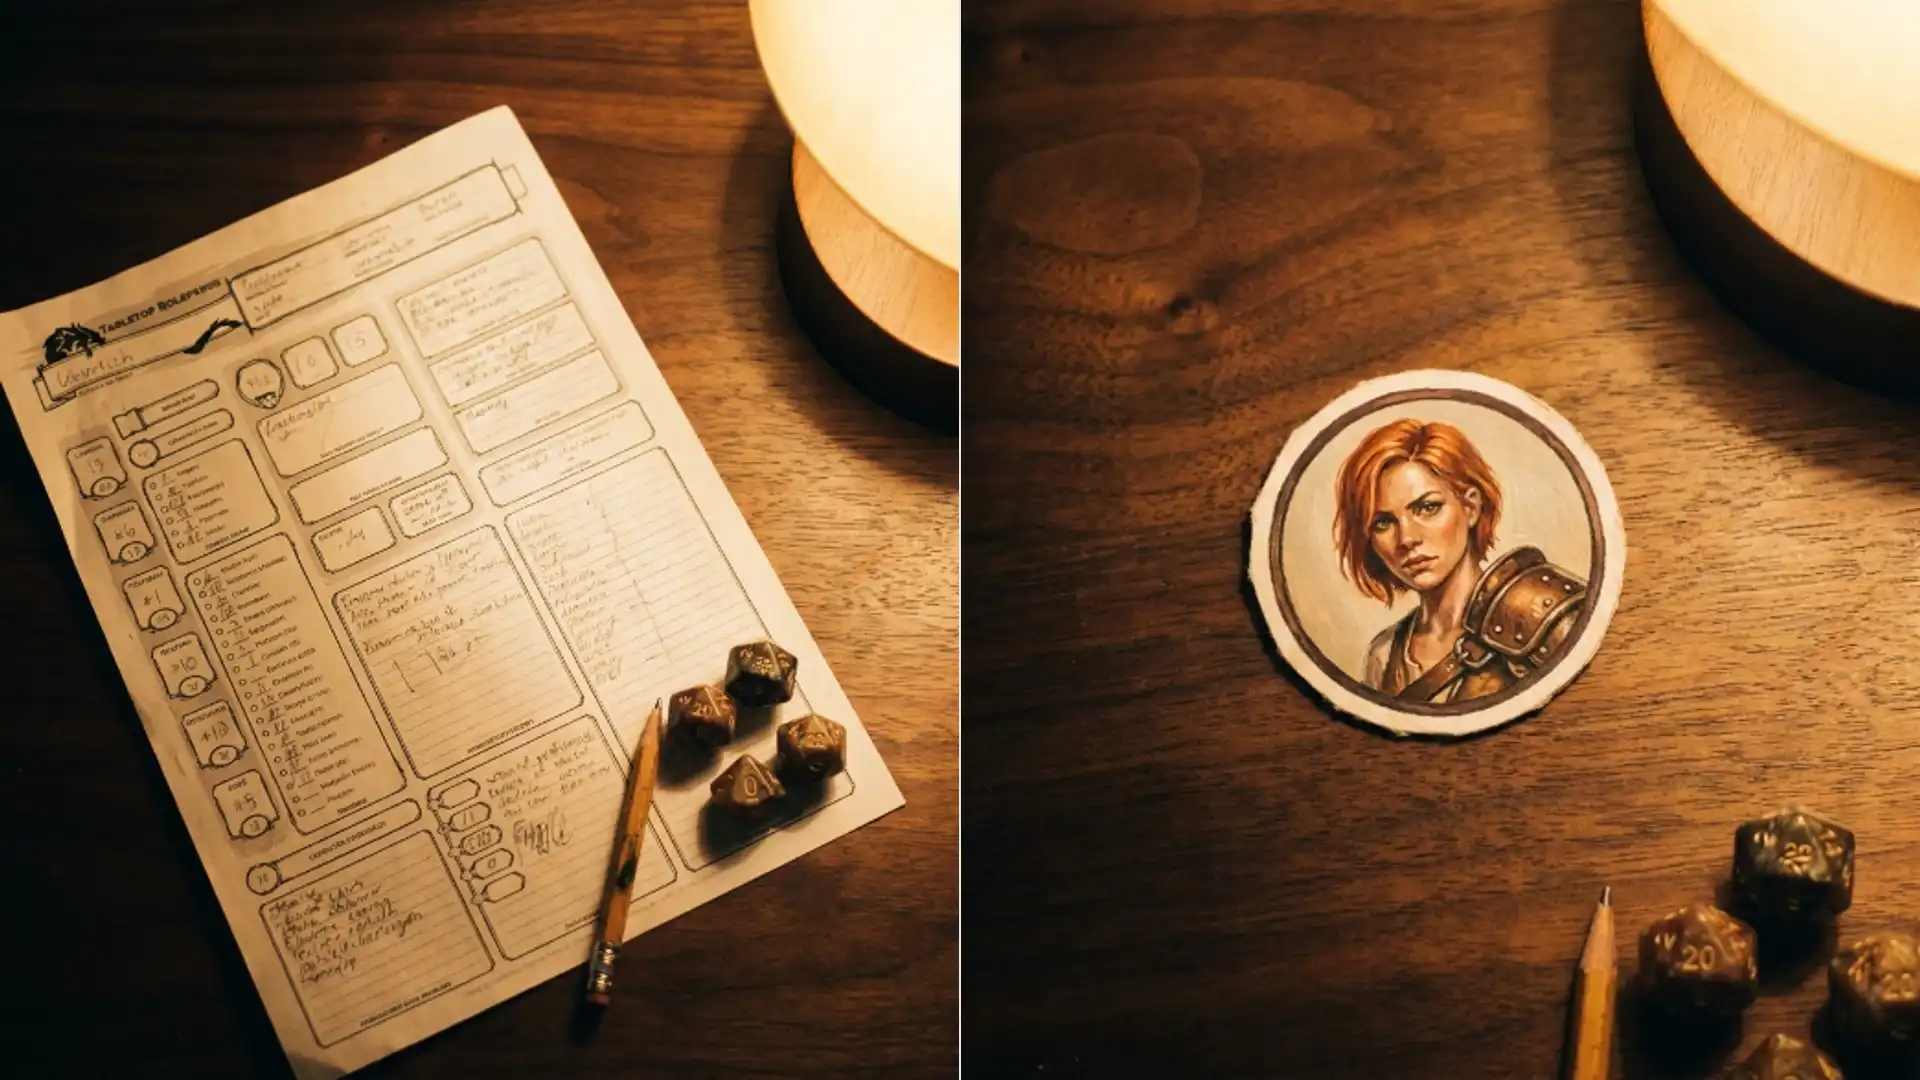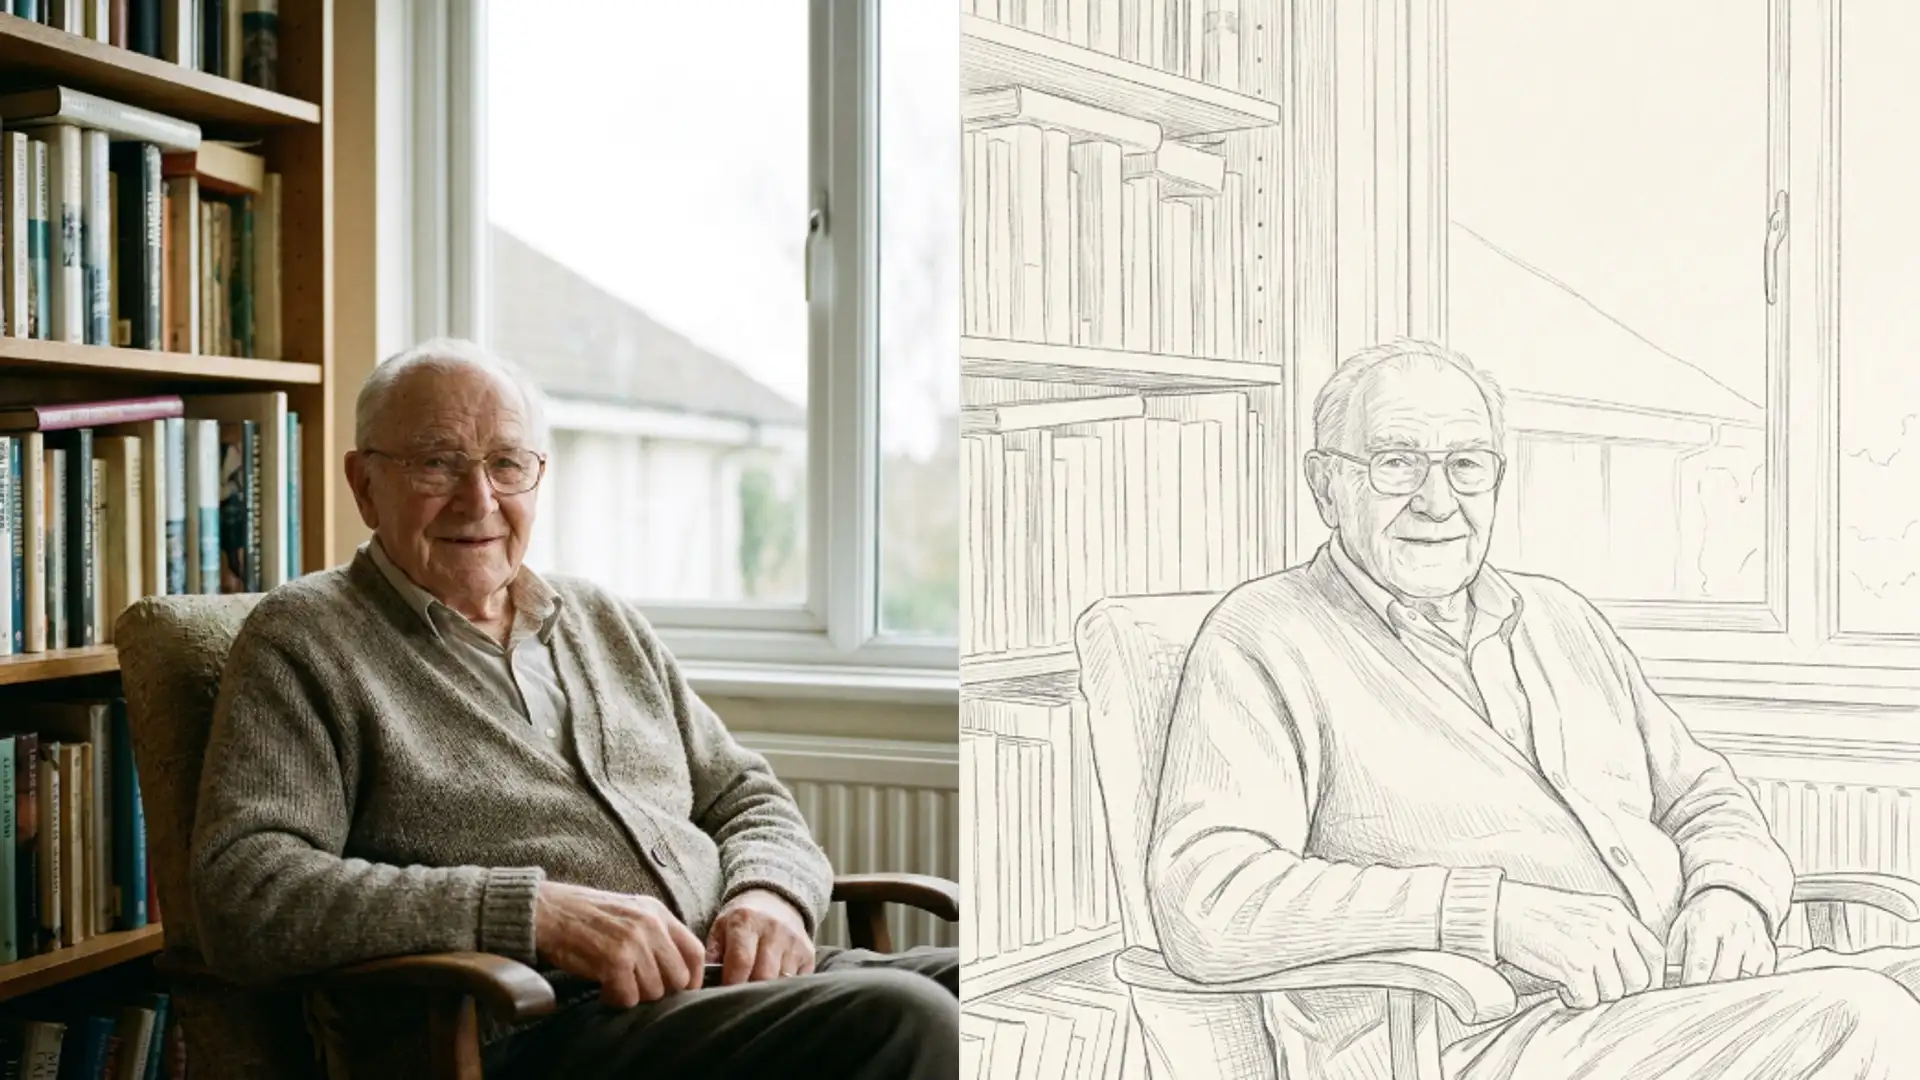
Convert a portrait to pencil line
A step by step run for turning one portrait into clean pencil line work with Picverce AI Photo to Sketch, and the contrast check that decides it.
TutorialsPencil line is the most requested sketch result and the easiest one to get wrong. The tool is drawing edges, so the whole job is giving it edges worth drawing.
Here is the run in order, with the check that predicts the result before you spend anything.
Run the contrast check first
Open your portrait and squint at it, or drop the brightness on your screen until detail starts to vanish.
What you are looking for is whether the subject still separates from the background when the tones flatten.
If the head merges into the wall behind it, sketch will merge them too. That is not a setting you can fix later.
- Dark hair on a pale wall separates well.
- Dark hair on a dark sofa does not.
- A lit face against a shaded background is ideal.
- A backlit subject is the hardest case and usually not worth the credits.
When I tested this on two photos of the same person, the one shot against a plain wall gave usable line work and the one shot in front of a bookshelf came back as a page of scribble.
Crop before you upload
Crop to head and shoulders with a little space above the hair. Everything outside that is line work you did not want.
A tight crop also stops the tool spending its detail budget on a room. The result is more marks where the face is.
Glasses deserve a mention before you upload. Frames are hard edges so they draw well, but lens reflections become their own lines and can sit across the eyes.
If the reflections are strong, a different photo beats a different card.
Pick the pencil card that matches your output
Open the AI Photo to Sketch tool and drop the cropped file in. Each run costs 3 credits and the upload cap is 5 MB.
Pencil Sketch is the default card and the right first attempt. It is a mid weight line that suits most portraits.
If the result is too faint, move to Bold Sketch. If it is too heavy and you wanted something delicate, move to Minimalist Line Sketch or Fine Detail Sketch.
Coloured Pencil Sketch is worth knowing about because it is one of only three cards that return colour. People pick it by accident expecting grey.
There is no line thickness control, so moving between cards is the only way to change weight. Budget two runs to find the right one.
Charcoal Sketch and Ink Wash Sketch are worth avoiding for a first pencil attempt. They shade rather than draw, so the result reads as a tonal study rather than line work.
That is a real look and some people want it, but it is not what most people mean by pencil.
Judge the result on four things
Open the output at full size and look at the places where line work usually breaks.
- The eyes. They should be drawn, not filled in as dark blobs.
- The hairline. It should read as strands or a defined edge, not a solid mass.
- The jaw and neck. There should be a line separating them from the shoulders.
- The background. It should be mostly empty. Lines out there are noise.
If the background is busy, the crop was too loose rather than the card being wrong. Re crop and run once more.
If the eyes are blobs, the source was too small or too soft. That is a photo problem and another card will not solve it.
Ears and hands are the other two places to check. Both carry a lot of small edges and both are where a weak source shows first.
Two runs is the honest budget for finding the right weight. A third rarely tells you anything the first two did not.
Download the version you like straight away. History keeps it, but the file on your machine is the one you will actually place in a layout.
Every finished run lands in your history with the original attached, so comparing two cards later costs nothing beyond the runs themselves.
What to do when the source is soft
Sketch generates line work from edges, so a soft photo gives it soft edges and the result looks smudged rather than drawn.
The tool does not shrink your file to a fixed size before sending it, so a good sharp original genuinely arrives intact and is worth using.
If your only copy is soft, a cleanup pass first is reasonable. The same ordering logic applies as with the anime route, which is walked through in turn a selfie into an anime bust.
And if line work turns out not to be the look you wanted at all, the AI Photo to Anime tool costs the same 3 credits and keeps far more of the face, because it shades rather than outlines.
Two runs and a good crop is the whole method. If it is not working by then, change the photo rather than the card.