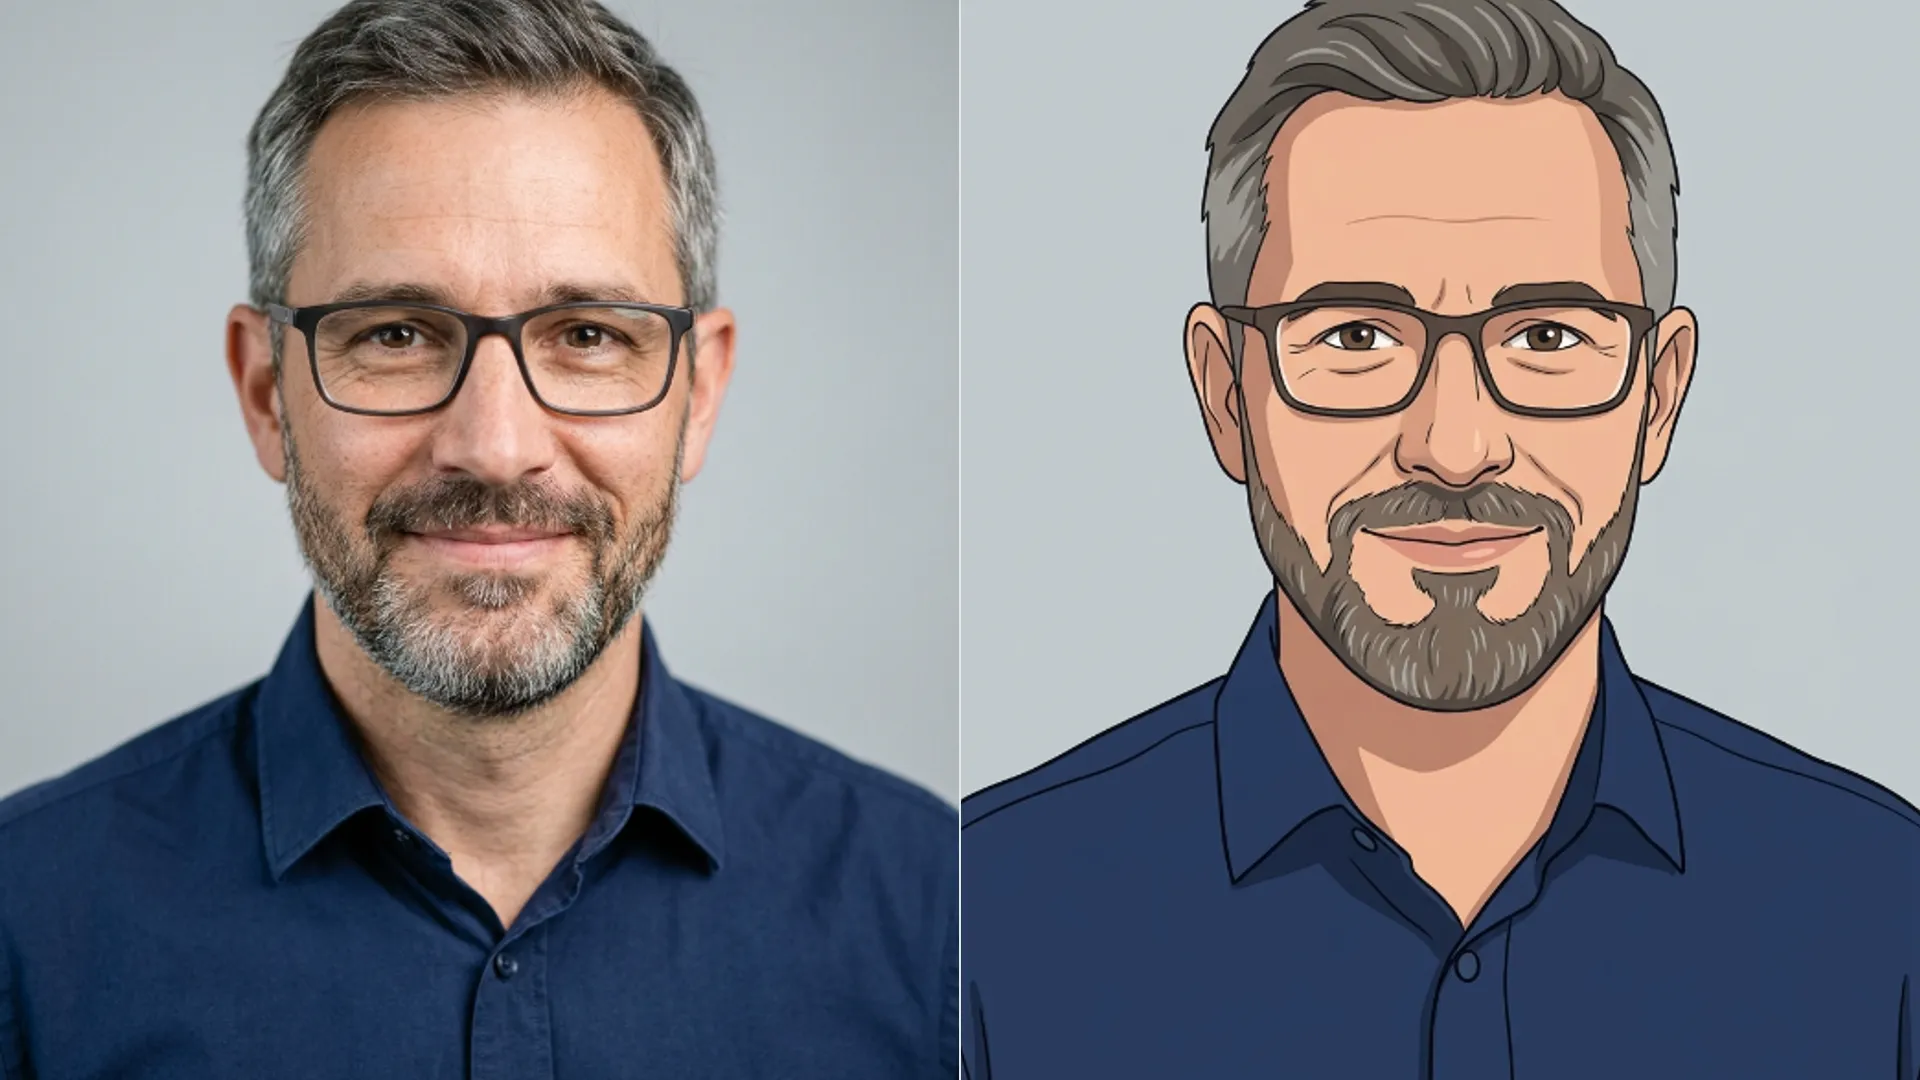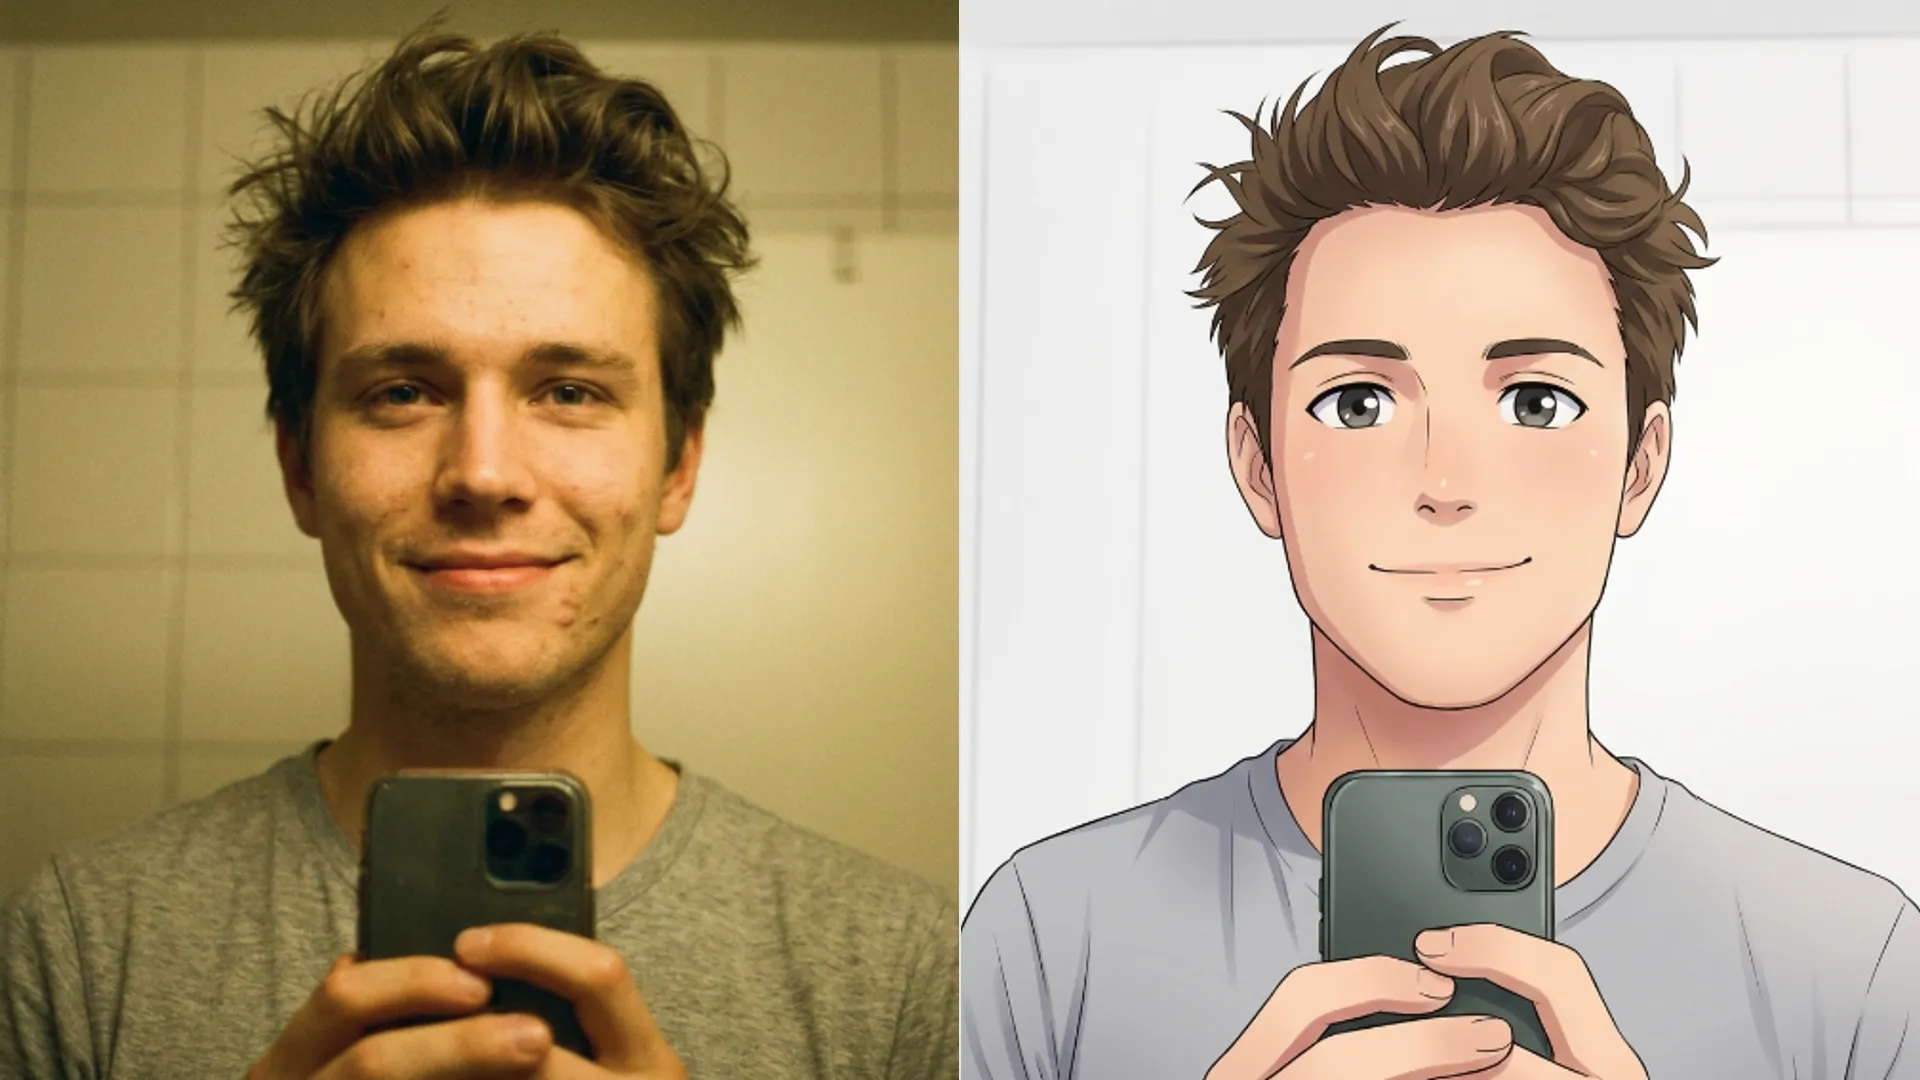
Turn a selfie into an anime bust
A step by step run for taking one phone selfie to a clean anime bust with Picverce AI Photo to Anime, including the crop that changes everything.
TutorialsA bust is a head and shoulders portrait. It is the framing most anime avatars use, and it is the framing this tool handles best.
Here is the run in order, with the two decisions that actually change the result.
Start with the right selfie
Not every photo of your face is a good input. The tool is stylising what it can see, so what it can see decides the ceiling.
- Face the light. A window in front of you beats a window behind you every time.
- Keep both eyes visible and roughly level.
- Avoid a hand near the chin or cheek.
- Skip heavy filters. A beauty filtered face is already smoothed, and the pass will smooth it again.
Sharpness matters more than resolution. A slightly small photo in focus beats a large one that is soft.
Crop to the bust before you upload
This is the step people skip and it is the one with the biggest effect.
Crop so the frame holds your head and the top of your shoulders, with a little space above the hair. Everything else is detail the model spends effort on and you throw away.
A full body shot cropped down afterwards is not the same thing. The model stylised a whole scene and gave your face a fraction of its attention.
When I ran the same selfie both ways, the cropped version came back with cleaner eyes and readable individual hair strands. The uncropped one gave me a decent picture of a room with a vague anime person in it.
Pick the style deliberately
Open the AI Photo to Anime tool, drop the cropped file in, and choose from the nine cards. Each run costs 3 credits and the upload cap is 5 MB.
For a first attempt at a bust, Realistic or Webtoon are the reliable picks. Both keep the face close to yours while still reading clearly as anime.
Shojo and Shonen are stronger stylisations. They look better as art and less like you, which is the right trade for some uses and the wrong one for a profile picture.
Skip Chibi unless you want a mascot. It rebuilds your proportions on purpose, so recognisability is not what it is aiming at.
Manga is worth one run just to see it, because black and white ink hides skin problems that colour styles expose.
There is no strength control on any card, so you cannot ask for a milder Shonen. The card is the entire instruction and the only lever you have is which one you tap.
That is why picking deliberately beats running three at random. Each attempt costs the same 3 credits whether it was a considered choice or a guess.
Clean the source first when it needs it
The pass stylises what it is given, including the noise. A grainy indoor selfie produces grainy shading rather than clean cel shading.
If your selfie is soft or noisy, run the AI Image Enhancer at 2 credits first and stylise the cleaned copy. Five credits total is still cheaper than three disappointing anime runs.
The order matters and the reasoning behind it is the same one worked through in clean up a soft phone photo in four steps.
Do not run the cleanup twice. A second pass hardens edges the first pass invented, and the anime step then stylises those invented edges.
Skip the cleanup entirely if your selfie is already sharp. Unlike the photo tools, this one does not shrink your file to a fixed size before sending it, so a good original arrives intact and needs no help.
Watch the 5 MB cap if you export at full quality. A modern phone photo saved at maximum quality can sit just over it, and the fix is a quality drop rather than a resize.
Judge it and know when to stop
Open the result at full size and check the parts that carry likeness rather than the picture as a whole.
- The eyes. Both should sit level and match each other in size and shape.
- The hairline. It should follow yours rather than drifting into a generic fringe.
- The jaw. Anime narrows it, but the shape should still be recognisably yours.
- Glasses, if you wear them. Thin frames are where this most often goes wrong.
If three of those four hold up, you have a usable bust. If the eyes are uneven, try a different card before trying a different photo, because some styles handle asymmetry better than others.
Every finished run writes to your history with the original attached, so you can compare two styles side by side later without paying for either again.
Three runs is usually the honest budget. If nothing works by then, the input is the problem and no card will rescue it.
The most common rescue is a different selfie rather than a different setting. Turning to face a window and taking one more photo fixes more results than any card in the picker.
Download what you like as soon as you like it. History keeps it, but a file on your machine is what you will actually upload somewhere.