How to take a passport photo at home with your phone
How to take a passport photo at home with your phone: a plain light wall, daylight with no shadows, the right pose, and a crop checked against the rules.
TutorialsYou can take a passport photo at home with a phone, a light wall and a window. The hard part is not the camera. It is the list of small rules that get photos rejected.
This guide covers the setup, the pose and the usual mistakes. At the end, the passport photo maker crops your photo to the size your document needs and checks it against that document's rules.
One thing first: passport photo requirements differ by country and by document. A US passport, a UK passport and a Schengen visa all ask for different things. Always check your own government's official page before you print or upload.
What you need
- A plain, light wall. White or off white works for many documents. The UK asks for a plain cream or light grey background.
- Daylight from a window in front of you, not behind you or to one side.
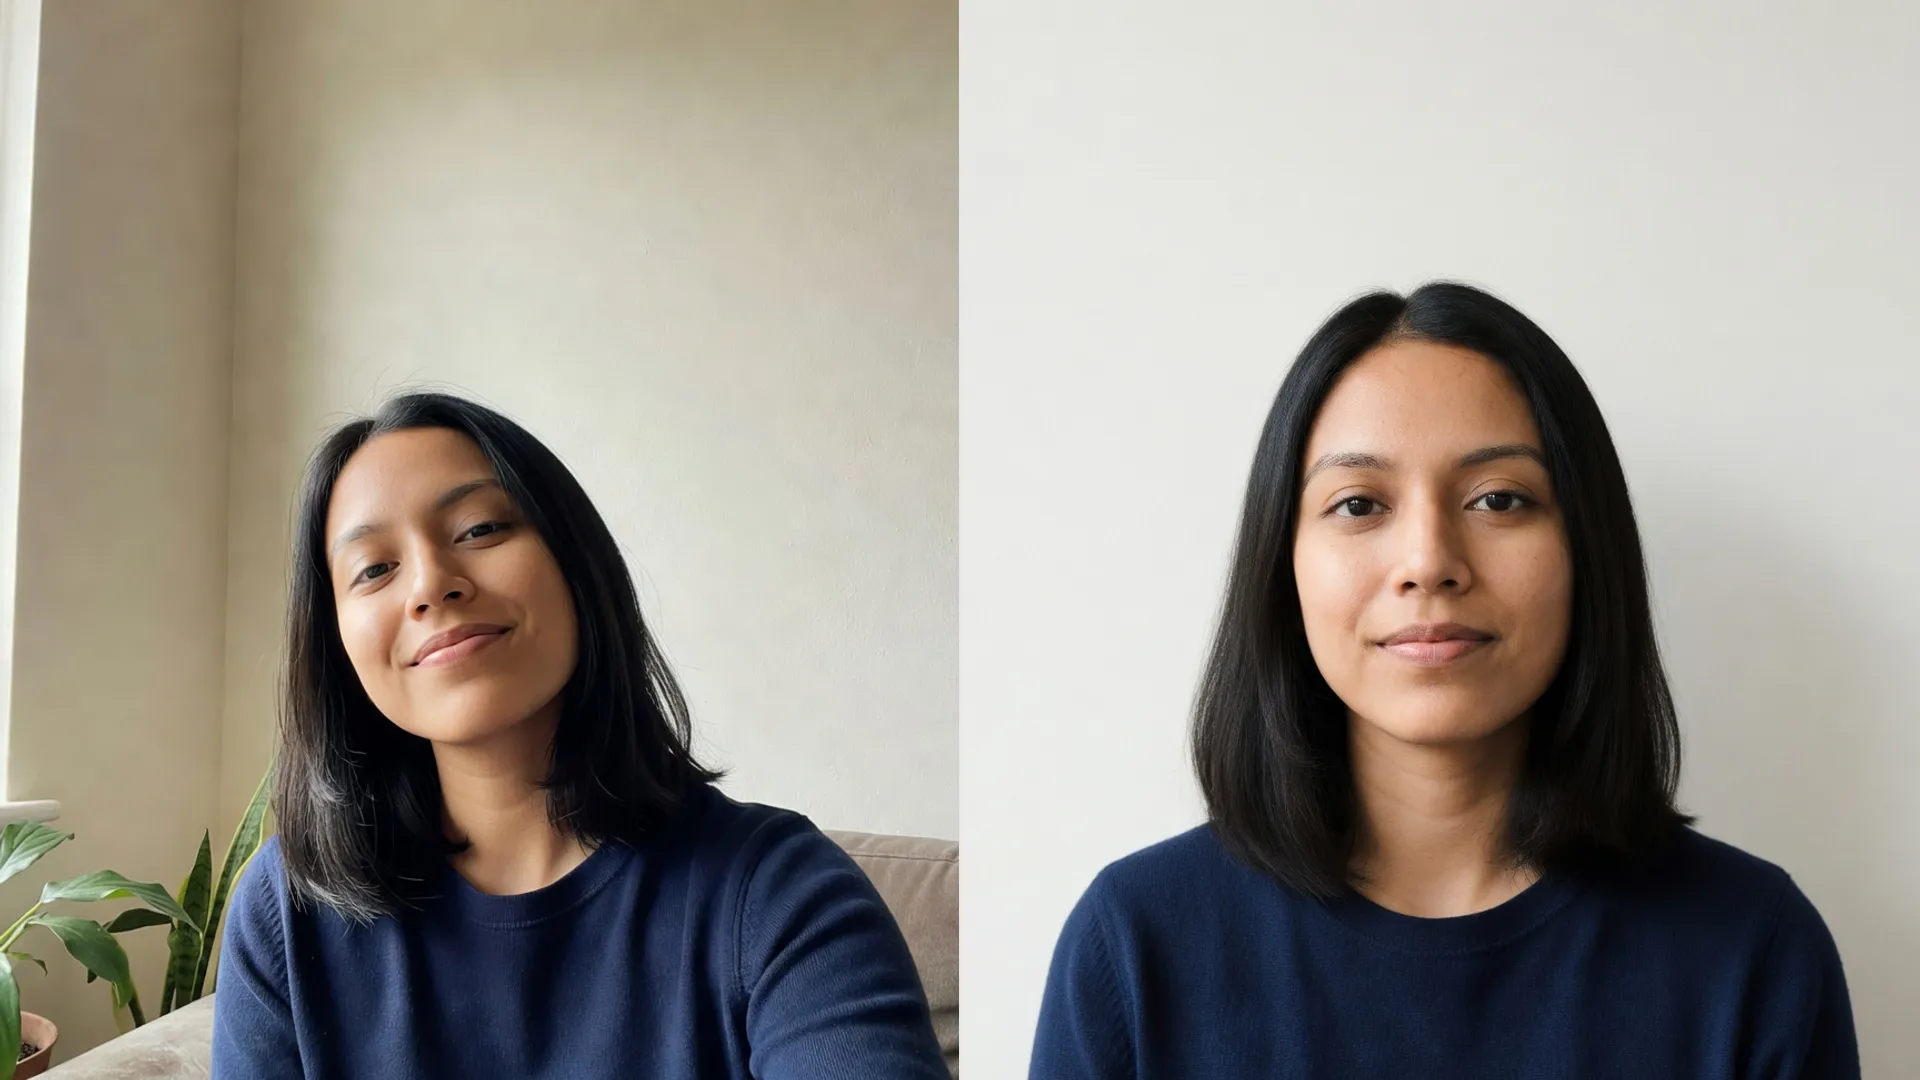
- A helper, or a phone stand and the self timer. Selfies held at arm length distort the face and tilt the head.
- Your normal look. Take off hats, and check the glasses rule for your document before the shoot.
Clear the wall of pictures, hooks and light switches behind your head. Anything in the background can count against the photo.
Pick a time of day when the window light is soft. Direct sun on your face makes hard shadows and squinting.
How to stand and where to hold the phone
Stand about half a meter away from the wall. Any closer and your head throws a shadow behind you.
- Face the camera straight on, with both ears level and your head not tilted.
- Keep your shoulders square and level.
- Have your helper hold the phone at your eye level, about one to one and a half meters away.
- Use the normal camera lens, not the wide angle one, and do not zoom.
- Frame your head and the top of your shoulders, with space above your hair.
Take several shots. Small differences in your expression or head angle are easier to judge on a bigger screen later.
Send yourself the original file, not a copy from a chat app. The advice in cleaning up a soft phone photo about finding the original file applies here too. For a passport photo, only that part applies: do not edit the photo itself.
The mistakes that get photos rejected
Most rejections come from the same short list.
- Shadows on your face or on the wall behind you. The UK rules say the photo must not have any shadows on your face or behind you.
- Glasses where they are banned. The UK says not to wear glasses unless you have to. The US passport rules in the tool also do not allow them.
- The wrong expression. The UK asks for a plain expression with your mouth closed. Some countries allow a closed mouth smile, others do not.
- Head size. Your head, from chin to the top of your hair, must fill a set part of the photo. For a UK printed photo it must be between 29 mm and 34 mm high.
- An edited photo. The UK says the photo must be unaltered by computer software. Do not smooth skin, remove marks or change the background with an app.
If the light or the pose is wrong, take the photo again. A new photo is always the safer fix for an official document.
Crop and check it with the tool
Upload your photo and pick your document. By default the tool only crops and resizes, because no document's official rules allow an edited photo.
It then runs checks on the photo, such as one face in the frame and enough space above the head. Some checks block the photo, and others are warnings that ask you to look and confirm.
Each document in the tool lists its size and rules from its official page. A US passport photo, for example, is 2 by 2 inches, and a UK printed photo is 35 mm wide by 45 mm high.
A photo costs 2 credits. The tool also offers optional fixes, but they edit the photo, so for a passport the better choice is to retake it.
A styled headshot is not a valid passport photo. If you need a picture for a work profile, a professional headshot generator is the right tool. For a passport, use a real, unedited photo.
Print it or upload it
Check first whether your application wants a printed photo or a digital file. Some renewals online take a digital photo, and some ask for it uncropped.
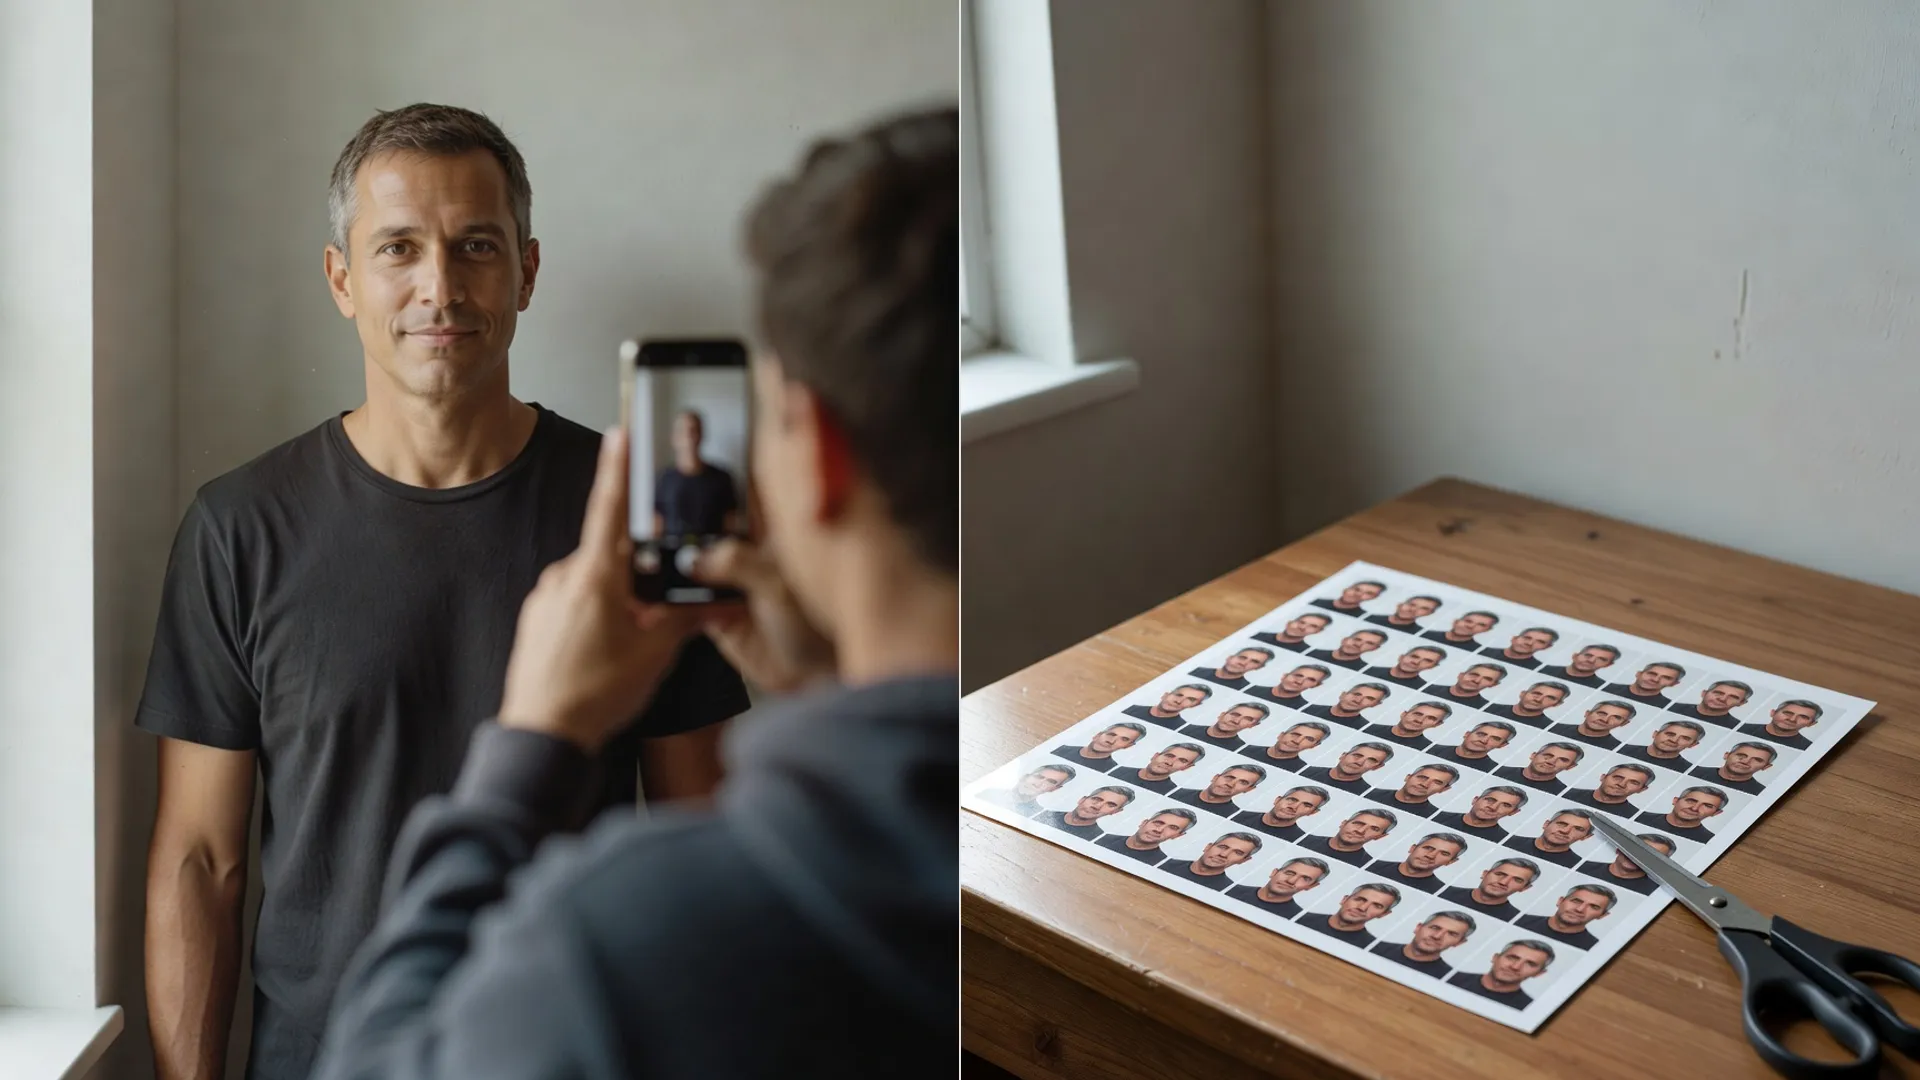
For a printed photo, the tool lays copies on a print sheet of 4 by 6 inches, 10 by 15 centimeters or A4, at 300 pixels per inch, with thin cut guides.
Print on photo paper at a print shop or on a good home printer, and cut along the guides. The US page in the tool asks for matte or glossy photo quality paper.
For a digital upload, use the file the tool exports for that document, and do not resize or compress it again before you upload.
Before you send anything, open your government's official photo page one last time and compare. Rules change, and the official page always wins.