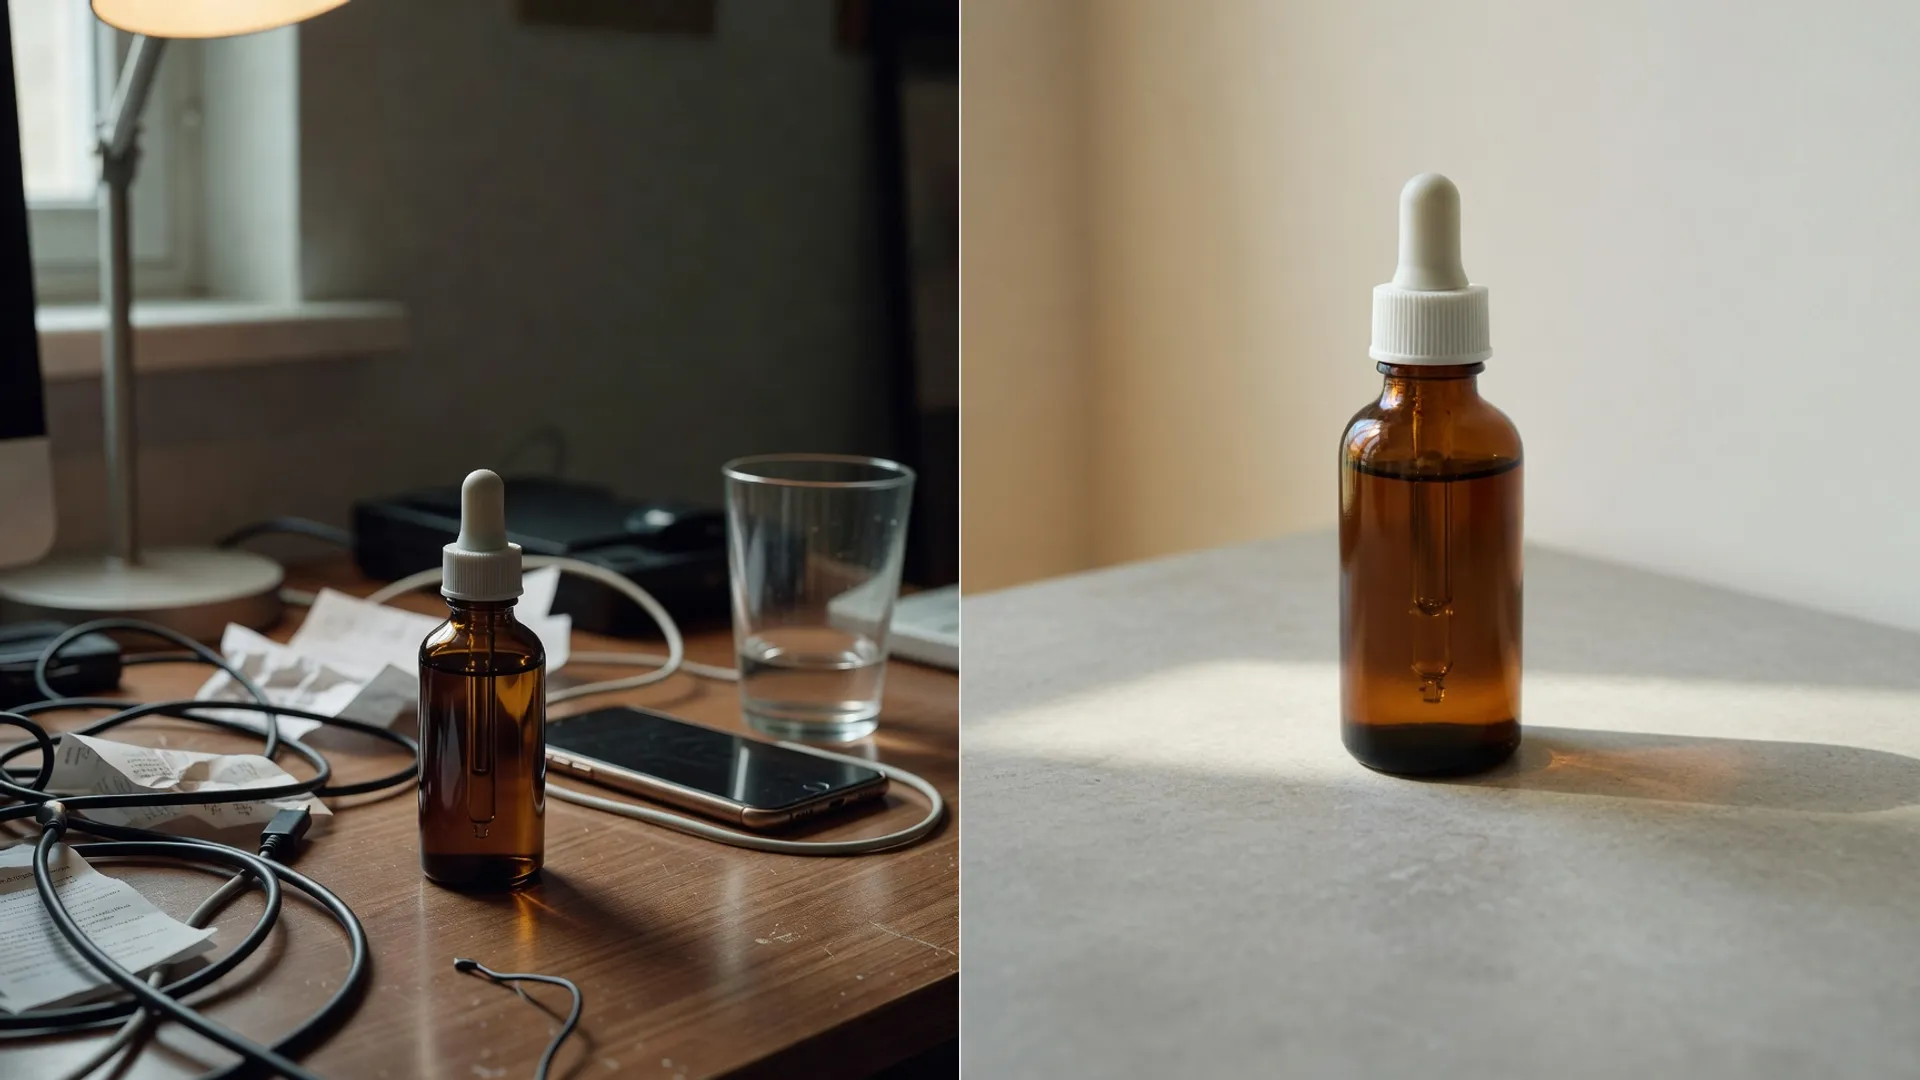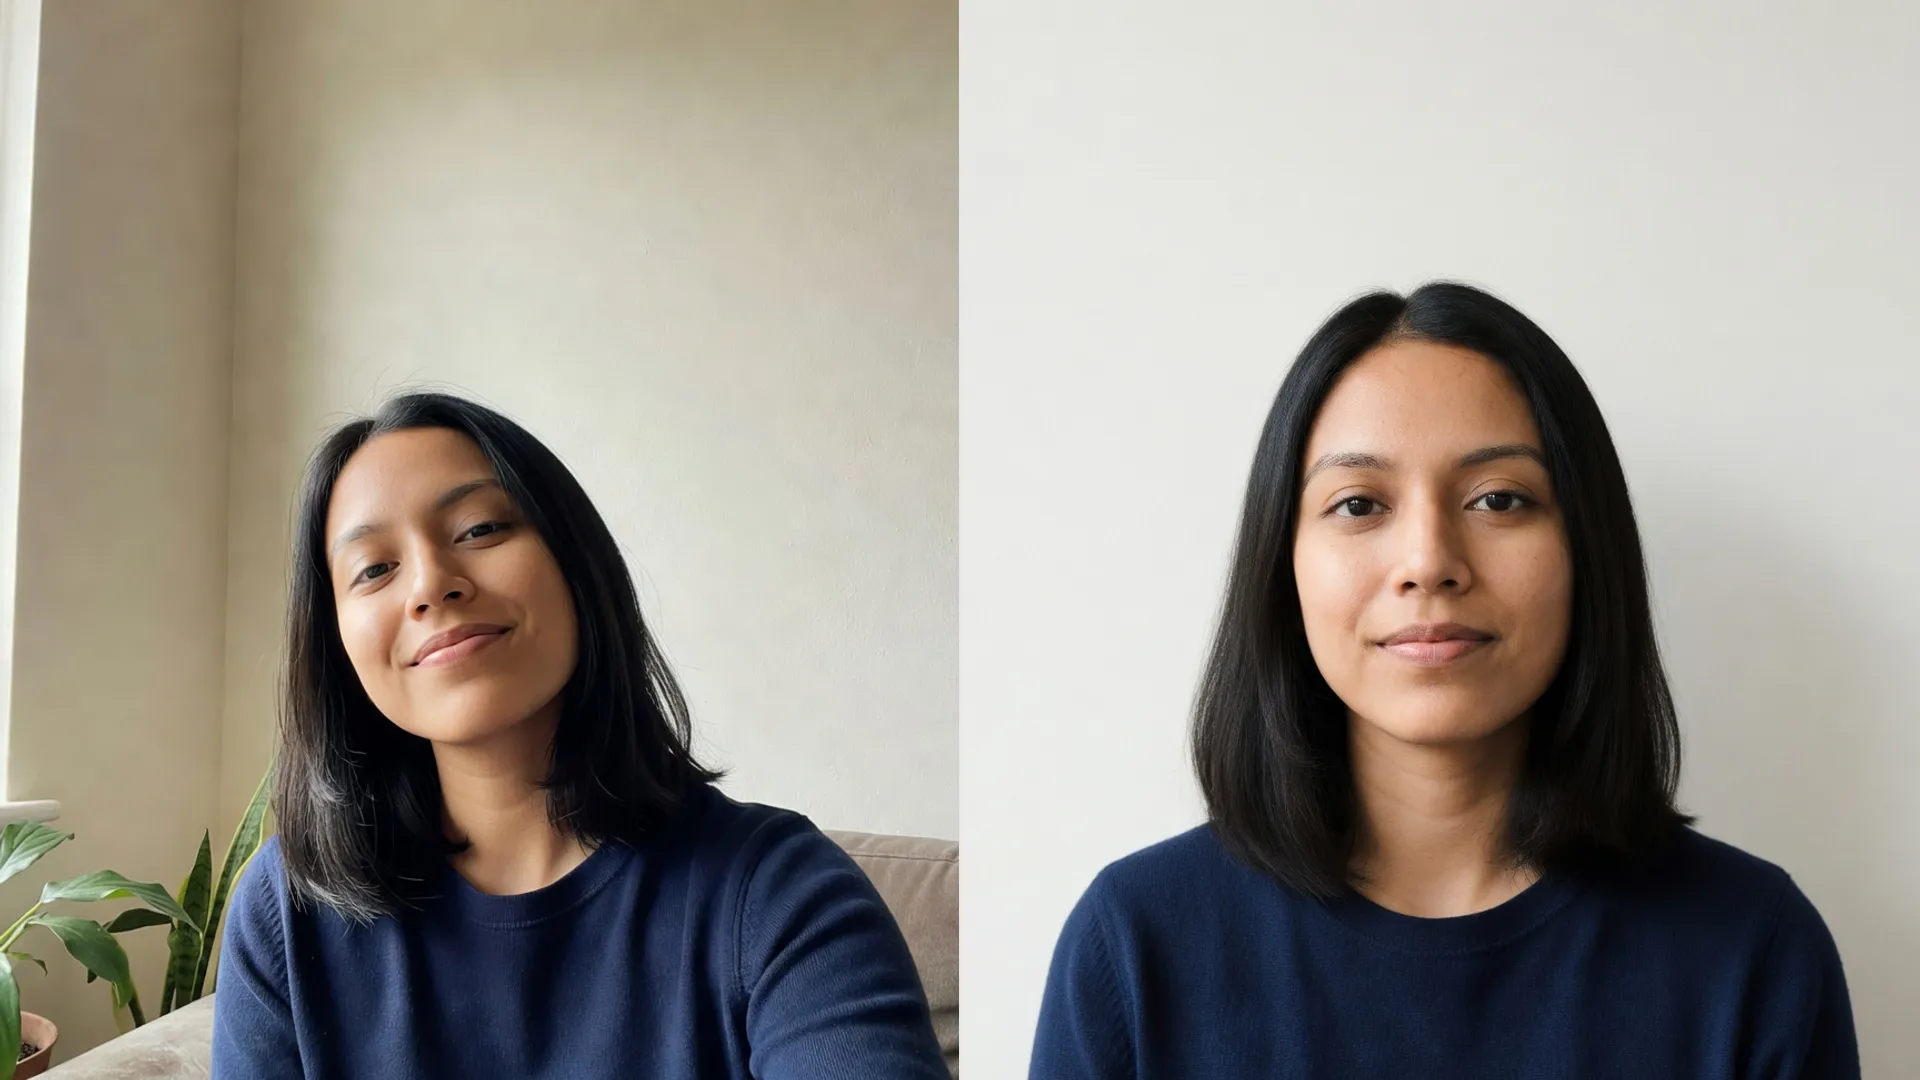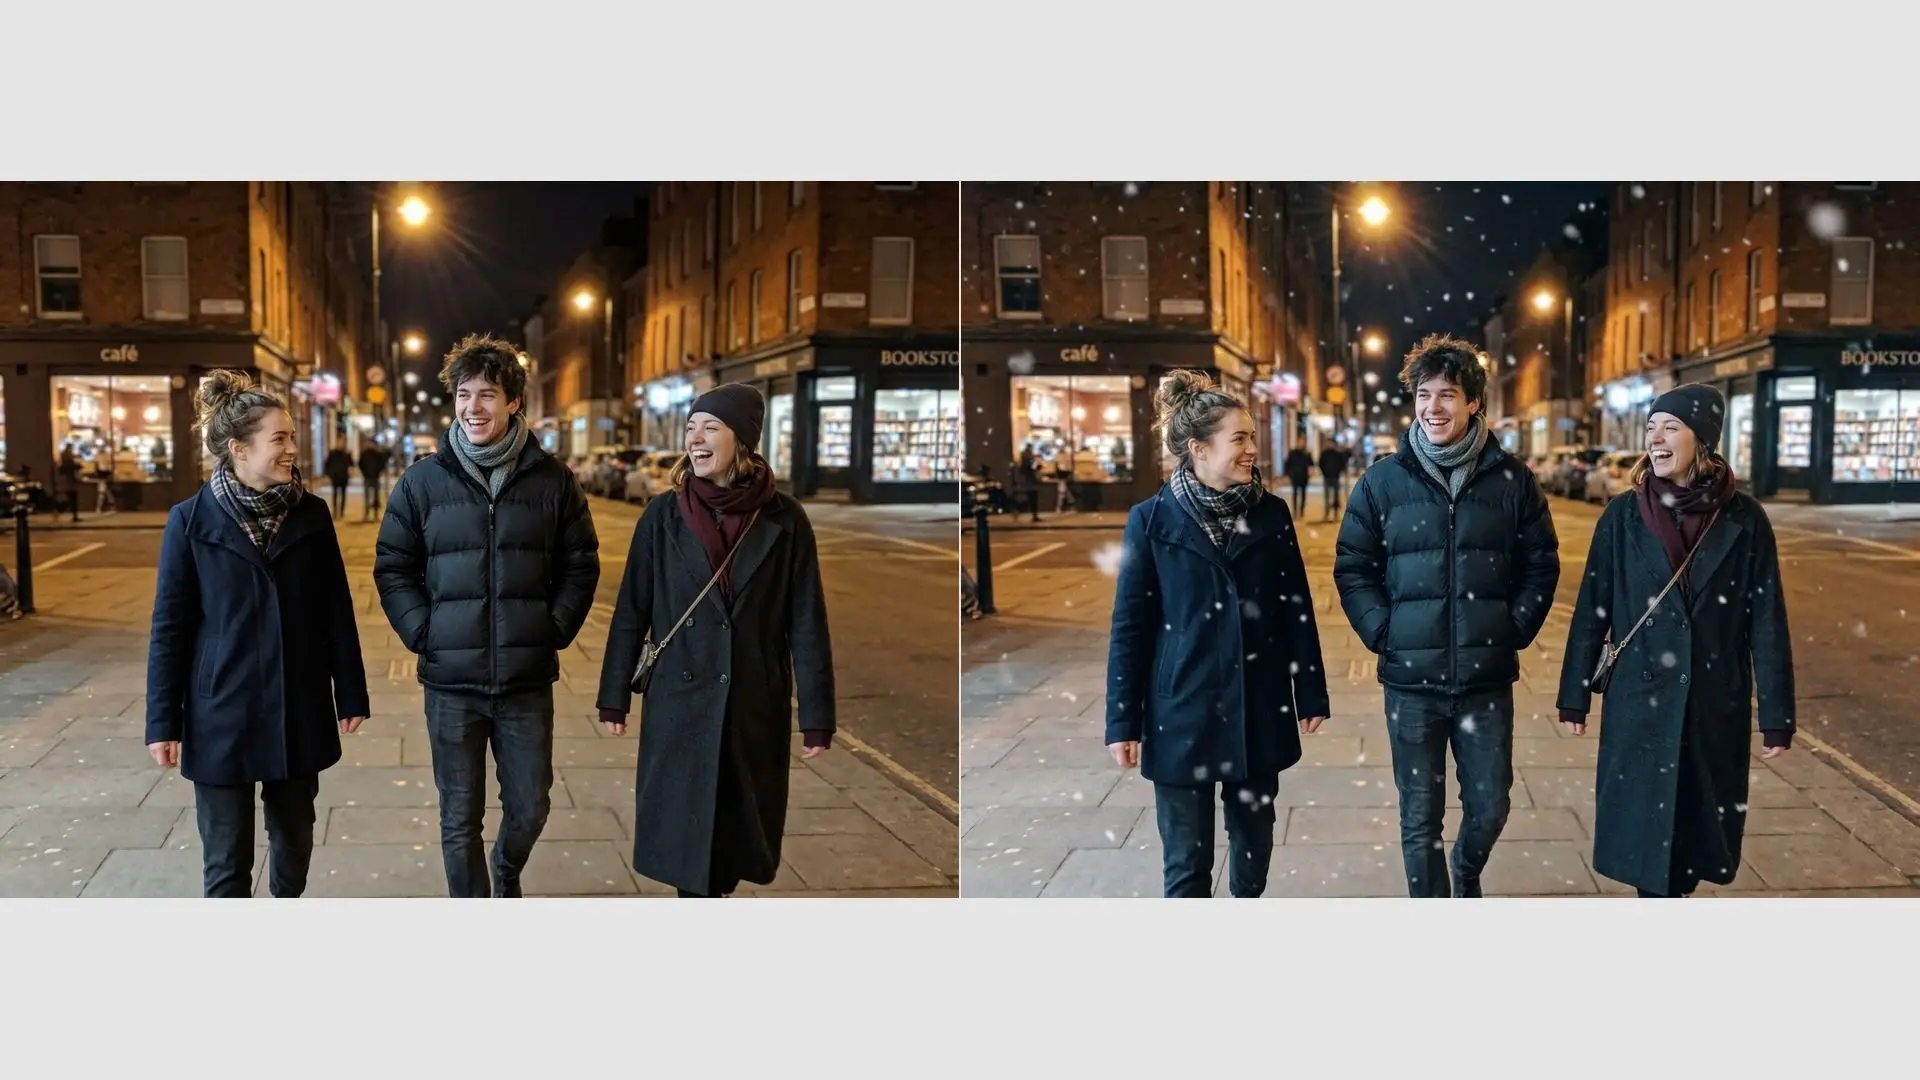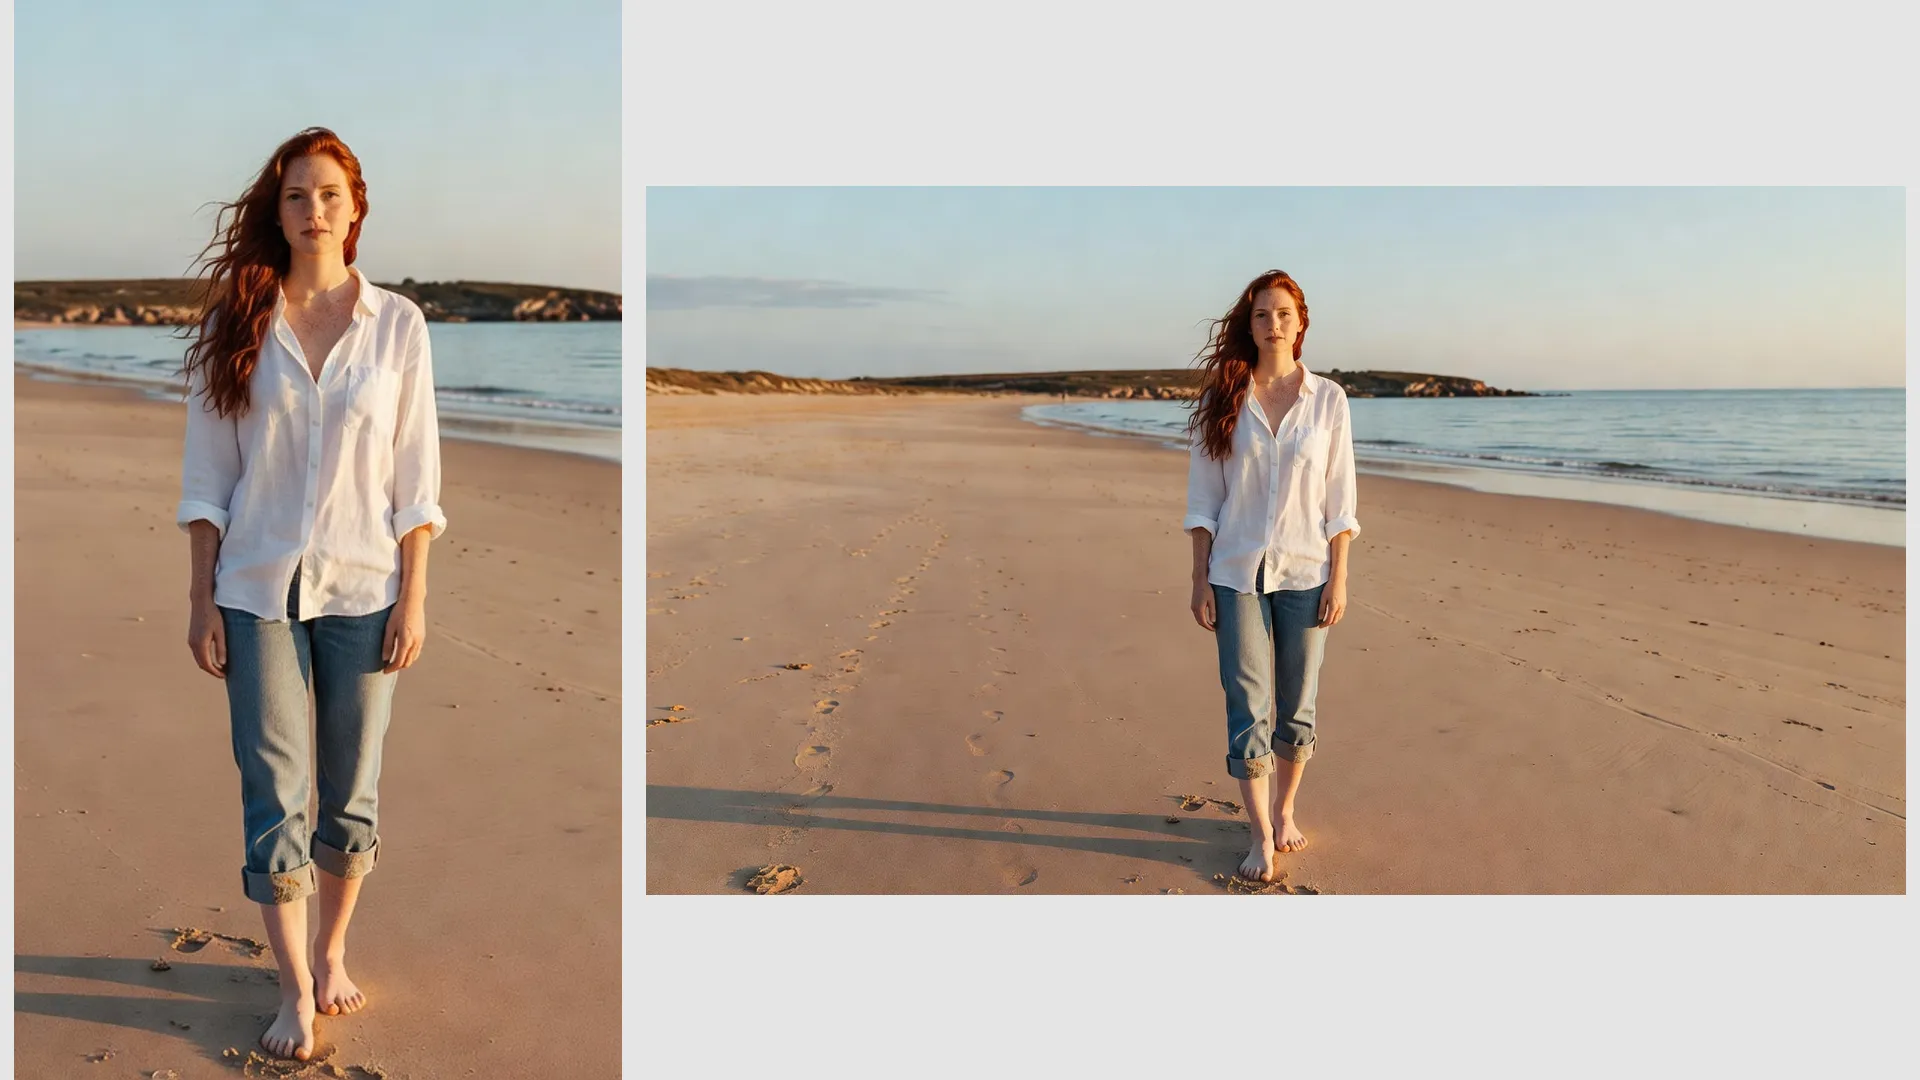
How to change a photo's aspect ratio without cropping
How to change the aspect ratio of an image without cropping: extend the edges instead, pick the ratio for each place you post, and know when it fails.
TutorialsYou have a tall phone photo and you need it wide. Or a wide one that has to fit a vertical story. The usual fix is to crop, and cropping throws part of your photo away.
The other way is to add to the photo instead of cutting it. The AI image extender grows the edges of your picture to fit a new aspect ratio, so you change the shape without losing anything.
Why cropping cuts your photo
Aspect ratio is the shape of an image: width compared with height. A square is 1:1. A phone story is 9:16. A widescreen video frame is 16:9.
To turn a 9:16 photo into 16:9 by cropping, you keep only a thin band from the middle. You lose the top and bottom, which often means a head, feet or the sky.
Apps that fit a photo into a new shape without cropping usually add bars of plain color at the sides. That keeps everything, but it looks unfinished.
Cropping also lowers the pixel count. Keep only a third of a photo and you keep only a third of its detail, which shows when the picture is shown large.
Extend instead of crop
Extending works the other way round. Your original photo stays in the middle, untouched, and new picture area is added around it to reach the shape you want.
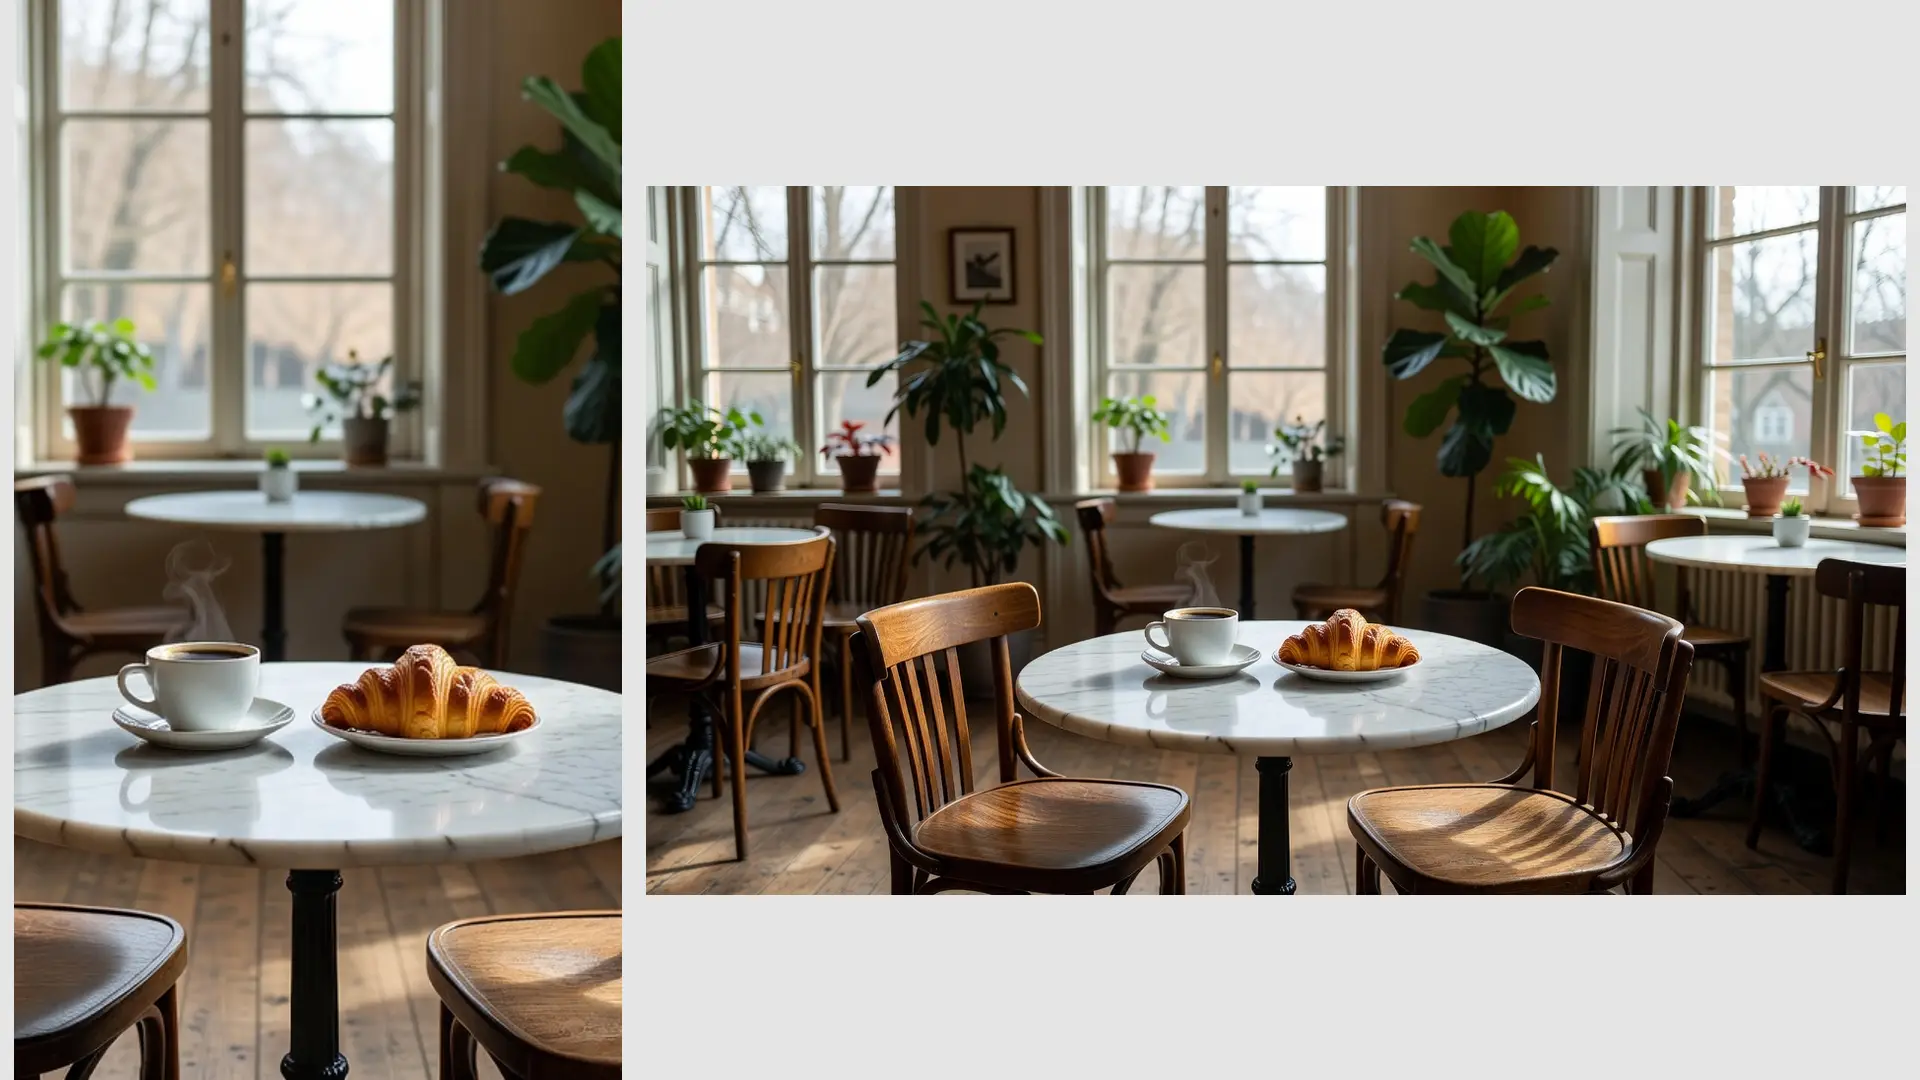
The new area continues the scene: more sand and sea on a beach shot, more wall and floor in a room. That is how you make a picture wider, or uncrop an image that was cropped too tight.
You can leave the prompt empty and let it continue the scene, or describe what the new area should show, in up to 300 characters.
Extending also helps when you need empty space. A banner often needs room for a title on one side, and a story needs space at the top and bottom for text and buttons.
Because the original stays in the middle, faces and the main subject are not redrawn. Only the added area is new, so check that part most carefully before you post it.
Ratios for each place you post
The extender has presets named after where you post, plus classic ratios.
- Instagram post: 1:1.
- Instagram portrait: 4:5.
- Story or Reel: 9:16. Use this for any vertical story or status, including a tall phone wallpaper.
- Pinterest: 2:3.
- YouTube or widescreen: 16:9.
- X header: 3:1, and LinkedIn banner: 4:1.
- Classic: 3:2, 2:3, 4:3, 3:4 and 21:9, or a custom ratio with whole numbers from 1 to 30.
For a profile picture, like a WhatsApp DP, the 1:1 preset gives you a square with room around your face for the round crop.
Ratios matter for wall art too. The post on wall art models and aspect ratios explains how the shape you pick changes what fits on the canvas.
Step by step
- Upload your photo. Files up to 5 MB work.
- Pick a preset or a ratio.
- Optionally describe the new area. Leave it empty to continue the scene.
- Extend it. Every extend costs 5 credits, and so does every regenerate.
- Compare the result with your original and download it.
The Free plan gives you 10 credits a day, which covers two extends.
Pick the ratio for where the image will end up, not for where it came from. A photo for a story and a photo for a banner need very different shapes, and it is cheaper to extend once to the right one.
A big change of shape spreads your pixels across a larger picture. If the result looks soft, upscale the extended image before you print it or use it as a header.
When extending does not work well
Extending is strongest on open, simple edges: sky, sand, grass, plain walls and blurred backgrounds. It is weaker in a few cases.
- People cut off at the edge. A half visible person has to be completed, and hands and faces are hard to invent well.
- Text, signs and logos near the edge, which can come back garbled.
- Very large changes, like turning a tall portrait into a 21:9 banner. Most of the result is then new.
- Patterns that must line up exactly, such as tiles, fences or windows.
In those cases, try a smaller change first, or describe the new area in the prompt. A short description like 'more beach and calm sea' gives clearer results than an empty prompt on a busy photo.
Always check the new edges at full size. That is where mistakes hide, and you are the best judge of whether the scene still looks real to someone who knows the place.
If a result is close but not right, regenerate rather than starting over. Each regenerate costs 5 credits, like an extend, so a clear prompt saves you tries.