Photo to Anime vs Photo to Cartoon
Two Picverce AI tools at 3 credits each that both restyle your face. The difference is the size of the catalog and how far each look travels from the photo.
RecommendationsThese two look like the same tool wearing different labels. Same upload, same style picker, same 3 credit charge, same promise that your face survives.
The difference is what is in the picker, and it is bigger than it sounds.
Nine styles against twenty four
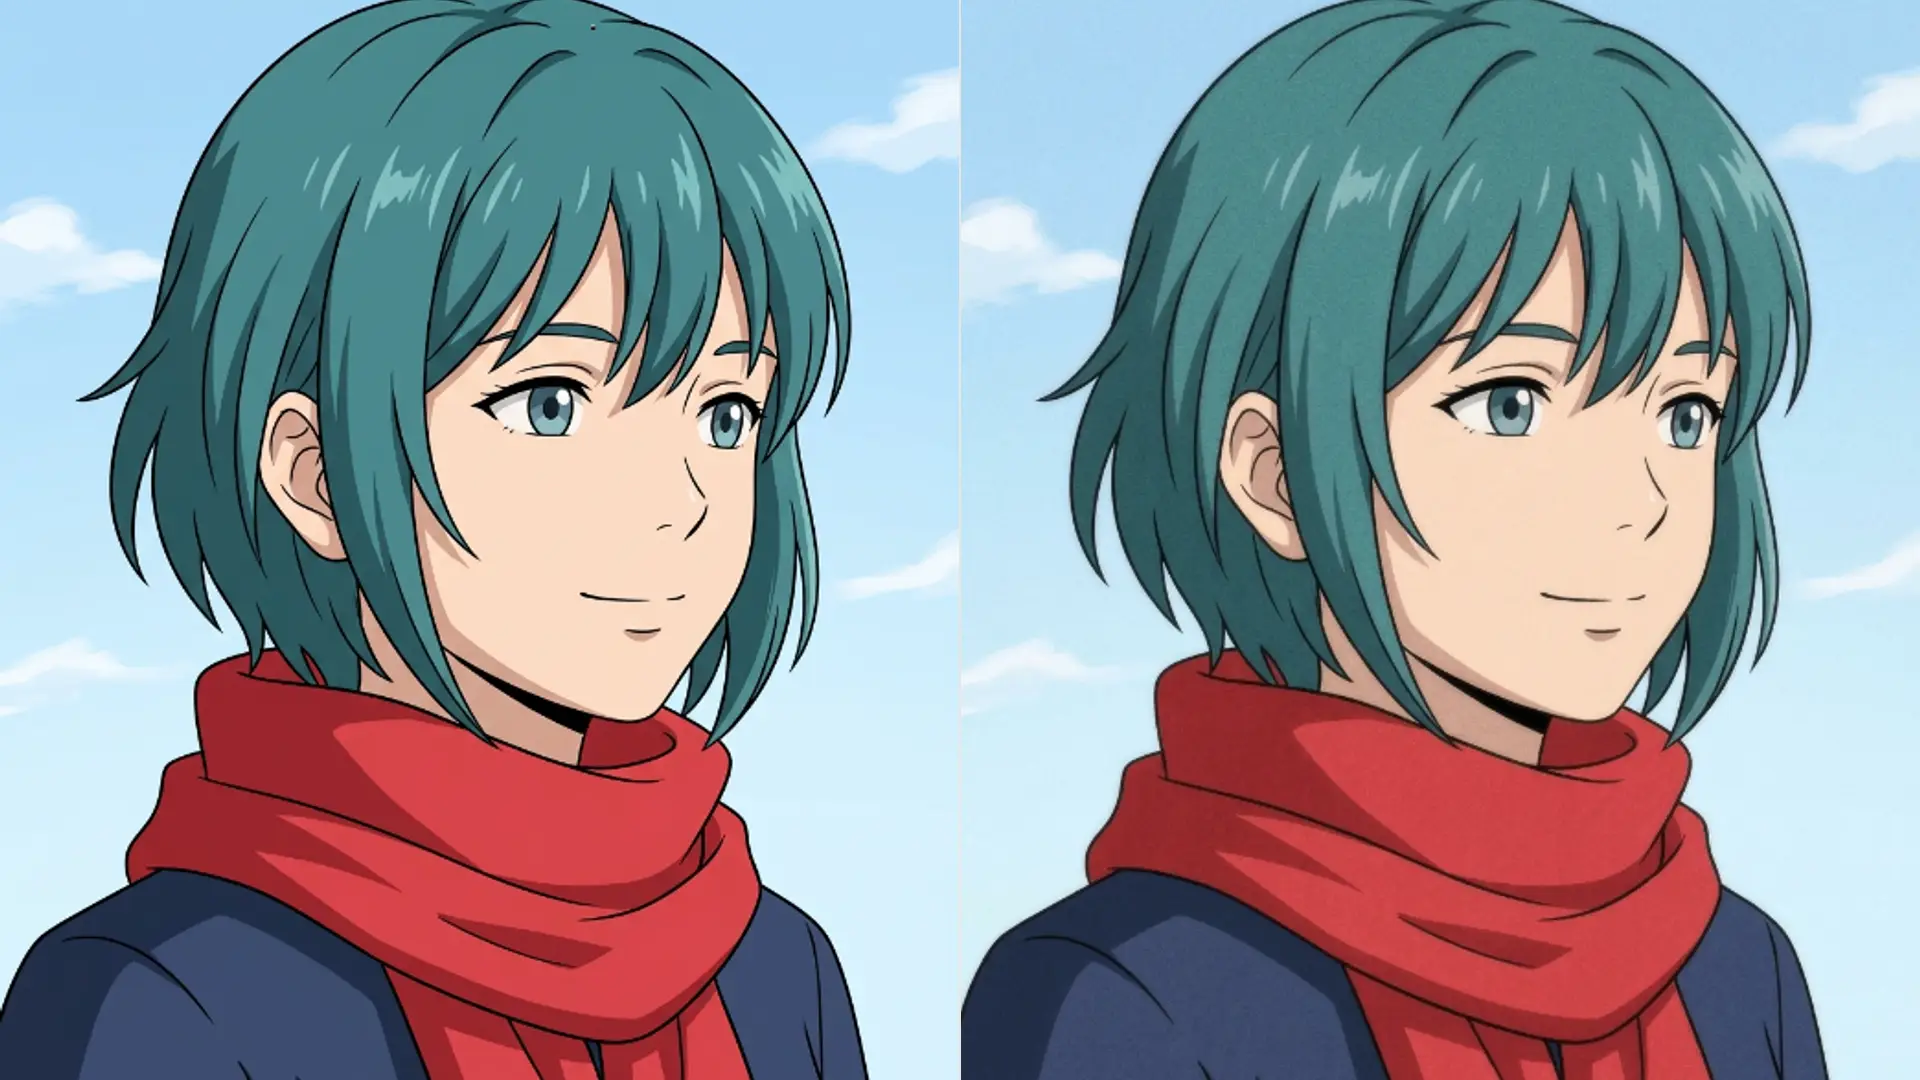
The anime side is deliberately narrow. The AI Photo to Anime tool offers nine cards, and every one of them is a Japanese animation or comic look.
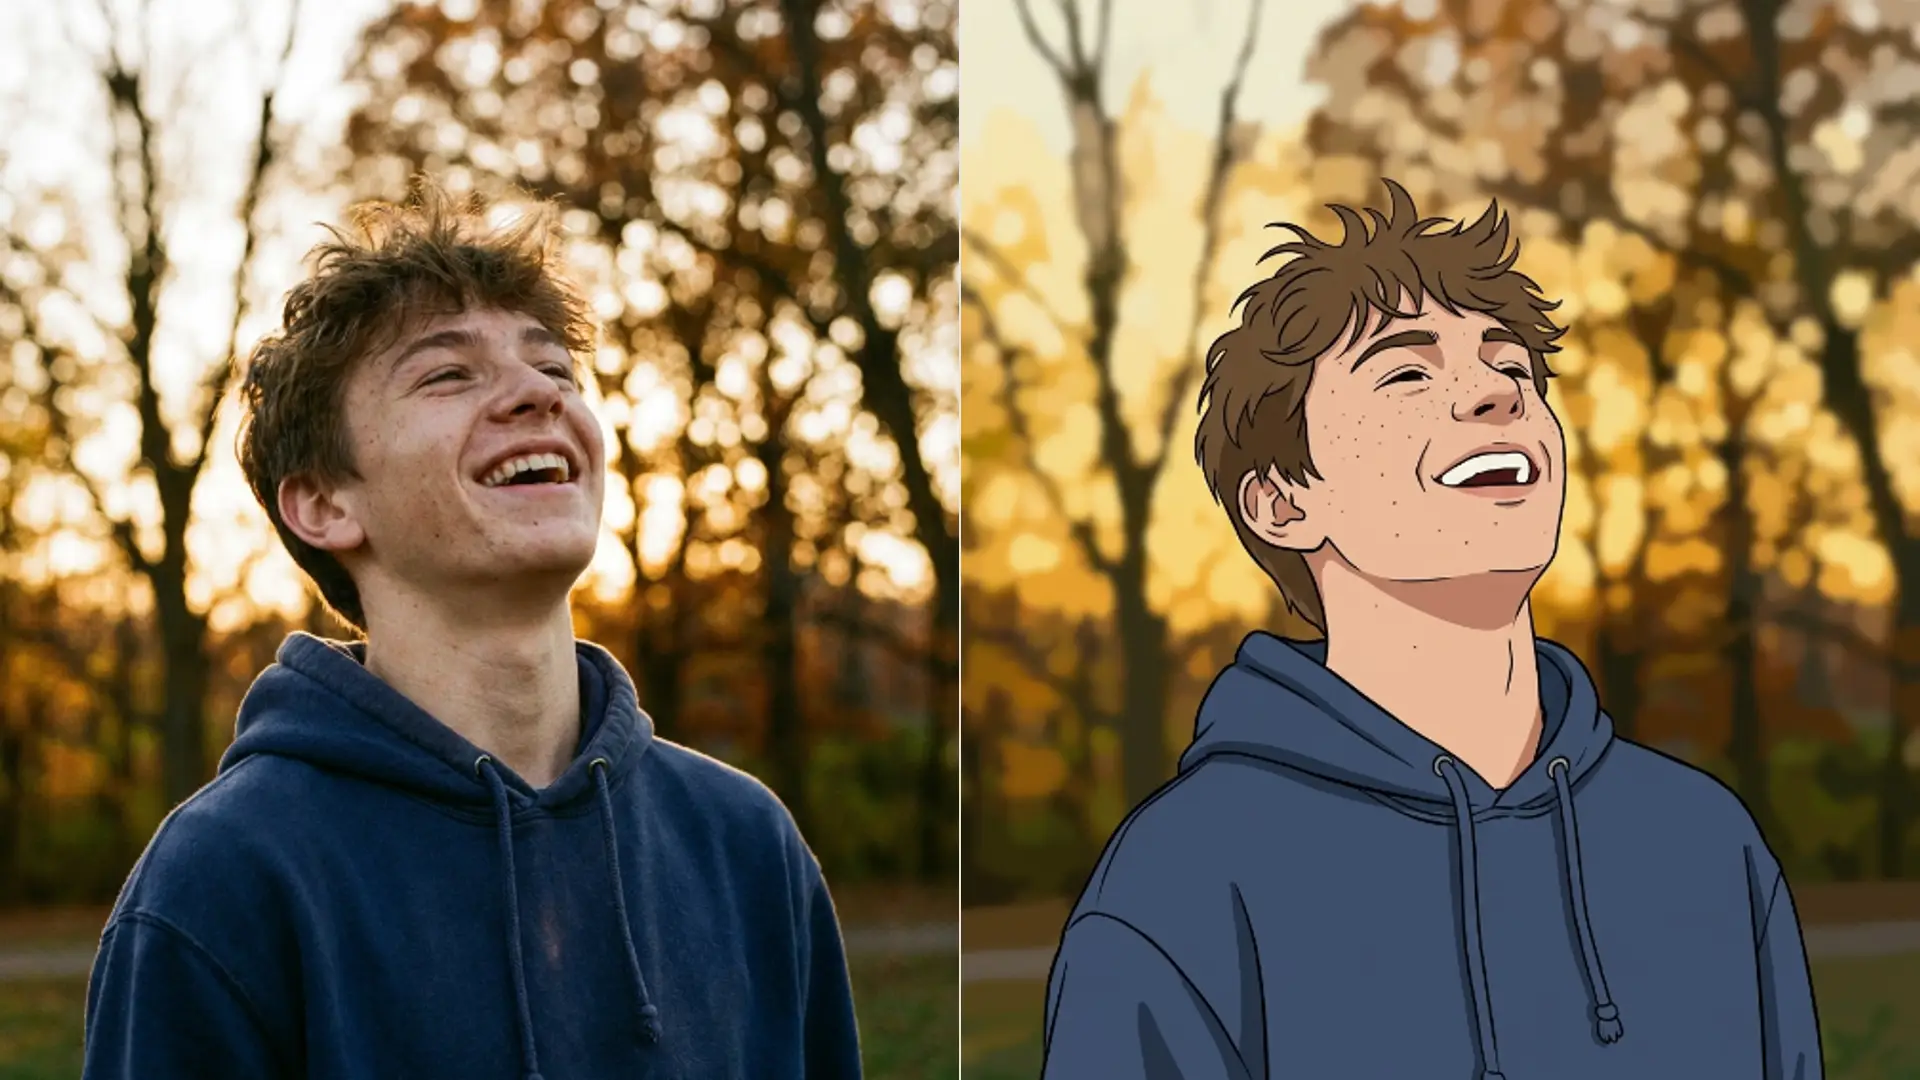
The cartoon side is a much wider net. The AI Photo to Cartoon tool carries twenty four cards spanning 3D animation, watercolour, comic books, pixel art and painterly looks.
Two looks appear on both pickers. Ghibli and Cyberpunk are reachable from either tool, so if one of those is what you want, either door works.
Everything else is exclusive to one side. There is no anime Webtoon card on the cartoon tool and no Disney style 3D card on the anime tool.
Four of the twenty four cartoon cards sit close to anime territory, which is what makes the two tools feel like they overlap more than they do.
Read that the other way and it is clearer. Twenty of the cartoon cards have no equivalent on the anime side at all.
How far each look travels from your face
This is the more useful way to choose, and it cuts across both tools rather than along the line between them.
Most cards on both sides ask for identity, pose and composition to stay intact. Those are restyles of your actual face.
A few cards on each side deliberately break that. Chibi on the anime tool rebuilds your proportions. Pixel Art on the cartoon tool only promises your likeness stays readable at pixel scale, which is a much weaker guarantee.
So the honest grouping is not anime against cartoon. It is faithful cards against transformative cards, and both tools contain some of each.
If recognisability is the requirement, stay on the faithful cards wherever they live. Realistic and Webtoon on the anime side, Disney 3D and Watercolour on the cartoon side.
The transformative cards are not worse. They are answering a different question, and the mistake is reaching for one when you needed a portrait.
A quick way to tell them apart before spending anything is to ask whether the card name describes a rendering style or a character type. Watercolour is a rendering. Cyborg is a character.
Which one to open first
If you already know you want an anime look, open the anime tool. Nine focused cards beats hunting through twenty four for the four that are anime adjacent.
If you do not have a specific look in mind, open the cartoon tool. A wider catalog is more useful when you are exploring, and Ghibli sits on both pickers anyway.
For a profile picture, the cartoon tool has more options that survive being shrunk to a small circle. Bold 3D and flat comic styles hold up better at 96 pixels than delicate pastel line work.
For fan art or anything posted in an anime context, the anime tool is the obvious choice and the wider catalog is just noise.
When I could not decide, running the same face through Ghibli on both tools settled it quickly. The results were close but not identical, and one of them suited the photo better.
Six credits to settle a question you would otherwise guess at is usually worth it, especially before committing to a set of images rather than one.
What is the same on both sides
Almost everything else, which is why the catalog is the real decision.
- Both cost 3 credits per run from the same shared pool.
- Both cap uploads at 5 MB and convert your file to JPEG on the way out.
- Both take a single style choice and no other settings.
- Both fall back to a default card if handed a style name they do not know.
- Both write the result to your history with the original attached.
Neither has a strength slider, so you cannot ask for a gentler version of a card. The card is the whole instruction.
Neither trims your photo down to a fixed size before sending it either, which the cleanup tools do. A large sharp source is worth uploading to both.
And neither handles more than one person well. Both sets of instructions are written around a single subject, so crop to one face before you spend anything.
Neither repairs a bad photo either. Both stylise what they are given, so a soft or noisy source produces a soft or noisy result in a nicer outfit.
That ordering question comes up on every tool here, and the general answer is worked through in enhancer or upscaler which one to run first.
Pick by the catalog, not by the label on the door. The two tools are the same machine pointed at different libraries.