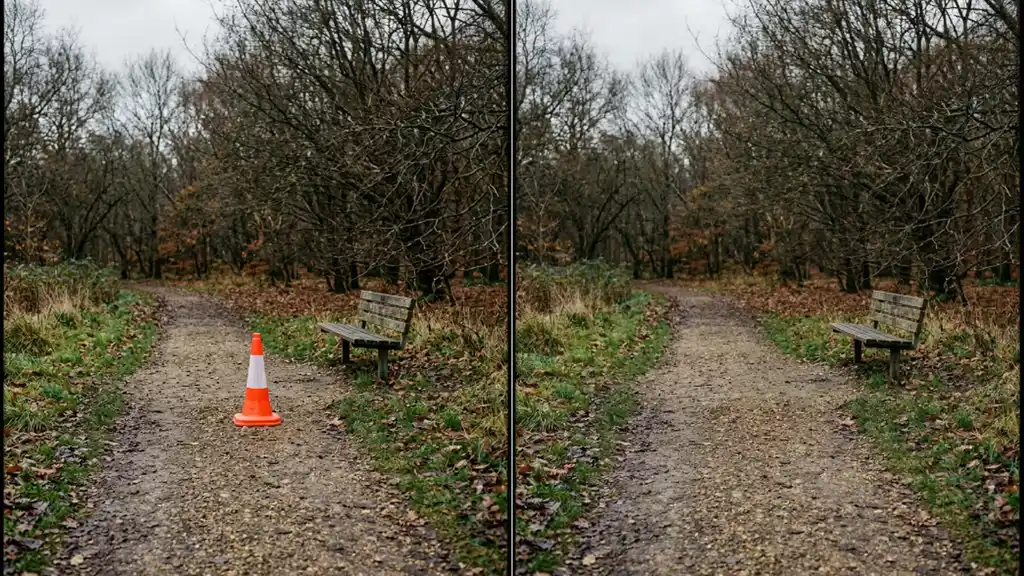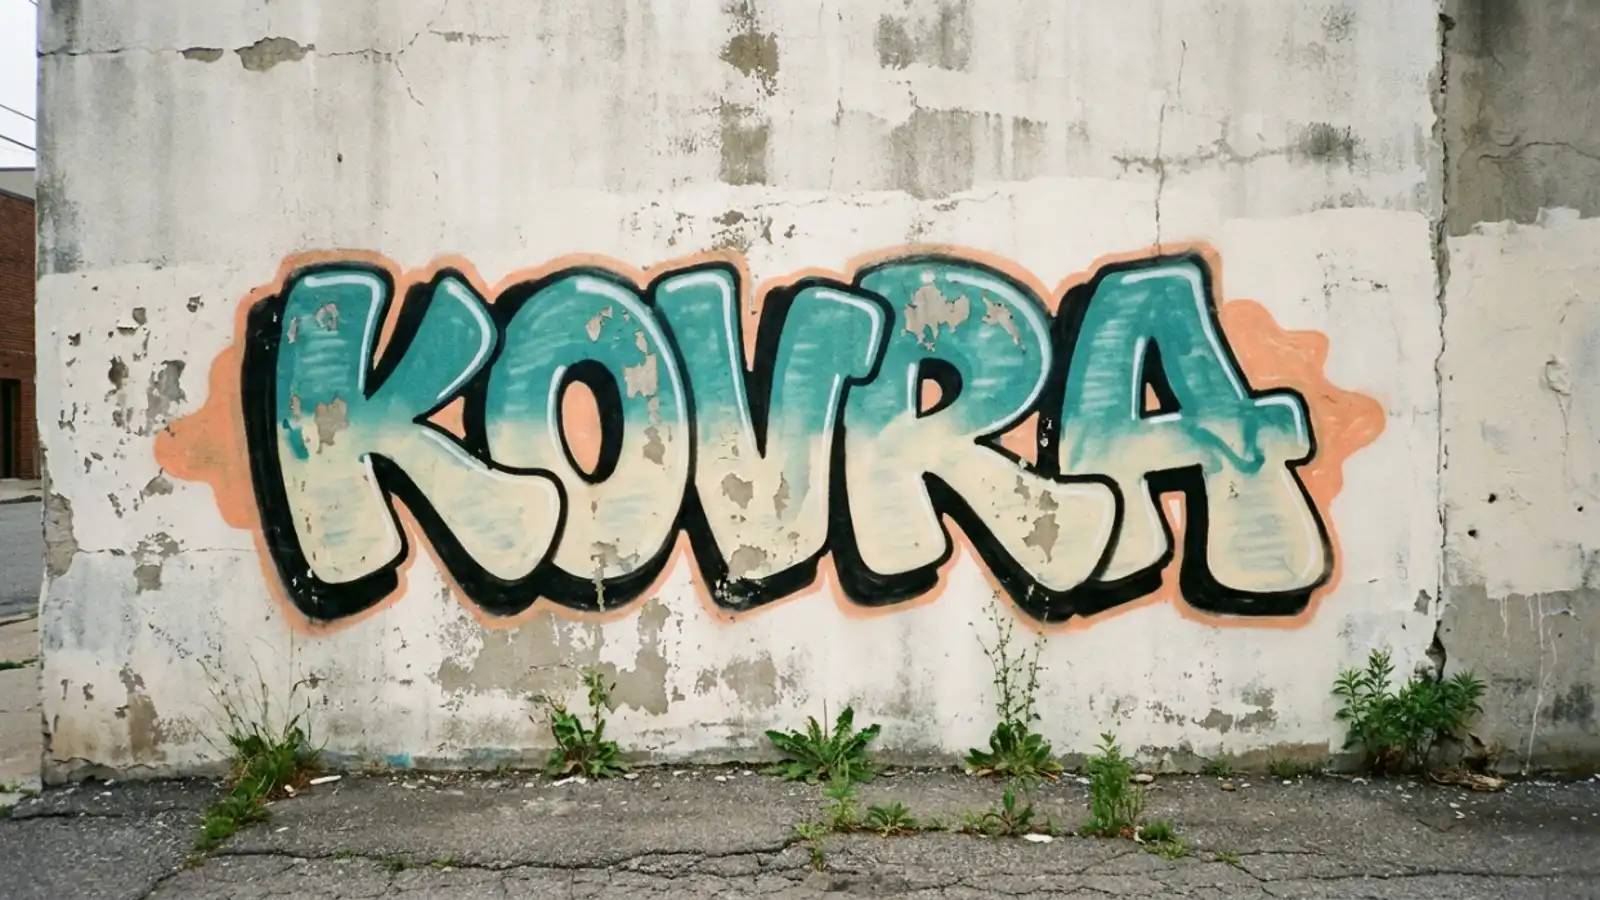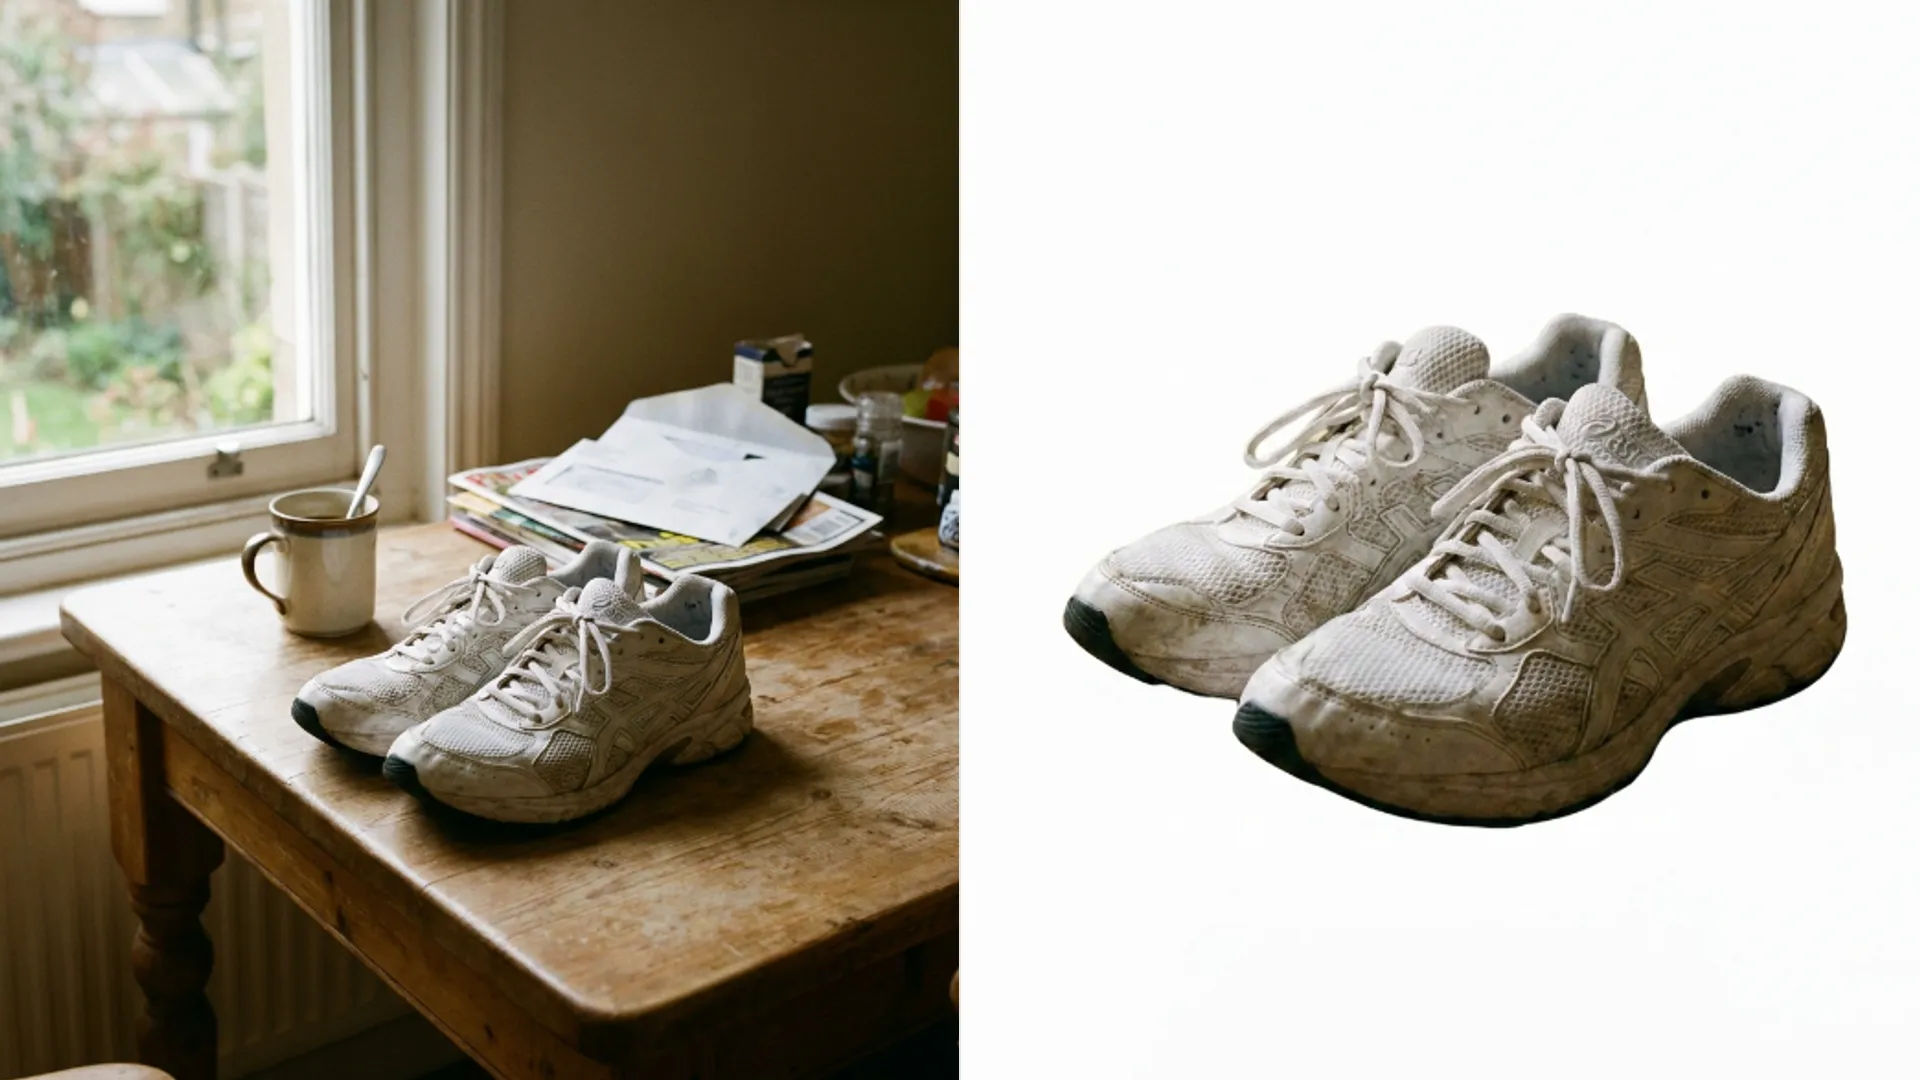
Picverce AI Background Remover cutouts
Transparent PNGs, solid colours and swapped backdrops in the Picverce AI Background Remover, what a cutout costs, and the edges it cannot hold.
GuidesA cutout is a mask, and everything else the tool offers is what gets painted behind that mask. Understanding it that way explains every option in the panel.
The AI Background Remover separates the subject once, then gives you four different things to do with the space that is left.
The four things you can put behind a subject
One pass, four outputs. The mask is the same in all of them.
- Transparent. The result comes back as a PNG with a real alpha channel.
- A solid colour. White for listings, or any colour you choose.
- A template backdrop. Pre built scenes rather than a flat fill.
- Your own image. Upload a background and the subject is placed on it.
Transparent is the one to pick if you are unsure. A PNG with alpha can become any of the other three later in any editor, and the reverse is not true.
Solid white is the common choice for marketplace listings, and it is worth generating separately rather than flattening a transparent file yourself, because the tool handles the edge blend.
When I needed both a transparent version and a white version of the same product, running two passes was cleaner than exporting one and filling it in an editor.
Four credits for two passes is a small price for not hand editing an alpha channel, and the white version came back with a softer edge blend than a flat fill would give.
What a run costs and what it takes
A cutout costs 2 credits. That is cheaper than the style tools and the same as a standard cleanup pass.
Uploads cap at 5 MB. JPEG, PNG, GIF and WebP are accepted.
The result is written as a PNG regardless of what you sent in, because transparency cannot survive in a JPEG.
That matters for file size. A large transparent PNG is much heavier than the JPEG you uploaded, which surprises people putting cutouts on a web page.
Every finished cutout goes to your history with the original attached, so you can pull the source back if you want a different backdrop later.
That is worth using deliberately. Backdrop decisions change after a listing goes live, and re running from the stored original beats hunting for the file on your machine.
The edges it holds and the ones it does not
Cutout quality is entirely about edges, and some edges are much harder than others.
- Hard edges, like a phone or a box, come back essentially perfect.
- Fabric and clothing edges are reliable.
- Loose hair is the classic hard case. Expect some strands to be lost.
- Fur, feathers and mesh behave like hair, only worse.
- Glass, water and anything transparent is the genuine failure case, because the tool has to decide what counts as the subject.
A wine glass is the example that catches everyone. It comes back as a solid glass shape rather than a transparent one, because a mask is binary and glass is not.
For hair, a plain contrasting background at capture time does more than any setting. Shooting someone with dark hair against a dark wall guarantees lost strands.
Check the result at full size against a colour that contrasts with your subject. A white fringe on a cutout only shows up when you put it on something dark.
That check takes seconds and catches the one defect that reliably survives to a published listing.
Shadows are the other thing to look for. A cast shadow on the original floor is not part of the subject, so it usually goes, and a product can end up looking like it is floating.
For listings that matters more than it sounds, because a floating product reads as fake even when the cutout itself is clean.
A template backdrop or your own uploaded background usually solves it, because both put the product back into a scene with a floor.
When the object remover is the right tool instead
These two get confused because both make something disappear, but they solve opposite problems.
Background removal keeps the subject and discards everything else. The AI Object Remover does the reverse, deleting one thing you mark and rebuilding the background where it was, for the same 2 credits.
So a stranger in the corner of a holiday photo is an object remover job. A product that needs to sit on white is a background remover job.
Reach for background removal when you want the subject on something new. Reach for object removal when you want to keep the scene and lose one thing in it.
For listing photos the two often run together, and the ordering that worked on a real shop is in an Etsy listing I cleaned before it went live.
Name the thing you want to keep first. That sentence picks the tool for you every time.